A Step-by-Step Guide to Portrait Photography & Lighting
Portrait photography as a genre is a very versatile one. Portrait photography techniques are used across several other photography genres such as weddings, headshots, professional portraits, environmental portraits, and more. You can practise portrait photography with just a camera and a kit lens. As a beginner photographer, you don’t need anything else to shoot portrait photos. Advanced portrait photographers use artificial lights. But as a beginner photographer, this isn’t mandatory. This step-by-step guide to portrait photography will look at the various aspects of shooting portrait photos.
We will also look at how to shoot portraits using natural light as we improve as photographers and incorporate artificial lights in the mix. We can use different types of lighting arrangements for portrait photography. You can use a single, double, and triple light setup to shoot portraits. We will learn all about that in this discussion.
But wait, there is more, you can read about bounce flash technique in our article on how to master the bounce flash technique.
Portrait photography posing & quick tips
Let’s start with the posing tips for portrait photography. This is the most challenging aspect of portrait photography because people generally feel awkward facing a camera. Not everyone is a professional model and, therefore expert at posing. As a portrait photographer, it is your job to guide the subject to the correct pose befitting their body shape.
As a photographer, the best way to prepare is to look at other photographers’ work. There are a ton of portrait photography posing ideas available on the Internet. You can even keep a cheat sheet of sorts on your mobile. It could be a list of photos depicting different posing ideas. Consider your ready reference for posing tips when you’re working. When working with a subject, you can refer to those poses and then ‘act’ them out to your portrait subjects so they can understand precisely what is required.
Here are a few ‘natural’ posing tips that you can use.
1. Ask your subject to transfer weight on to the back leg
This results in a very natural-looking pose. When you transfer the body’s weight onto the back leg, the front leg can bend slightly and look gorgeous. This works for both male and female models, but in the case of female models, particularly, this accentuates the natural curve in their bodies.
2. Ask your subject to lean back against a wall
A great portrait poses for both male and female models. This isn’t a standard pose. But you will like it if you’re up for something more interesting than a traditional portrait.
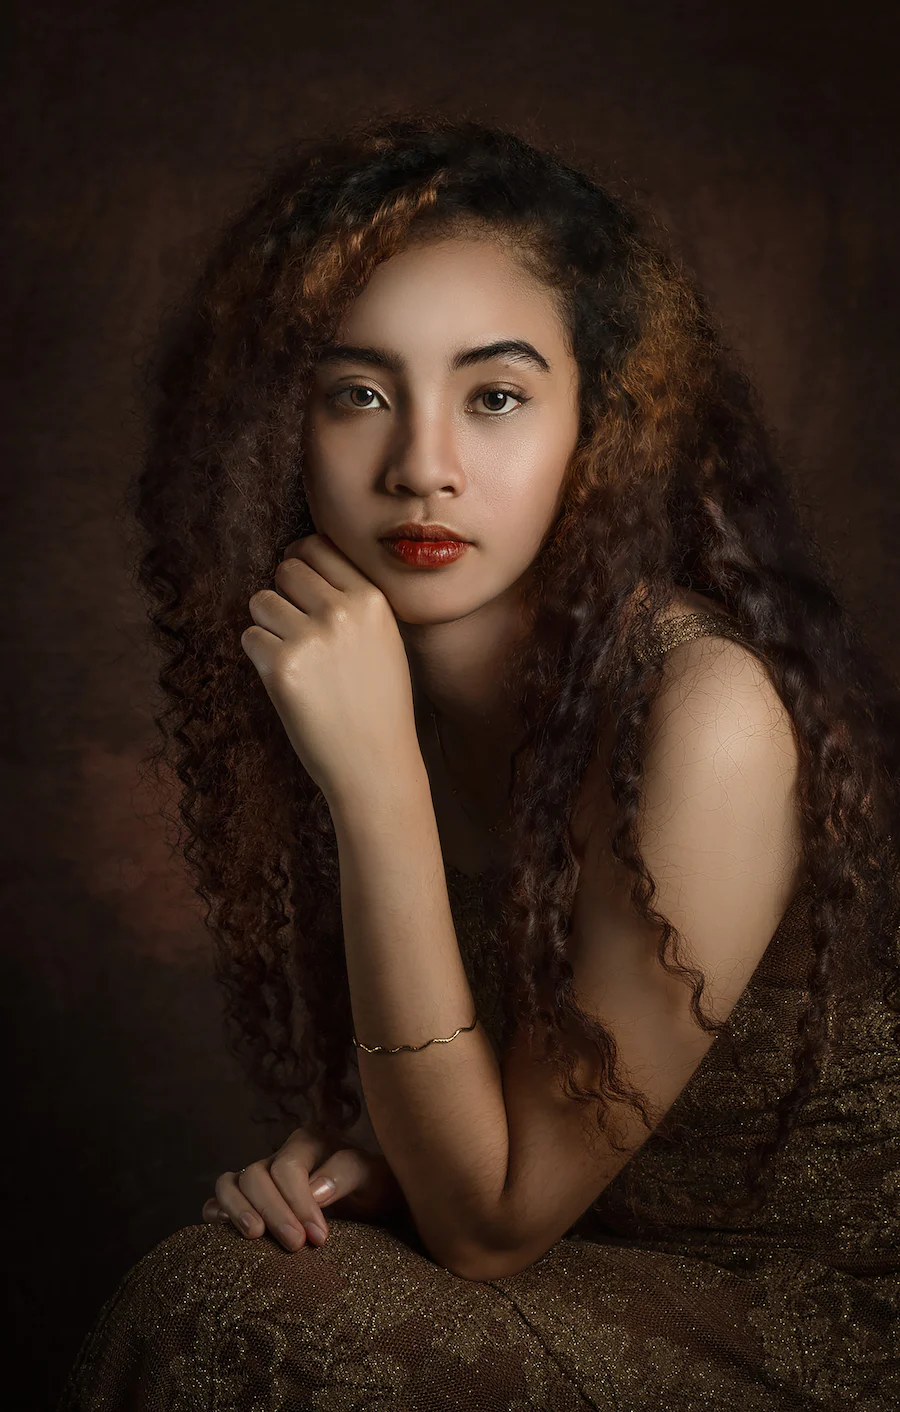
3. Leaning forward
This is again not a ‘traditional’ pose for portrait photography. But you will love it once you see the results. Ask the subject to lean forward slightly. This is best done when sitting down and having their arms to support the body weight leaning forward. Otherwise, if they’re standing, ask them to shift the weight to the front leg. This is a great way to focus on the subject’s face.
4. Shooting portraits in natural light
Natural light is the easiest way to shoot portrait photos in. This is because natural light is abundantly available. It is available throughout the day, though it keeps on changing over the course of the day. That means when using natural light, you must keep adjusting the white balance to ensure that the color temperature is accurate. The best thing is to shoot a white sheet of paper or any neutral-colored item by filling the frame and using that as a reference later on. This is especially important when you are post-processing the images.
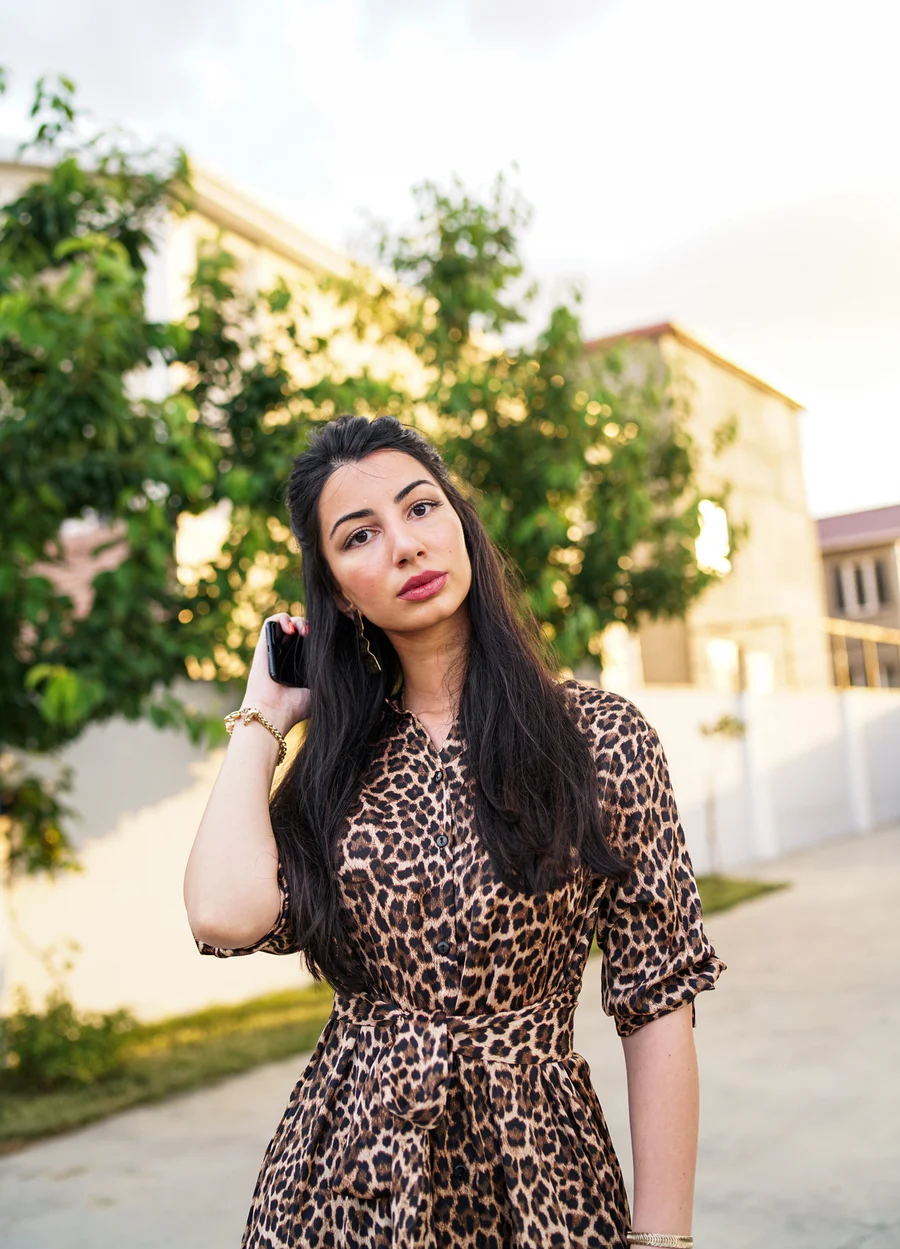
5. Not hard light, just soft shades
Beginner photographers mostly start shooting portraits in natural light conditions. The best light to shoot portraits in outdoor conditions is to look for some shade. Under a shade, the light is uniform and casts minimal, if any, harsh shadows. This is one of the primary reasons portrait photographers prefer to shoot on overcast days, especially outdoor portrait photographers. On overcast days, there is a lot of cloud cover; therefore, the Sun never blares down.
You can find more posing tip from posing cheatsheets for guys over at queryhome and thephoblographer (full body portraits). For gals, check out portrait posing cheat sheets for headshots at digitalcameraworld and some full body portrait poses at digitalphotographylive.
Portrait photography lighting using artificial lights
Though there are a lot of advantages of shooting portraits in natural light, Professionals prefer to shoot with artificial lights because they can control every aspect of the lighting. Good quality artificial lights give you the advantage of overpowering the Sun’s ambient light and manually controlling the color temperature and other elements.
In the subsequent section, we will discuss the different artificial lighting setups.
A. Single light setup
A single light setup is the most basic lighting setup. As the name suggests, it involves using a single light source with or without a light modifier. Even a single light source is a potent tool in the right hands. You can use a single light source to create several lighting arrangements. Classical lighting setups like butterfly lighting, loop lighting, Rembrandt lighting, and general lighting are some of the different lighting setups you can set up with a single light.
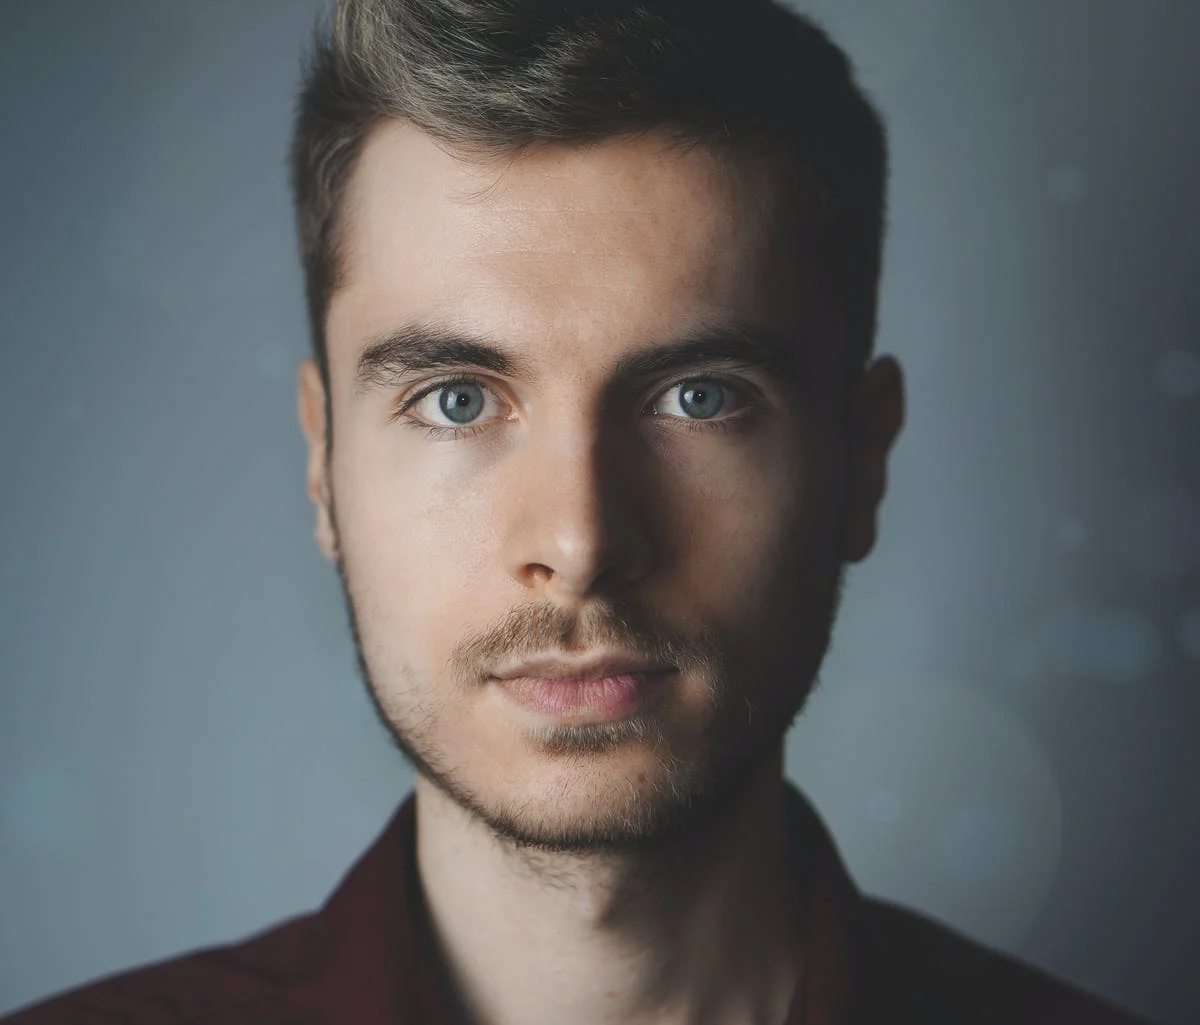
B. Butterfly lighting
One of the most commonly used lighting techniques is the butterfly lighting system. The lighting system is arranged so that there is a small shadow in the shape of a butterfly formed just under the nose of the subject. The light is overhead at around 90 degrees but slightly leaning towards the camera. The shadow is formed right under the nose. Butterfly lighting is a classical lighting system made famous by Hollywood films.
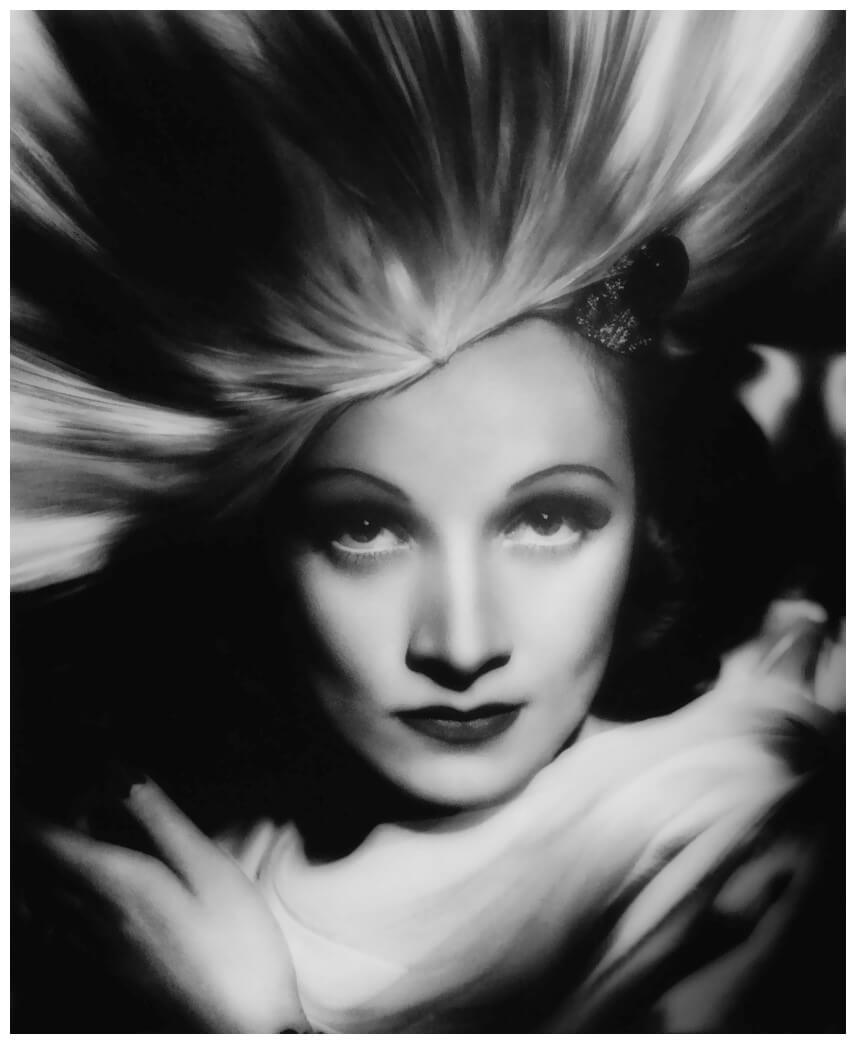
C. Loop lighting
Loop lighting is also a trendy single-light setup. In loop lighting, a small shadow of the nose is formed on the side of the face opposite to where the light is firing. So if the light is firing from the face’s left side, the shadow is formed on the right cheek. This shadow does not overlap or touch the shadow of the cheek on the right side of the face.
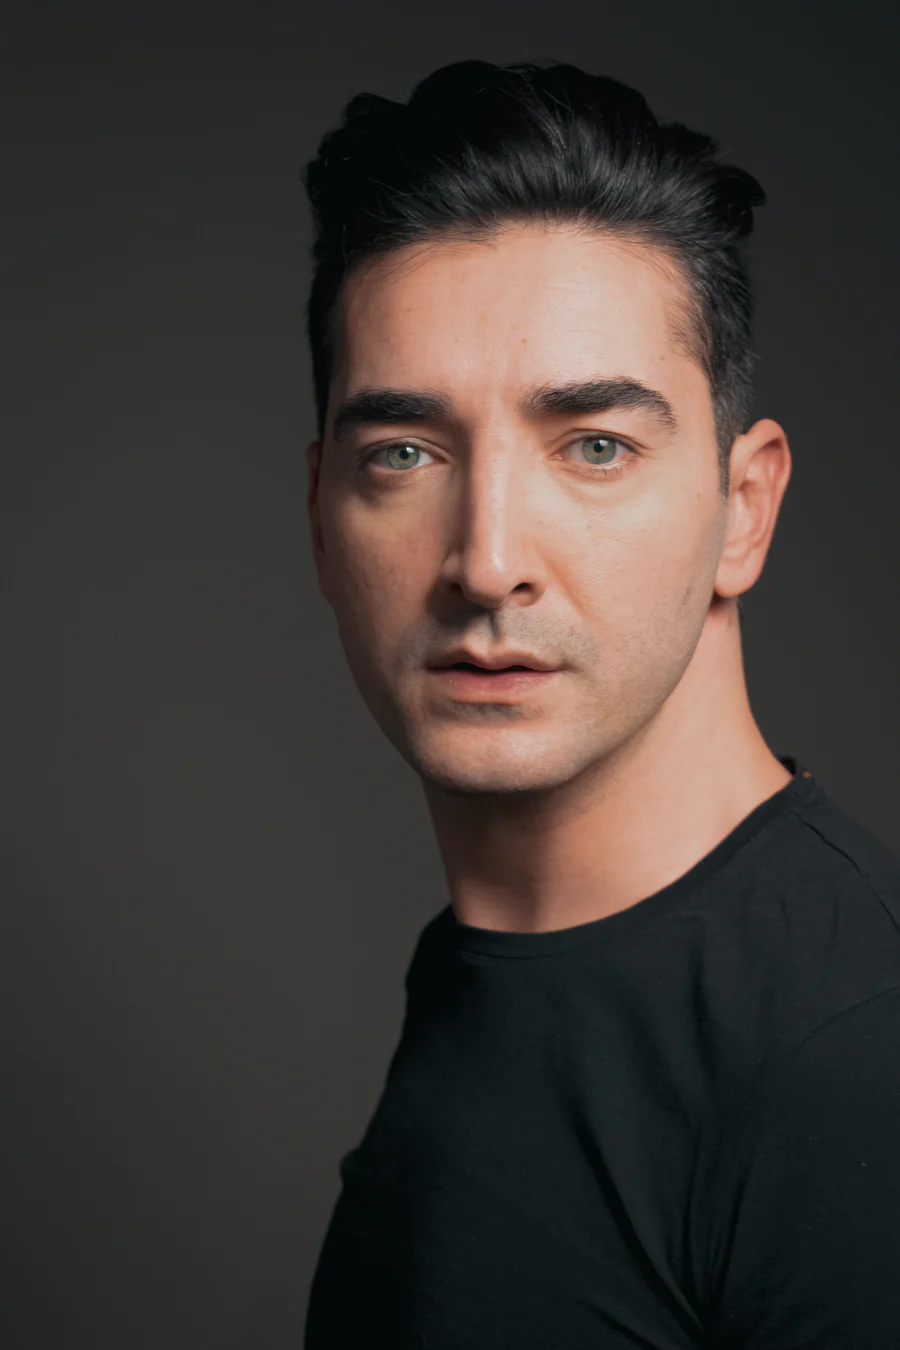
D. Rembrandt lighting
This lighting system was made popular by the famous Dutch painter Rembrandt. Rembrandt used this lighting in many of his portrait images. In this, there’s a small triangle of illumination on the cheek opposite the direction from which the light is firing. Let’s say the light is firing from the left side of the face. The shadow of the nose will form on the right cheek. But unlike in loop lighting, where the shadow of the nose does not touch the shadow on the cheek, in Rembrandt lighting, it does. So the result is a small illuminated triangle on one side of the face.
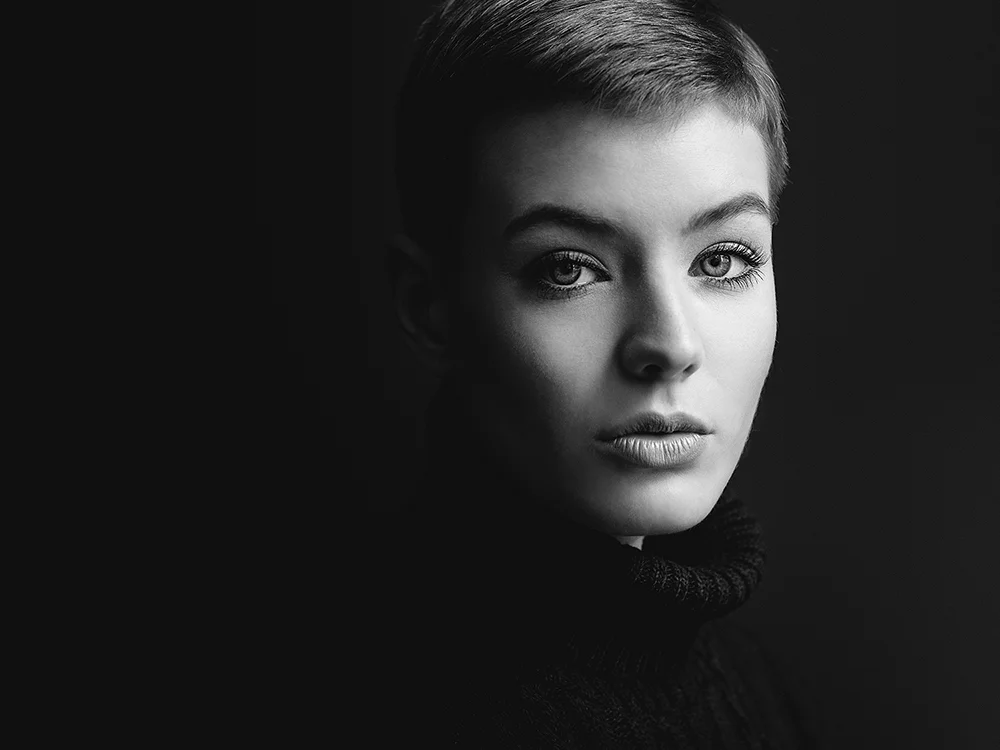
E. Broad lighting
Broad lighting is also a single light setup in which the light is fired from this side facing the camera. In broad and short lighting, which we will discuss next, the subject does not look at the camera at 90 degrees. The subject’s face is slightly angled. We call it broad or short lighting depending on which side is illuminated while facing the camera.
In broad lighting, the side of the face facing the camera is illuminated well—this side is away from the light source and is also partially hidden from the camera.
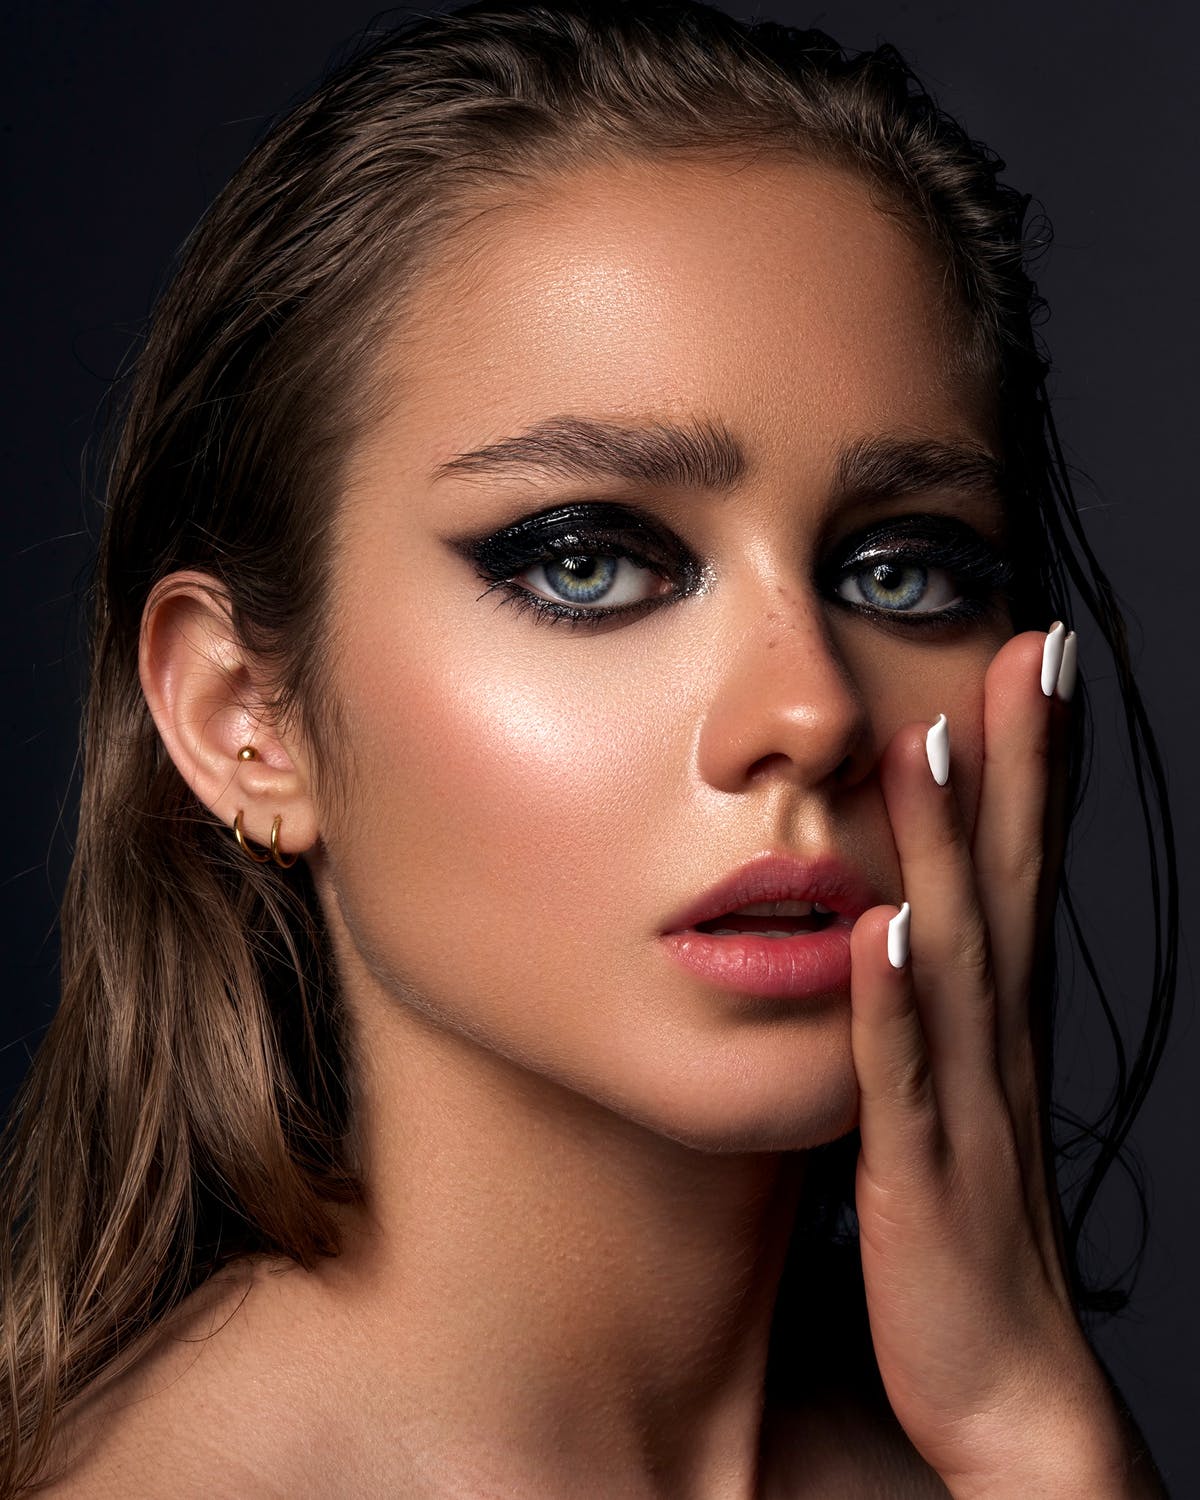
F. Short lighting
Short lighting is the reverse of broad lighting. In this lighting setup, the side of the face facing away from the camera is lit by the key light. So, the side facing the camera is in shadows.
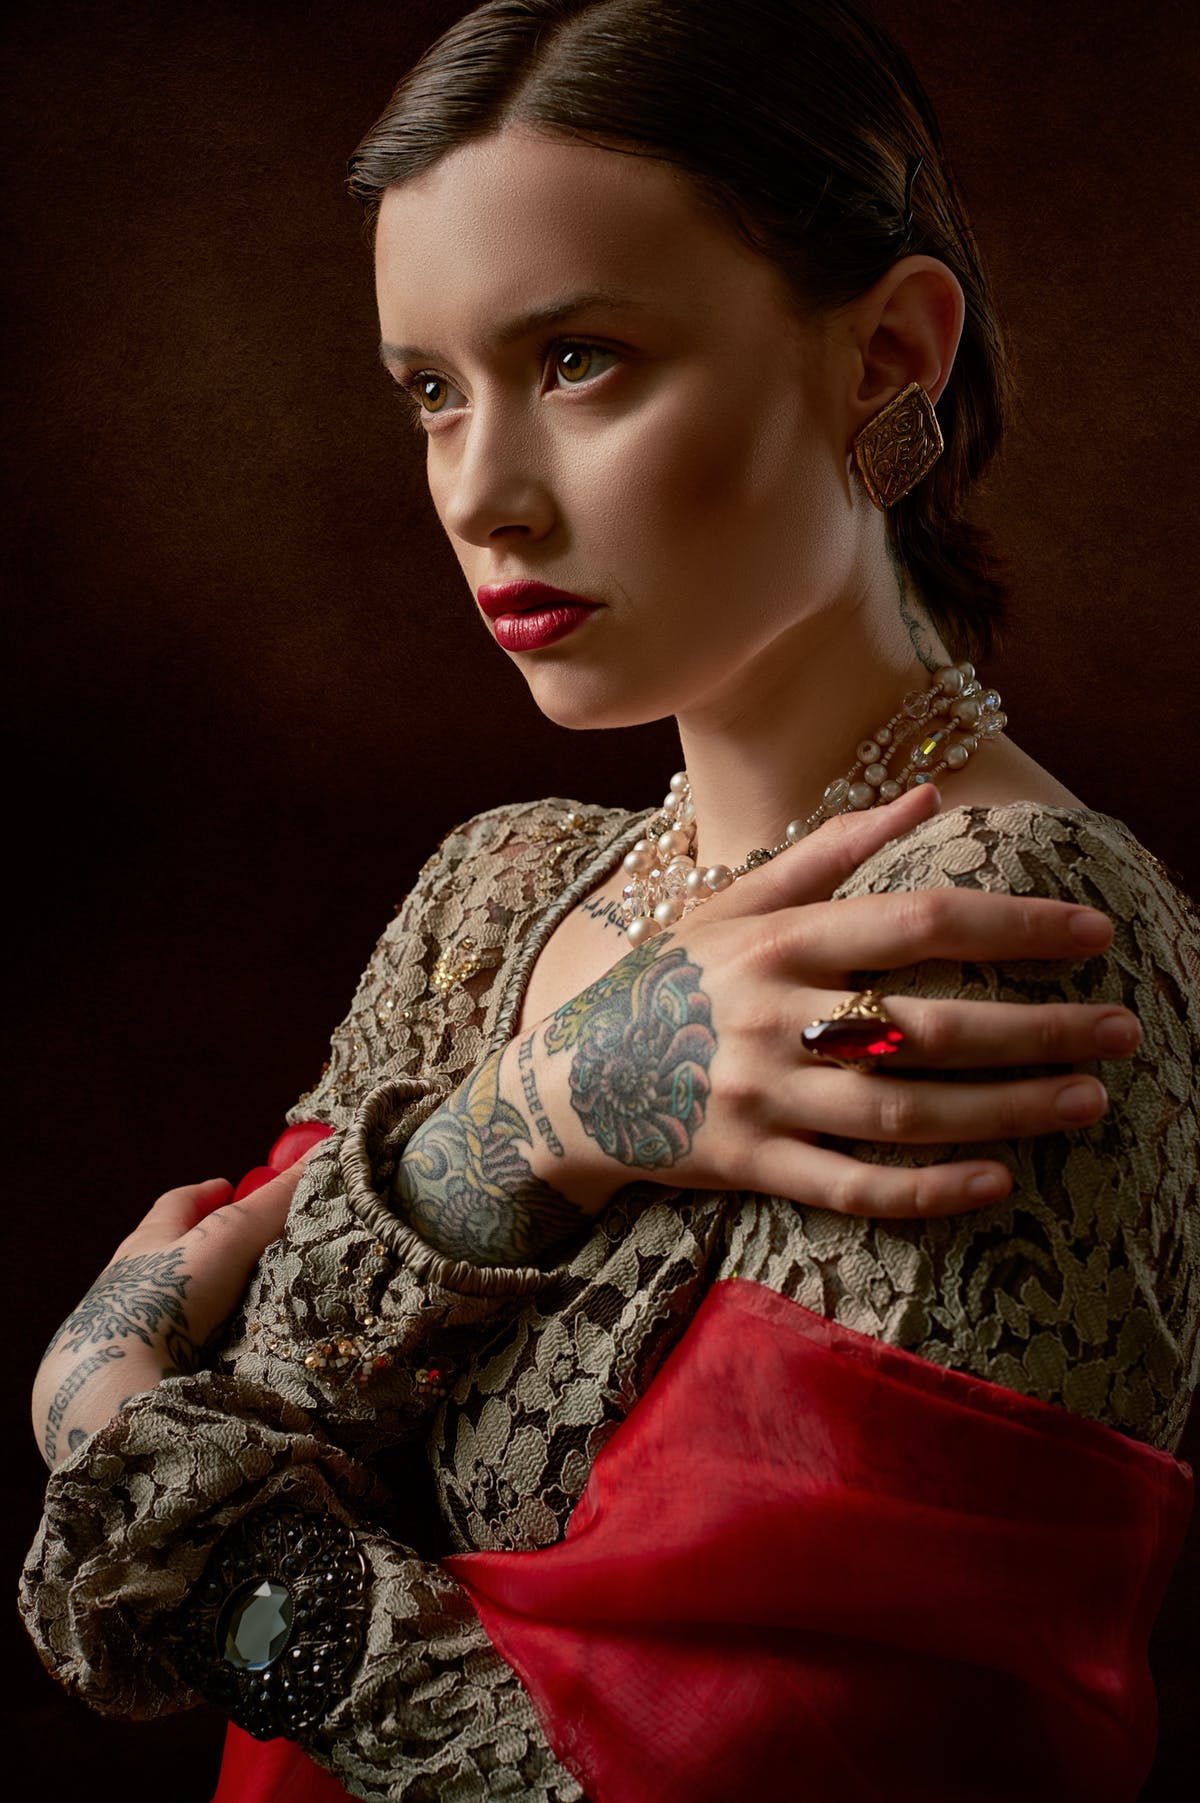
G. Double light setup
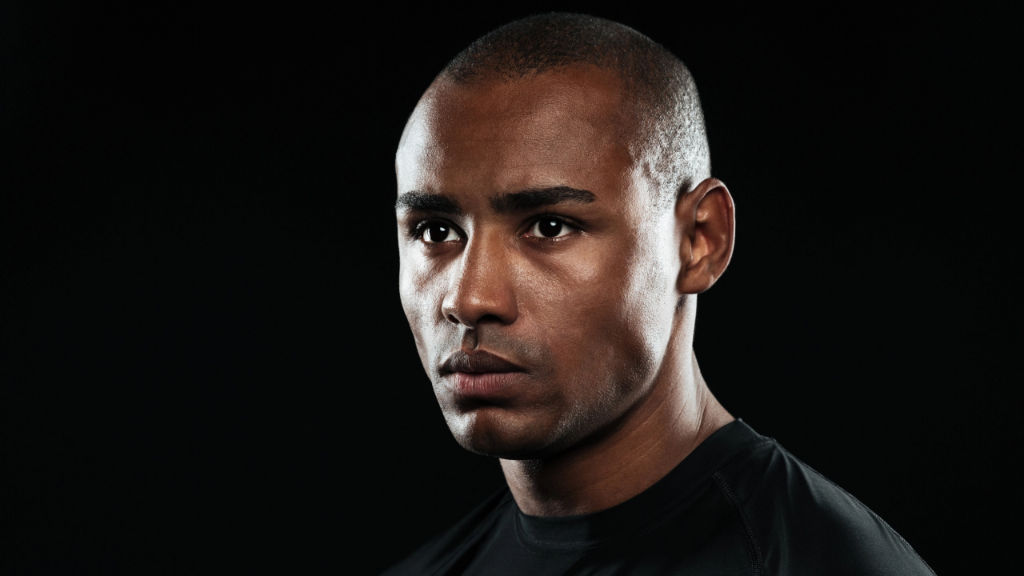
A double light setup is the next best thing. A dual light arrangement usually involves a key light and a fill light. The power setting between the two lights is usually 2:1. In other words, the power setting on the key light is two times the power setting on the fill light.
There is no hard and fast rule that tells exactly what the lighting ratio should be. Most photographers use their intution to set up the lights manually. If one light appears too powerful, you can always manually adjust the power setting.
With a two-light setup, you can do much more than with a single-light setup. A two-light setup allows you to create depth and dimension in your photos, which a single-light setup does not allow you to do.
H. Triple light setup
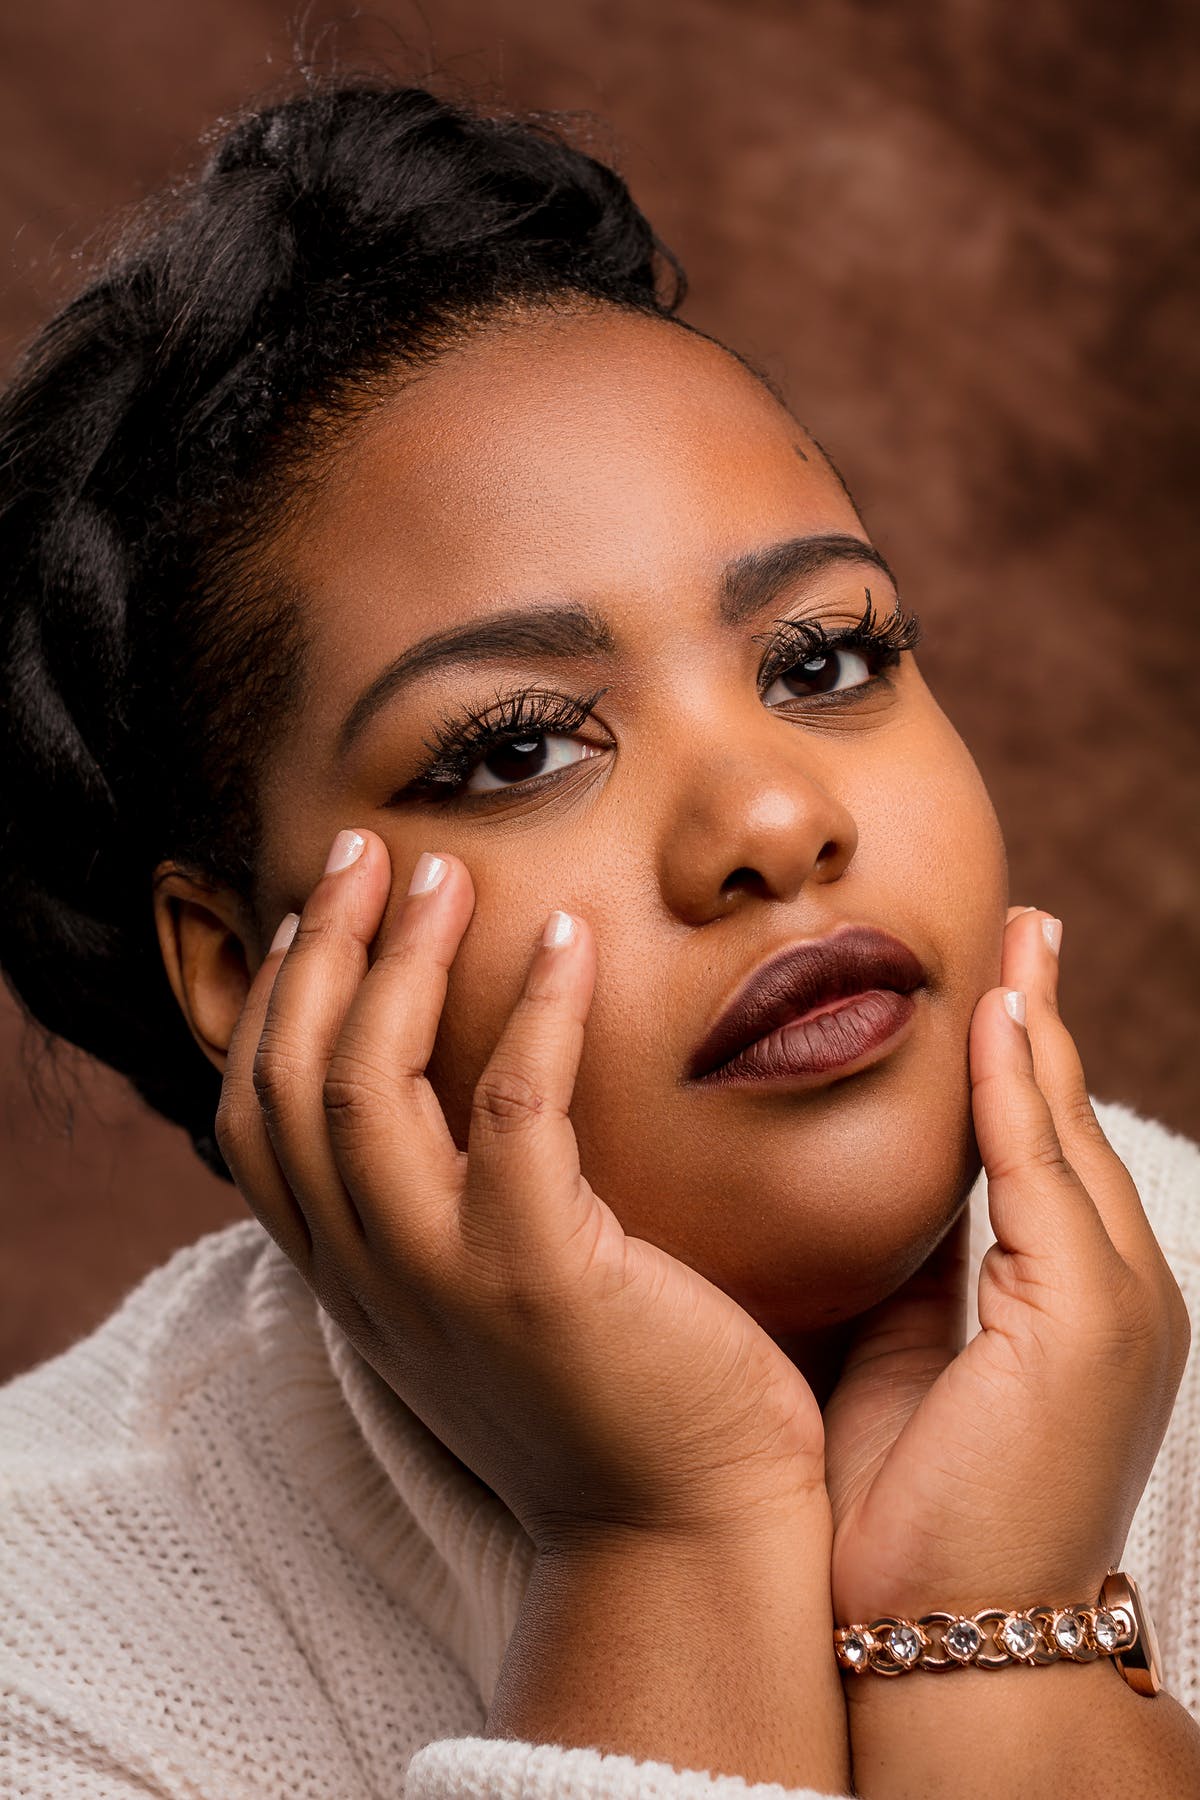
Three lights give you a lot more options in your hand than one light or even two lights. With three lights, you can use one of the lights as a background light. A background light helps to create separation between the subject and the background. Alternatively, you can use that light to illuminate the elements in the background and bring them to an extent into focus. Or you can use the third light as a hair light firing from behind and aim directly at the subject’s head for background separation.
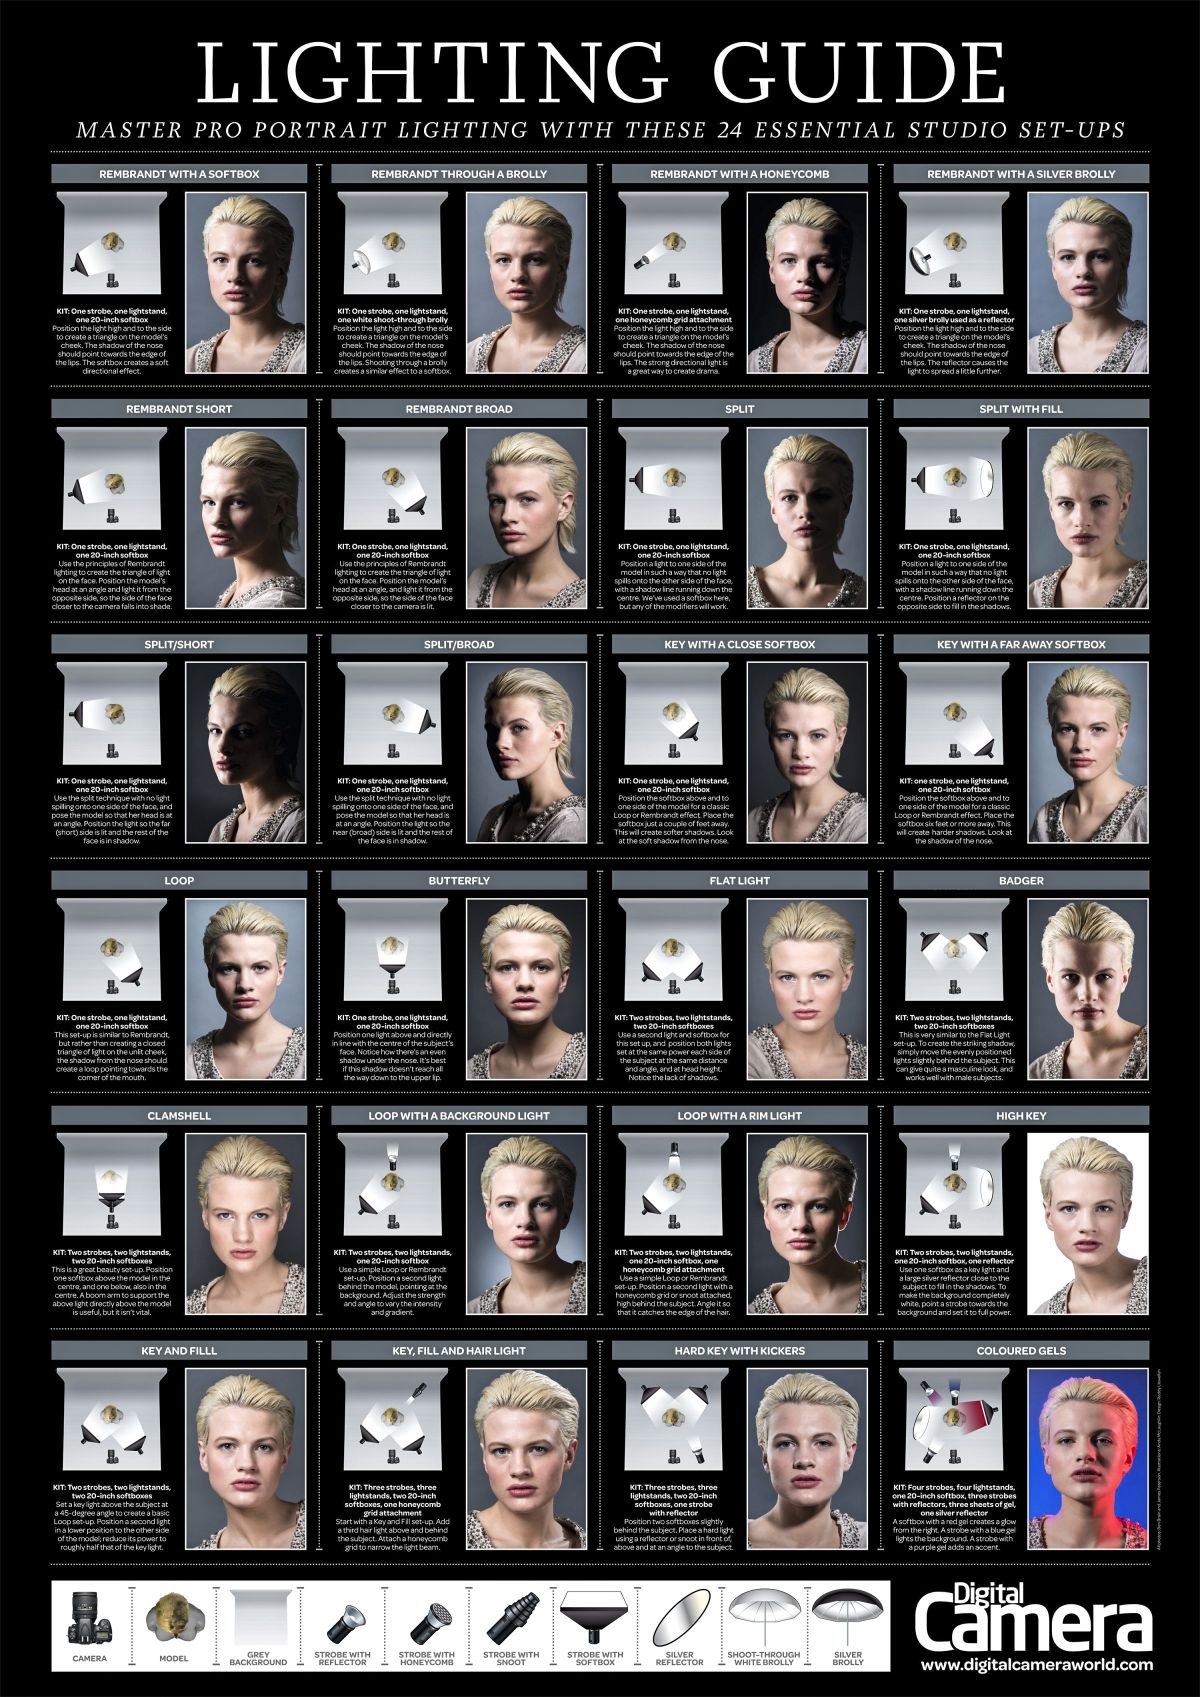
If you plan on taking lighting to another level, check out the lighting guide below from digitalcameraworld.
Conclusion
Portrait photography is a very interesting genre, provided you are willing to experiment with it. Nobody likes a simple traditional portrait anymore. Everybody is willing to experiment with their pose, depending on the body shape, so they look a lot more attractive in the final photo. As a photographer, you must understand this and put in your input to improve the image. But beyond posing, a lot of things go into making an image, and one of those things is the lighting. Hopefully, once you finish reading this, you will have a better understanding of how to light your portrait images in a proper way.
Don’t forget to read about how to master the bounce flash technique.


