How to Master the Bounce Flash Technique
The technique of bounce flash revolves around the art of portrait photography. So if you’re reading this and are unaware of the techniques of portrait photography, we recommend reading the basics first. This article is definitely for those who are already good at portrait photography and are looking for ways to improve their game, explicitly using an external light source such as a speedlight.
What is the bounce flash technique?
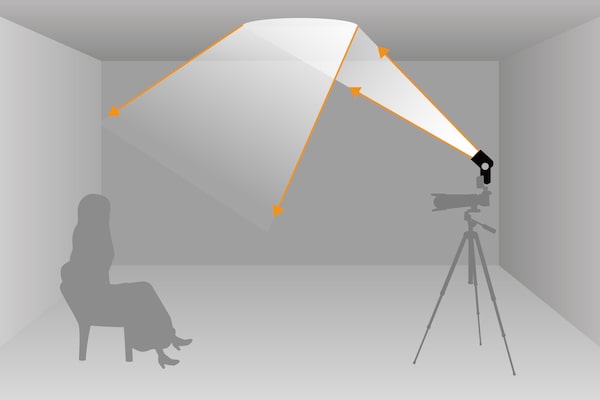
In straightforward terms, the technique of bounce flash is all about bouncing the light emitted from a flash against the wall or ceiling before it falls on the subject. That means the light from a speedlight or a strobe does not fall on the subject directly under any situation. It is always routed by first bouncing it off a wall or a surface.
Why use the bounce flash technique?
In portrait photography, we often encounter a situation Where the ambient light is not enough to create beautifully exposed photos. Many of you reading this would say, why not use a speedlight in a case like this? That’s exactly what we usually do. We use a speedlight and get on with the game.
Problems with direct speedlights
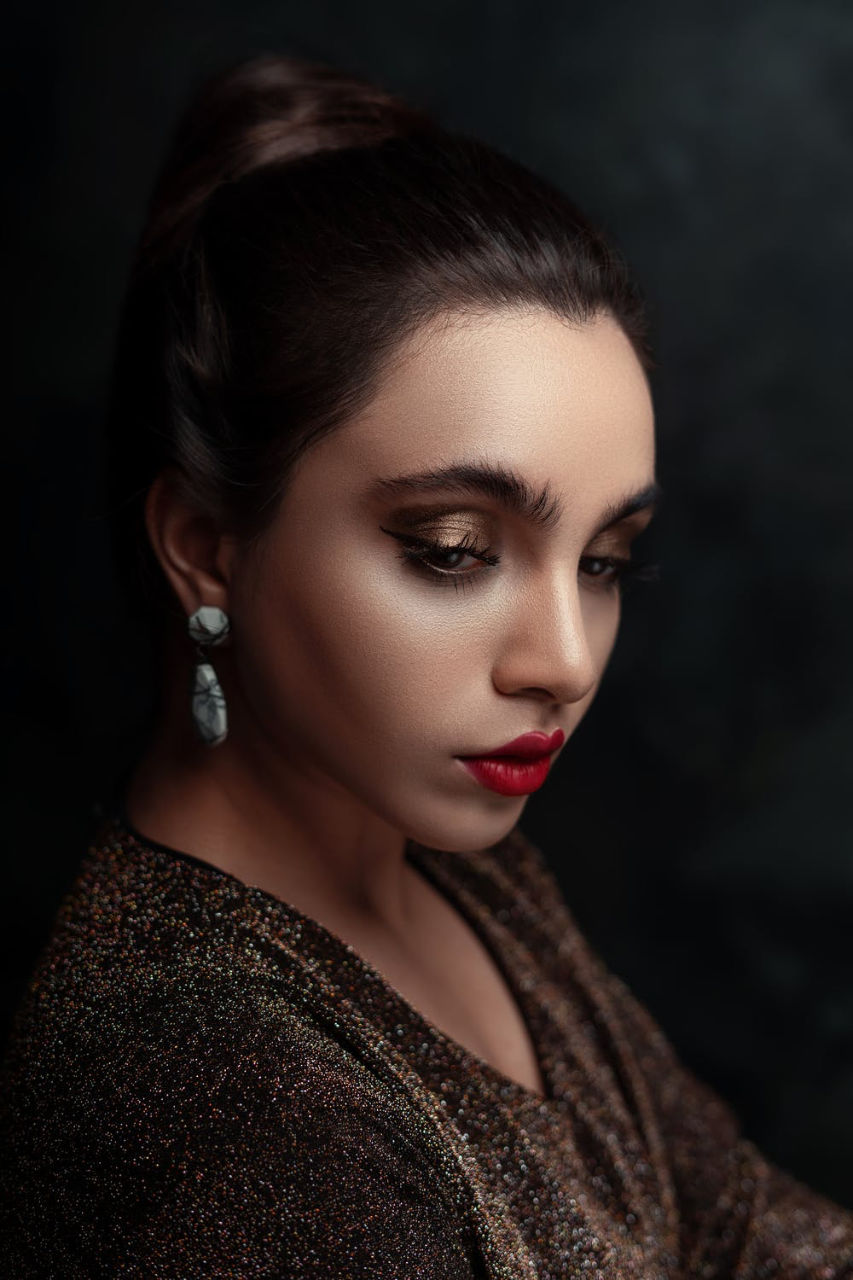
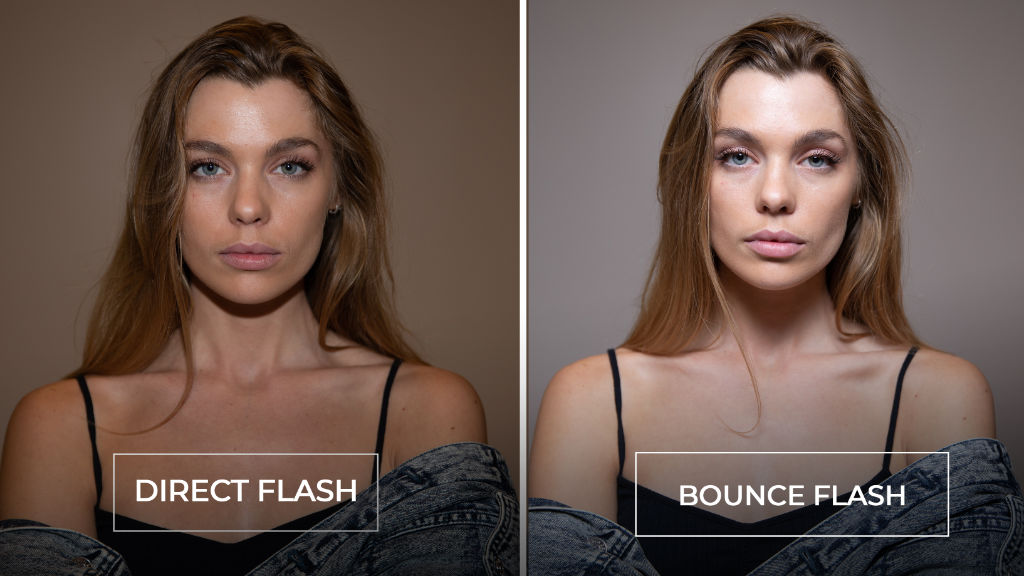
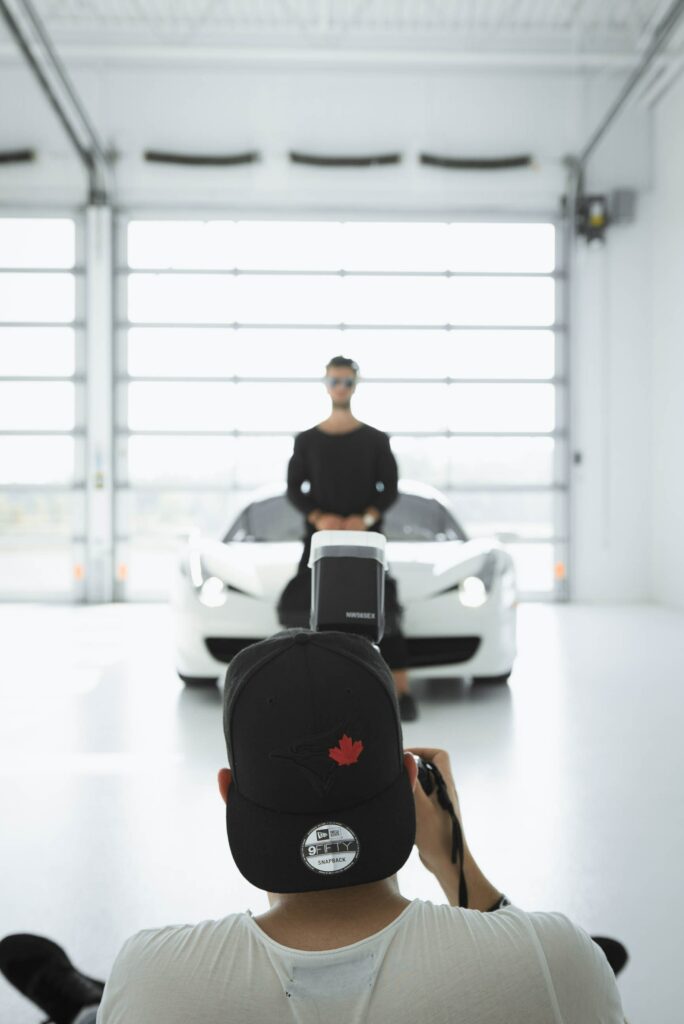
But the problem with direct flash speedlights is that when you fire them on camera, this seldom gives you the effect you expect from them. See left image above. The light turns out to be flat and boring. This is the reason majority of photographers prefer to use an off-camera flash or light. If they’re shooting portraits in a studio environment, the light is always off-camera, either on the left or right of the subject.
When do you use the bounce flash technique
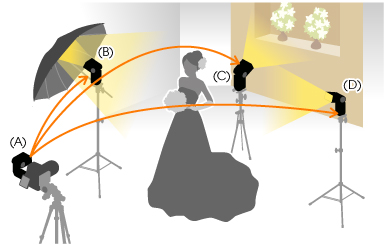
The bounce flash technique is predominantly used when the photographer does not have much control over the lighting and the elements in the venue. Photographers use it when they cannot use additional lights that can be set up off-camera. Instead, they use the on-camera speedlight but direct the flash to the wall or ceiling for indirect lighting.
Hard light vs. soft light
Before we delve a little deeper into the bounce flash technique, we must have a detailed understanding of hard light versus soft light. By definition, hard light is any light source that produces hard shadows.
Such a source can be a small light source compared to the subject’s size or a regular light source placed further away from the subject. For example, a small light bulb close to the subject on a large table will be considered a hard light source. Another example is the Sun, a magnanimous ball of fire. At mid morning to the afternoon, it can be harsh and strong, casting a hard shadow on the subject.
On the other hand, if we cover the light bulb with a large diffuser box, the light source would immediately become larger. Remember, the identifying parameter is whether the light source produces hard shadows. If it produces hard shadows, it is a hard light source; if it isn’t, it is a source of soft light.
Direct flash from on camera speedlight can cause a hard shadow too. See the first image where there is evidence of a hard shadow just under the chin on the neck. The bounce flash technique softens the shadow and draws it out giving it more graduation.
What do you need to use the bounce flash technique
The bounce flash technique can be used with both speed lights and strobes. Speedlights are the most commonly used lighting tools. Everyone has them. If you don’t have a speedlight, it’s very easy to get one. They are inexpensive to own and can serve you in a lot of situations.
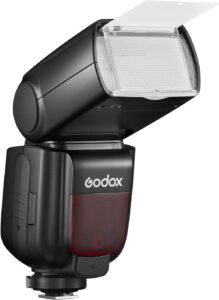
The other tool that you can use is a strobe. There is not much of a difference between a strobe and a speed light. They both operate under the same principle. The main difference is that a speed light is a smaller light source than a strobe. Also, a strobe is much more powerful than a speed light. Speedlights have a smaller battery, limiting the number of full flashes.
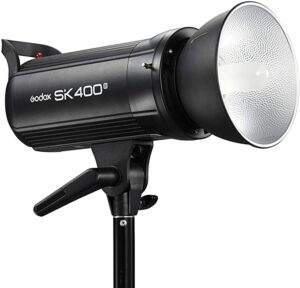
On the other hand, a strobe is plugged into the power line unless it is a battery-powered unit and produces very high-powered flashes with a faster recycle time. If it is a battery-powered strobe with a larger battery pack, it will probably give you many more flashes than a speed light. That said, both have their distinct advantages and disadvantages. We are not going to go into a detailed discussion about them today.
How to use the technique of bounce flash?
Event photographers predominantly use the technique of bounce flash. These people shoot corporate events, corporate gatherings, weddings, birthdays, parties, and get-togethers. The usual scenario at an event such as this is that you cannot set up additional lights. Even if you could, it would not have been feasible because an event is usually dynamic, and there is no way you can use fixed strobes.
The lack of opportunity to set up off-camera lights means you cannot produce that texture and depth in your images as you would have loved to. The only solution in such situations is to use a smaller flash unit and combine that with the bounce flash technique.
Manual flash mode
You need to turn the flash head towards the ceiling or a wall that’s very close to you and fire the flash. Ensure that the flash is not fired TTL (Through the Lens). You don’t need TTL when the flash is not aiming at the subject. You have to meter the scene in your head and then manually set up the power on your flash.
This is definitely one of the most difficult things you need to do, assessing the exposure and estimating the amount of light you need for the right exposure, then firing the flash against a wall or ceiling. You also have to estimate the flash angle, but we will come to that a little later.
Color of the wall bouncing the flash
One of the major problems of using the bounce flash technique is that it absorbs the color of the bouncing wall. As a photographer, you have to ensure that the ceiling or wall where you are bouncing the light is of a neutral color. Otherwise, the light will absorb the color, producing a color cast on your images. It is always recommended that you use a neutral-colored wall. A white wall is the best for the bounce flash technique.
Can you at all use any other colored wall for the bounce flash technique?
The only two exceptions for using the bounce flash technique are a blue-colored wall and a warm yellow-colored wall. The blue-colored fence will have a blue color cast that will have a cooling effect on the image. On the other hand, a yellow-colored wall will have a warm yellow color cast. Both are usable as long as the color cast is desirable in the final image. If the color cast is unusable based on the scene, you cannot use that.
The flash angle
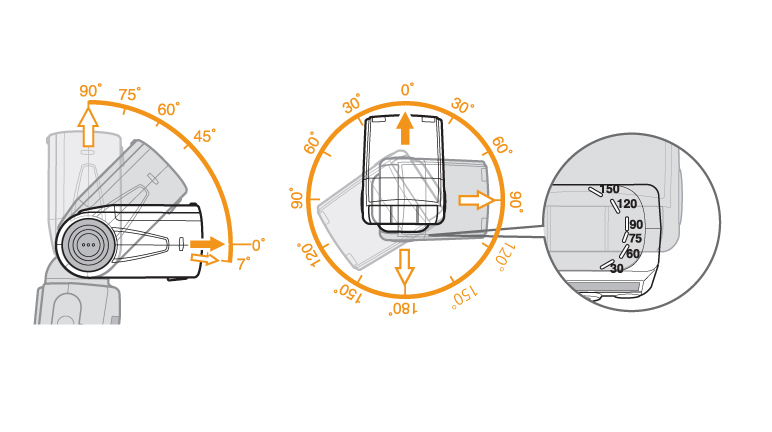
The flash doesn’t need to be mounted on the camera. You can use a sync cord or a remote trigger to ‘talk’ to your flash. If you don’t have either of those, don’t fret. You can still turn the flash head towards the ceiling or a wall. It’s recommended that at the very least the flash head is turnable.
The advantage of an off-camera flash is that you can manipulate the flash angle much more quickly than with an on-camera flash. Again, the only mandatory thing is that the off-camera flash head can be turned. This allows you to create the flash angle necessary to use the bounce flash technique.
Catchlight
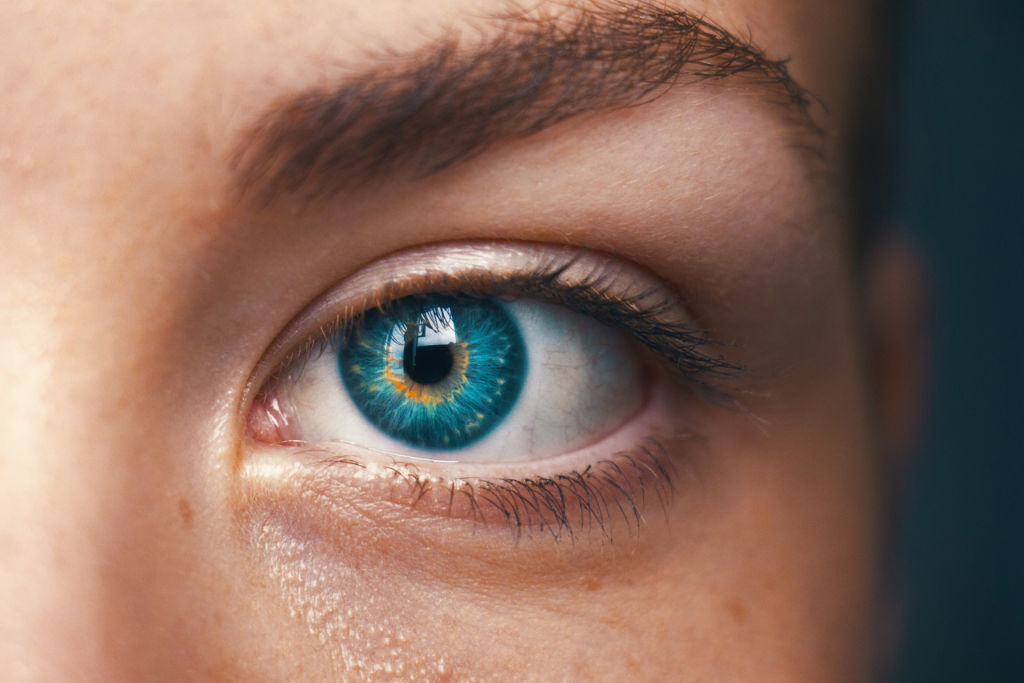
The most crucial aspect that often evades event photographers is that they forget to incorporate a catchlight in their images. Catchlight is that small spark of light or a light reflection on the subject’s eyes. Without catching the light, an image appears dull and lifeless. Even in event photos, catchlight has a significant role to play. When using the bounce flash technique, it’s important to incorporate a catchlight in the mix to improve the quality of your pictures.
Exposure settings
We have already discussed the flash settings previously. Now comes the all-important question of the exposure settings of the camera. We recommend keeping your camera’s normal exposure settings and a slight margin for the flash to offset. Always remember that the power of the flash will not be the same when you use the bounce flash technique.
The light emitted from the flash would not have the same effect if it were to fire directly at the subject. The light output will always be a lot less because the wall and the ceiling would absorb some part of it. Plus, the light is going to be scattered. So ideally, fire a few test shots to check the exposure before you shoot the main event.
The bounce flash technique is not an exact science. It requires some trial-and-error approach to ensure a satisfactory result. The more you shoot using this technique, the better you will get at it.
