The Ultimate Guide to Macro Photography
Macro photography is the art of capturing small objects like bugs, coins, stamps, flowers, articles of everyday use, or any subject of interest and projecting them life-size on a sensor. These are typical close-up shots for a front seat to the chosen subject. Here, we delve deep into Macro photography in our ultimate guide.
The key here is to produce a life-size reproduction of the object or close-up onto the sensor or film. There are many lenses available in the market that promises macro photography capabilities. However, close inspection is mandatory to ensure that the lens has actual macro capabilities. Authentic macro photography is possible only when a lens can project an image of a small subject at 1:1 magnification onto the image sensor or recording medium.
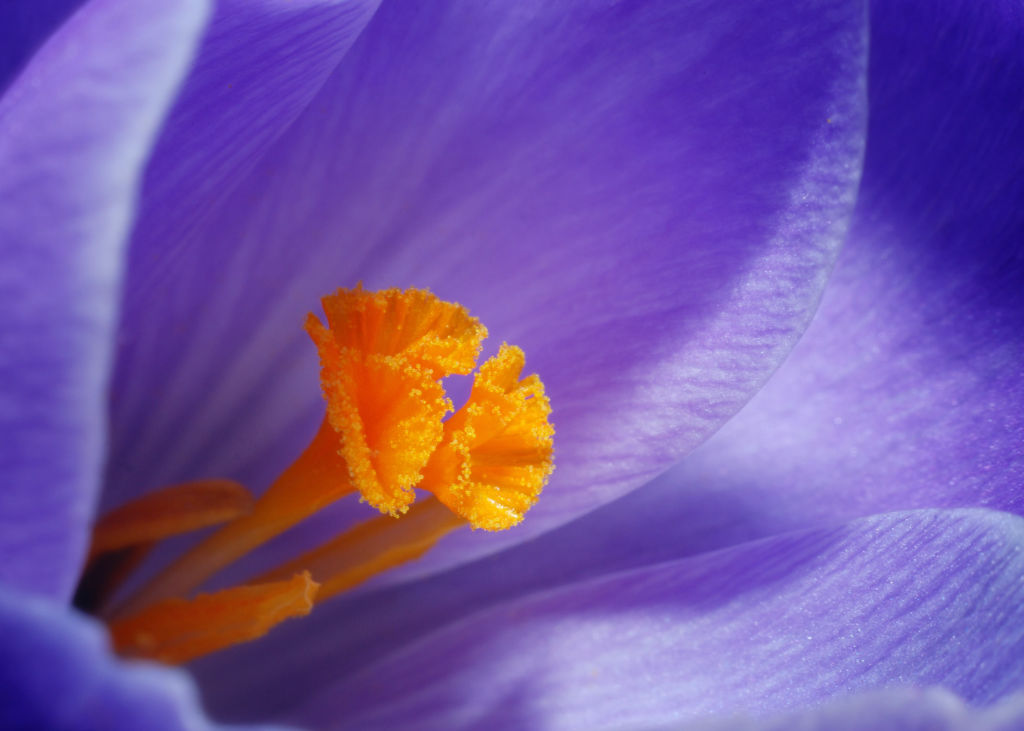
Also check out our quick guide to flower photography which includes useful tips, tricks and must-have accessories.
What do you need to shoot macro photography?
Macro photography requires some specialized equipment. Luckily, these are not hard to come by. Let’s take a quick look at some of these tools. The first and foremost among them is a macro lens. There are, however, other methods of capturing macro photography without using a macro lens. Some of these techniques use a reversal ring adapter.
Others employ a close-up lens. Some photographers also use extension tubes. These are hollow tubes placed between a lens and a camera body to enable a lens to focus from a very short distance. However, using a proper macro lens is the best method for shooting macro photography.
Let’s take a look at each of these tools in greater detail.
1. Tripod
A tripod is an ideal tool for any photography. However, for macro photography, it is even more so as an essential tool of the trade. For extreme close-up or macro photography, it is pertinent that the lens and the camera combination do not move during the exposure. Even the slightest movement is exaggerated because of the exceptionally close focusing distance. A tripod, therefore, is a must-have accessory.
2. Macro lens
If you are interested in microphotography, the first thing that you should do is get yourself a dedicated macro lens. Without a macro lens, it is challenging to shoot macro photography. Although some techniques do not require an actual macro lens, and we will discuss some of them in the following paragraphs, a macro lens is the best tool for shooting macro photography.
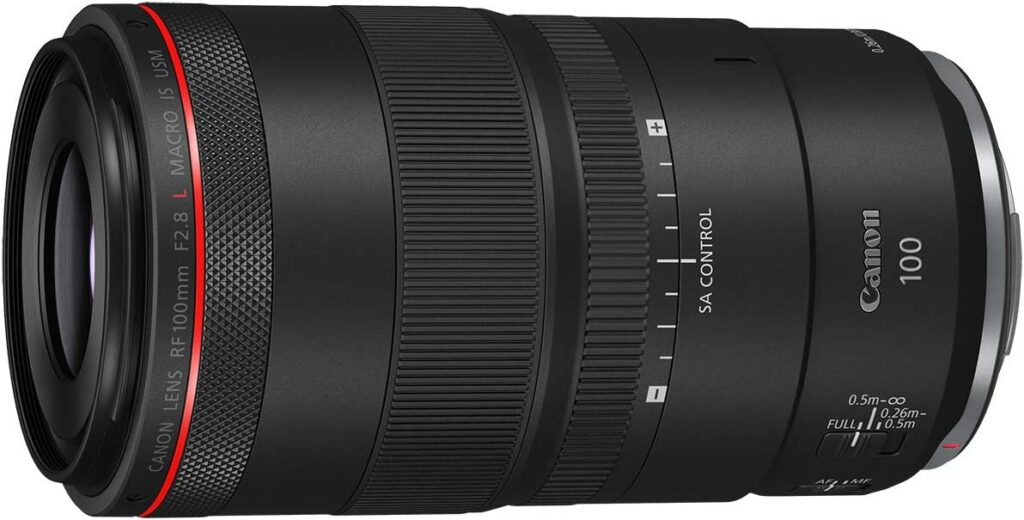
What is a macro lens?
A macro lens can project a life-sized reproduction of a subject onto the imaging sensor. The focusing or working distance for macro lenses is minimal, often down to a few centimeters. That means you can get in very close to a subject and yet be able to focus accurately. This is something that regular lenses do not allow you to do. Another determining factor of true macro lenses is that they should be able to project a 1:1 or life-sized reproduction of a subject.
Alternatives to using a macro lens
A dedicated macro lens is one of the best camera lens to have for shooting macro photography. However, there are a million different (figuratively speaking) techniques for shooting macro photography that does not require a dedicated macro lens.
For example, you can use the reverse lens technique. This technique uses a standard lens and with an adapter, mounts the lens in reverse. In effect, this allows the lens to be used as a macro lens.
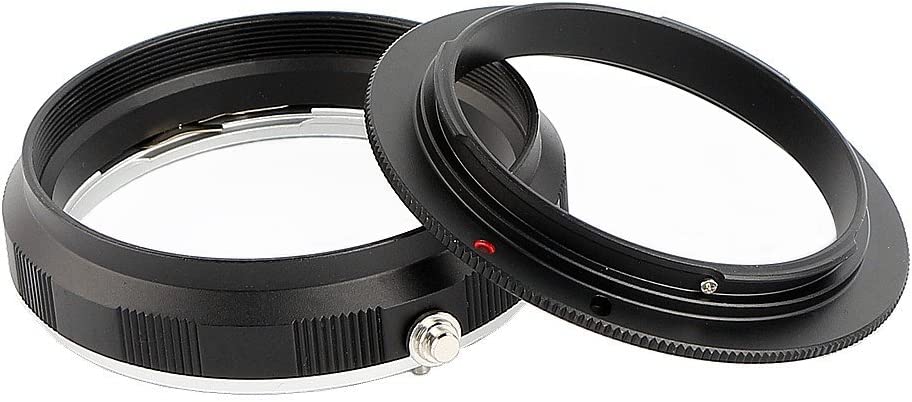
However, there is a severe handicap in using this technique. When you use a lens in reverse, you immediately lose auto-focusing and auto-exposure features. There is no connection between the lens and the camera body. Although the lens is physically mounted on the camera body, the electronic couplings that connect the lens and the camera body are on the other side of the lens.
This means you are unable to operate the aperture as well. The aperture of the lens has to be manually operated. This is why only prime lenses with a dedicated aperture ring are used for the reverse lens technique.
These lenses have a physical aperture ring that you can use to control the aperture. Lenses without the physical aperture ring are locked to the smallest aperture on the lens and therefore are impossible for shooting macro photography.
Techniques of shooting a macro photograph
There are some established rules for shooting macro photos in a way that they are clean, bright, and sharp. Setting up your camera on a tripod is the easiest step.
1. Composition
Bringing the entire subject into the frame is unnecessary regarding the composition. You can easily focus on a particular aspect of the subject and fill the frame with it. For example, filling the frame with the entire flower is unnecessary if you are shooting flowers. You can focus on one petal or the center part of the flower and fill the frame with it.
The aim of macro photography is to ensure the focus is on an aspect of this subject that is not generally looked at in isolation. For example, a baby photographer can try to bring focus on a newborn’s eyelids and fill the frame with them. Now the eyelid is not usually looked at in isolation when looking at a picture of a newborn baby. But the infant photographer chose to bring that into focus.
2. Depth of field
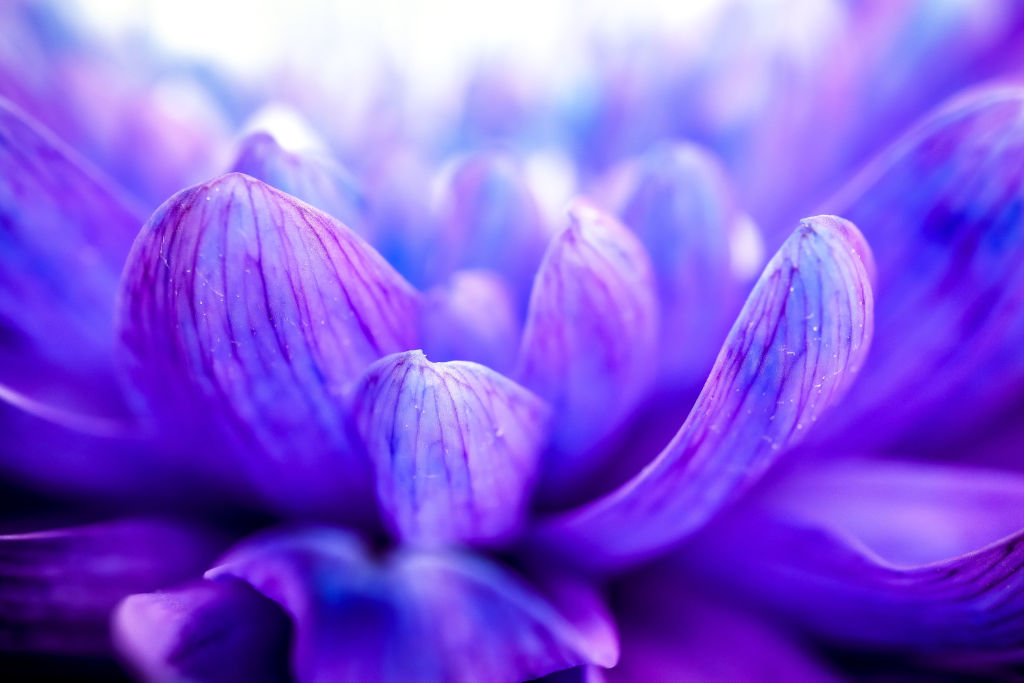
A macro lens is, by default, unknown for its shallow depth of field. When you use them wide open such as at f/1.8, you will always have a very shallow depth of field. However, shallow depth of field is not always necessary for macro photography. That is because it is challenging to keep a subject in sharp focus, especially when the subject is very close to the camera and you are handholding the camera for the shot.
Another reason for not using a shallow depth of field is that the entire subject is seldom focused when using a wide-open aperture. Although the shallow depth of field looks pretty, it is not always necessary to incorporate it in your photography.
Photographers prefer to step down the lens and use a smaller aperture. The benefit of using a smaller aperture is that most of the frame is in focus. It also prevents accidental miss focusing where the subject moved ever so slightly when the exposure was made. A large depth of field can cover that eventuality.
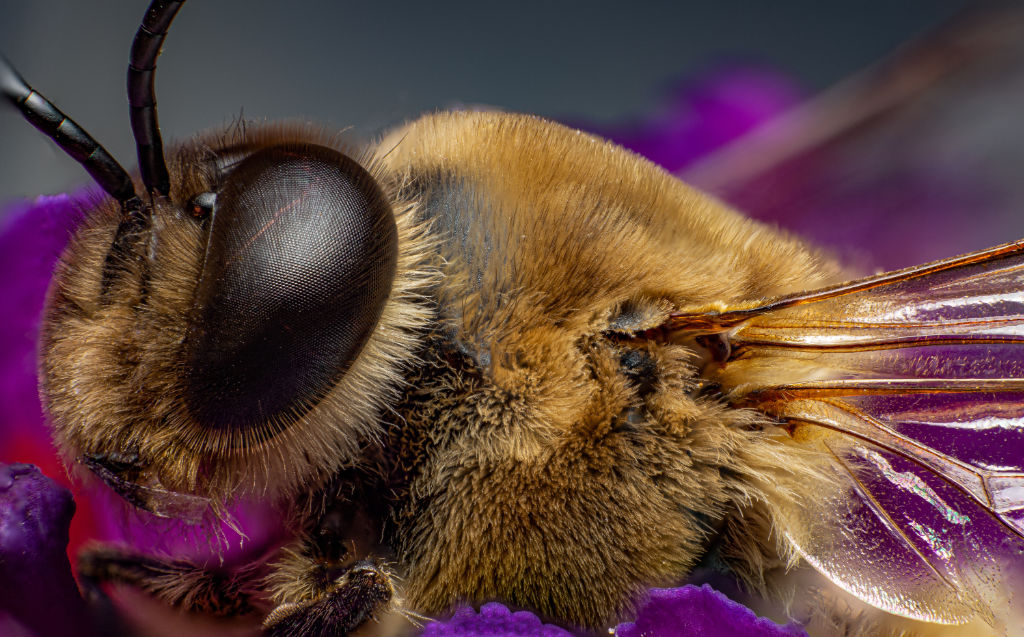
Small objects look very beautiful when they’re in sharp focus. A minor bug, a wedding ring, the small details of a baby’s hand, the pollen on a flower, the list goes on.
3. Should you use auto-focusing, or should you not?
Auto focusing on a camera is one of the most significant additions to a modern-day digital camera. Modern digital cameras (including smart phones) are so popular that everyone uses them because auto focusing has made it easy to snap a picture. There are other parameters, including auto-exposure and the convenience of a large display screen to preview the images, but we are not going into those details.
Auto focusing is a primary requirement for almost all kinds of photography genres except for macro photography. In macro photography auto-focusing is not mandatory. The fact that objects are very small and the part that one focuses on occupies so small a space in the frame that the auto-focusing feature of a camera seldom gets it right.
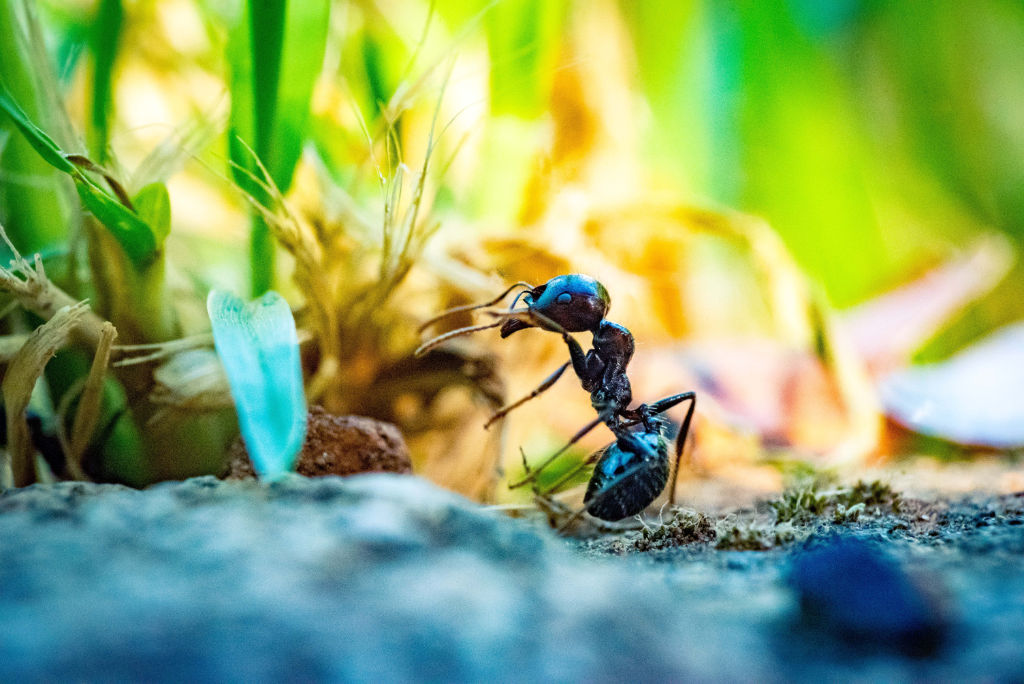
For example, if you were focusing on the antennas of a bug, the camera is likely to focus on the background rather than the antennas because it occupies such a small space in the frame. Macro photographers use manual focusing mode to shoot most of their work to avoid the dreaded focus hunting situation.
4. Use the flash when you can
The fact that you are shooting in such proximity to the subject means there is a high chance that you will block the ambient light from falling on the subject. To avoid a situation where your own body blocks sunlight, it is recommended that you use a flash.
We do not recommend an on-camera flash or a flash mounted on your camera body. The best way to capture the moment is to take it off-camera or use one show mount contraptions that allow a flash to be mounted at an angle to the lens.
Along with a flash, you should also use a diffuser. The job of the diffuser is to soften the quality of light. A speedlight is known to be a formidable source of light. They are unsuitable for shooting any photography, let alone macro photography. It is always best to use a diffuser that can soften the quality of light and make it more amiable to shoot photos.
Conclusion
Macro photography is not a very difficult genre to shoot. If you already have a camera, you have 50% of the equipment you need to shoot macro photography. The other 50% is a dedicated macro lens. Using an external light or other equipment is also not always necessary. You can use a small white card to bounce light onto the subject. The purpose is to ensure that the subject has enough light for proper exposure. You can also get creative and use a small bean bag for a stand instead of a tripod.
As you shoot more, you get better. Compare your shots with those from a photographer you admire and discover where you are lacking. Try to improve them on your next outing. Most importantly, keep shooting because that is the only way to improve.


How to Create Beautiful Macro Photography – Richard Liebowitz's WordPress Site
26th October 2023 @ 9:38 am
[…] close-ups is a fascinating endeavor that requires a keen eye, patience, and the right tools. Macro photography allows you to explore the intricate details of subjects, often overlooked by the naked eye. Whether […]