Wildlife Photography Tips and Advice to Shoot Like a Professional
Wildlife photography is an exciting genre. in the long run, it is one of those genres that can potentially get you a paid gig with an adventure or wildlife magazine and or get a nature photography assignment for you.
Tourism boards, wildlife parks, and conservation programs often require excellent images to support and promote their cause and wildlife photographers are in demand to get them those shots. There are many wildlife magazines, photography books and other publications that are also looking for the same. You can even shoot stock photos and sell them for a second income.
Tips and Advice to Shoot Wildlife Photographs Like a Professional
However, before all that can happen you need to get a good grasp of the fundamentals of wildlife photography and build a stunning portfolio. And for that to happen, you may find these few pointers or tips helpful.
1. Shoot in RAW
Always shoot in RAW. When shooting wildlife photos you will often find yourself in high dynamic range situations. What I mean by high dynamic range situations is that your subject may be perched on top of a tree in the shadow but the rest of the sky is too bright. So, you have to expose for the highlights if you want to retain details in them and then also make sure that your camera can handle the shadows well.
Depending on your camera’s dynamic range it will be able to reproduce those details when you post-process your images later on.
But for that to happen, you have to shoot in RAW. Only a RAW file retains all the original information that the camera captures. If you shoot in JPEG the original data is lost and there is no way you can work with the file to increase the exposure or work with the noise and not lose further information.
If you don’t like to post-process too much and or want the freedom to share some images at least in JPEG straight out of the camera (SooC), I recommend using the RAW+JPEG option.
2. Watch out for the Buffer Capacity
If you think you knew the importance of shooting in RAW and that the first tip was wasted on you wait for the second one. RAW images are large files. A typical RAW file can be anything around 25MB and above. The higher the resolution of your camera sensor larger is the RAW file size.
Now the problem with that large file size is that when your camera is writing the images onto the memory card it takes a little bit of extra time. The larger the file, the longer it will take to write those images onto the memory card.
Your camera has a tiny bit of built-in memory which it uses to store the image information momentarily before they are written onto the memory card. This memory is also referred to as the Buffer.
As you keep shooting in long bursts of RAW files your camera is continuously trying to clear up the buffer by writing the images onto the memory card. But the problem is most cameras are not fast enough to be able to clear the buffer faster than what they can shoot at.
Exceptions would be the Nikon flagship D6, the Sony a9 II, the Canon 1 DX Mark II, or the recently released Sony mirrorless flagship the Alpha 1. These cameras are like the ultimate wildlife shooting machines. With any of these cameras, you can shoot RAW images for as long as the memory cards last.
But most other cameras cannot keep up. And they get slowed down as they are trying to clear the buffer. The result is, if something interesting happens in the meanwhile you will not be able to capture an image.
So the solution is to shoot in small bursts when shooting in RAW. If your camera permits shooting 10 fps, shoot for a couple of seconds and then wait for a few seconds to give time to your camera to clear the buffer.
3. Use the Right Tracking Mode
With wildlife photography, it goes without saying that you should be shooting in Continuous Autofocusing mode. It is known by different names like AF-C or Autofocus Continuous or Continuous Servo and so on. But they all mean the same thing. You press down the shutter release halfway and the AF point will acquire focus and keep tracking it for as long as you have the shutter button depressed halfway down.
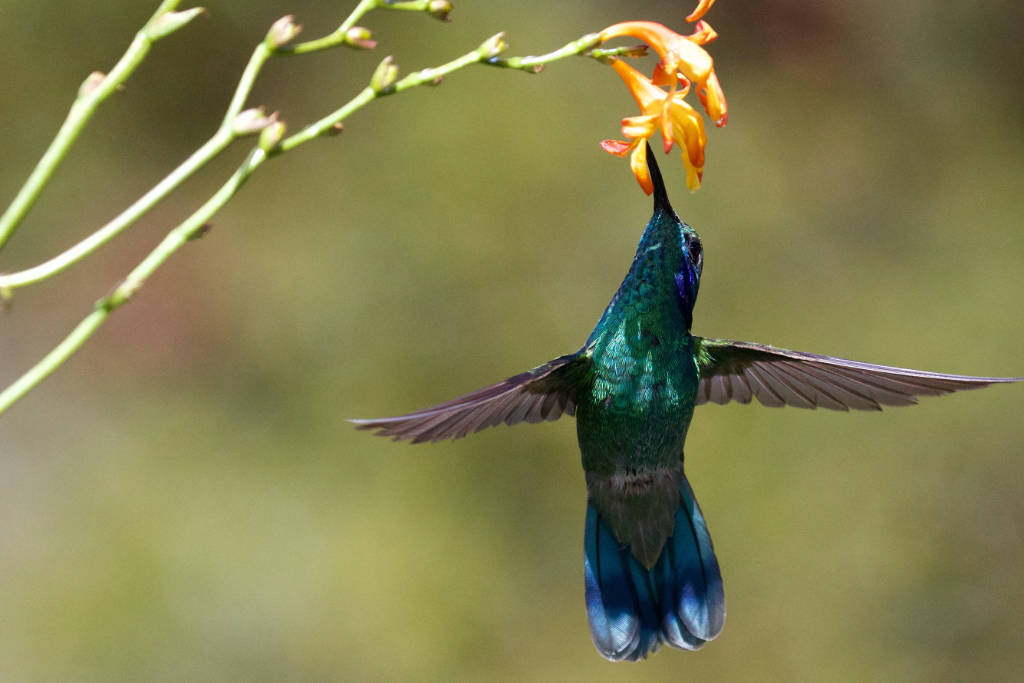
But there is a catch in all this.
Continuous autofocusing will work best when you have the right Autofocus Area Mode selected to go with it.
Now, depending on the camera make and model you are using there will be several Autofocus Area modes available on the camera. To activate this, different camera makes have different steps so I am not going to discuss those here. Simply refer to the manual that came with your camera to know how to activate and or change it.
Anyways, so once you have found yourself AF Area mode keep toggling between the different modes and you likely see a few options –
- Single Point AF Area mode
- Dynamic AF-Area mode
- Dynamic Area AF mode with 3D Tracking
In Single Point AF Area mode, your camera will only activate one AF point of your choosing. You can choose any point on the Viewfinder as you please and every time you press down the shutter release halfway down focus will be acquired by that AF point.
In Dynamic Area mode initial focus will be locked manually. But when the subject moves away from that focusing point, depending on the number of AF points you have selected, the focus will be acquired by the other AF points in the mix.
The best option is to use the 3D tracking mode. In this mode just like in Dynamic AF-Area mode focus is initially selected manually. But as the subject starts moving, the camera uses color information to track the subject in the frame and keeps it in focus.
Modern cameras like the Nikon D6 also offer another more advanced autofocus Area mode and it is known as Group Area AF. This mode is great for shooting small subjects like a bird etc. Anything small in the context of the whole scene.
It uses multiple autofocusing points taken in a cluster and used as a single AF point. This provides a greater chance of acquiring focusing than the other modes.
4. Choose You Shutter Speed Wisely
The right shutter speed will help you to capture the best shot without compromising on noise and lack of light. Too fast a shutter speed and you may end up with underexposed images. Too slow a shutter speed and your images will appear blurry.
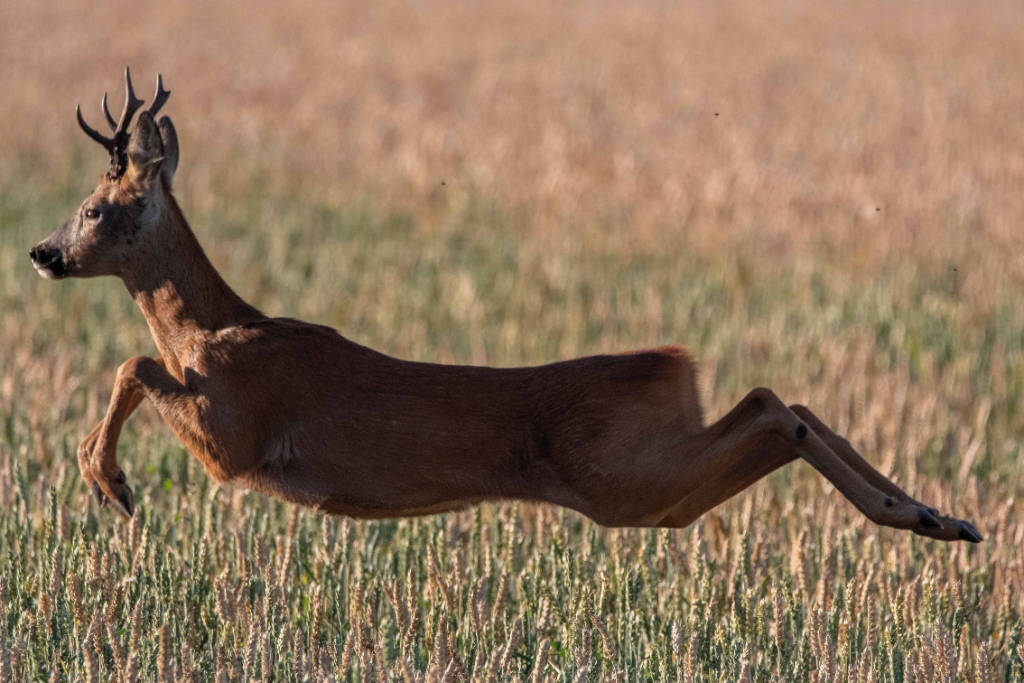
So, what is the right shutter speed? That’s the million-dollar question. Start with whatever the camera tells you when you are in Aperture Priority mode. Slowly change it depending on the subject you are shooting.
For most animals, you don’t need shutter speeds like 1/4000 sec. Except for gazelles in full flight. But for bird photography, I would recommend starting with something like 1/2000 sec.
I often shoot in Aperture Priority mode because it helps me to get one variable out of the equation early – Shutter Speed. I select the aperture that I want to shoot in and the camera gives me the shutter speed. It is convenient. Except that in some cases I need to tell the camera that I don’t want to use too fast or too slow a shutter speed.
That I do by using the Exposure Compensation button. If I see that the camera is consistently selecting a faster shutter speed, I would bump up the exposure and vice-versa using the Exposure Compensation button.
5. Use Auto ISO
Another thing that I do is select Auto ISO. Auto ISO is like telling the camera what the ISO range is you wish to stay within. In other words, it means the minimum and maximum ISO you are comfortable shooting in. When the shutter speed touches the borderline low the camera will automatically bump up the ISO to compensate.
This is like telling the camera that I don’t want to use too slow a shutter speed, so instead of slowing down the shutter, you can instead bump up the ISO. But there is a limit above which I won’t go. That is my upper limit for ISO.


