How to Setup Your Own Cloud Storage with NAS for an Unlimited Personal Cloud Storage
Adding storage to your primary PC unit usually requires the installation of extra storage drives, be it flash, HDD or SSD. These can then be shared onto a network if you need the files to be accessed remotely. But, what if you need a dedicated data hub for all your storage needs? A universal data center for all your files, so that any networked devices; TV, smartphone or other PC can access the file anytime, anywhere?
This is where network-attached storage (NAS) comes in. And, for the purposes of our article, a NAS that is optimized for cloud-based access. If you want your personal private cloud storage, then you’ve come to the right place.
Want your own unlimited cloud storage, use a NAS and activate the cloud storage service. That way, you can access all the storage on the volumes or shared drive on your NAS. No monthly fees or storage limited to worry about. Best yet, these come with desktop and mobile clients to synchronise your files remotely, so you have access to the latest file no matter which personal device you are on.
NAS and Its Hardware Attributes
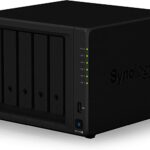
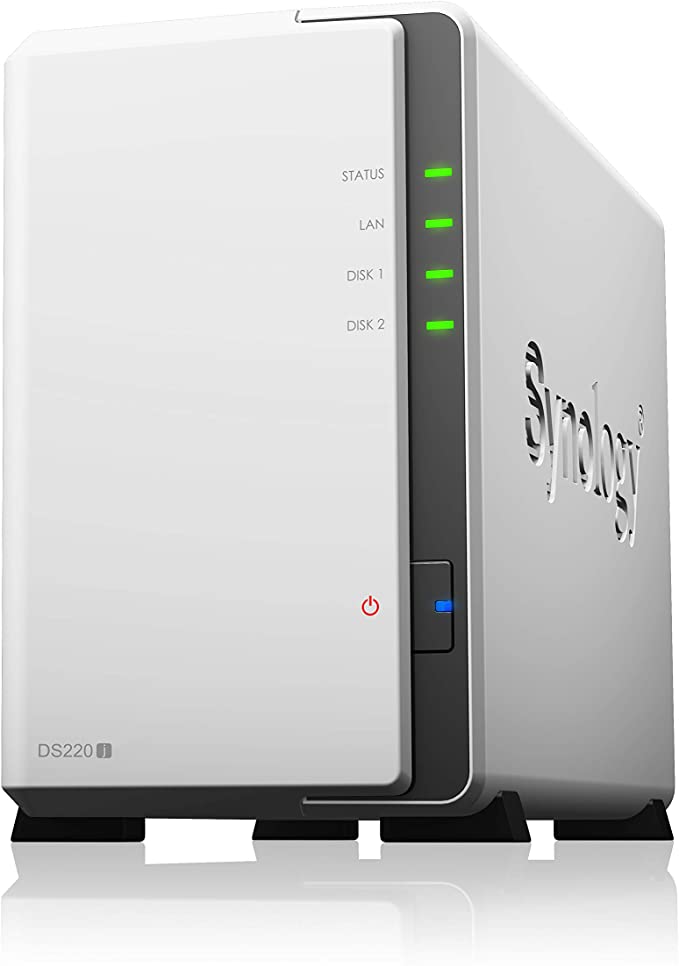
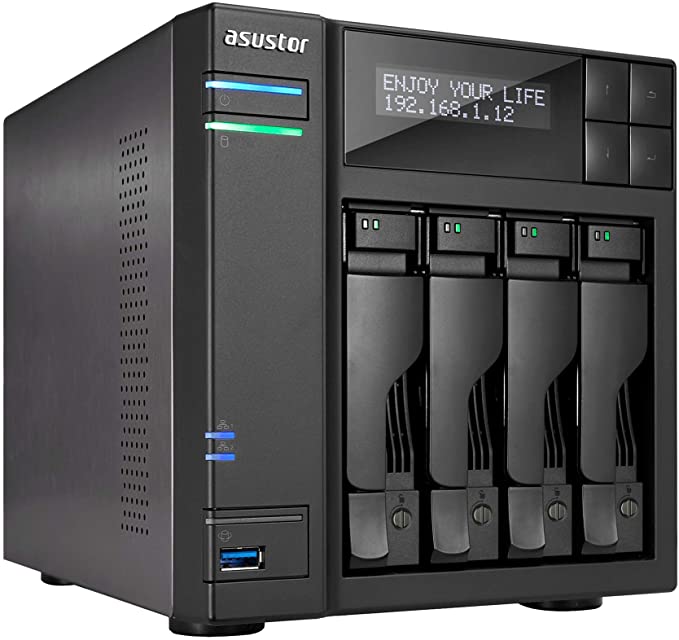
A NAS is a standalone appliance that provides storage and shared drive(s) to devices on our local network. It is a custom-built hardware meant to hold storage media (hard disk drive, solid state drive and even USB external storage devices) to function as a central file server. Simply put, it is a server, where you can put a bunch of storage drives and access them over its connected network. Of course, more than just physically holding your HDDs, it also provides the necessary setup to access the files, and to organize them ready for local streaming.
As they are very similar to a full functioning computer, you gauge the performance of a NAS based on its specification. Most are supplied disk less so can decide how big a hard drive and the number of drives you wish to add. Below is a list of specifications to consider:
- CPU – similar to a PC CPU, it manages the overall operation of the NAS itself
- RAM – similar to PC memory, provides a data buffer for the operation and applications running on the NAS
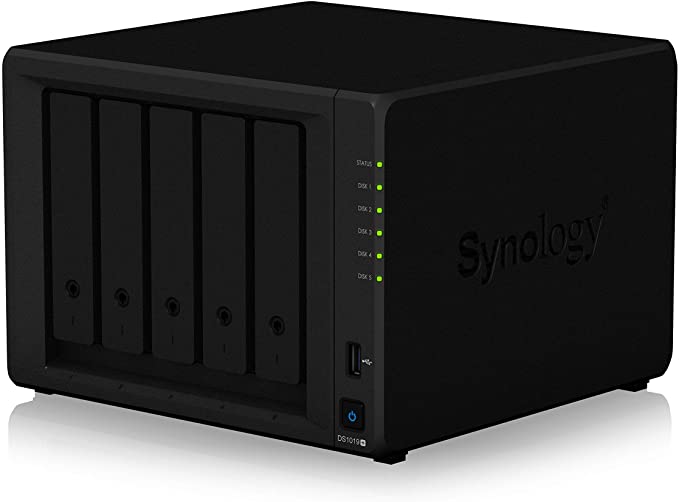
- Drive Bay Count – the number of physical drives that can be installed on it
- Hard Drive Type – the hard drive model installed on the drive bays
- Max Storage Capacity – highest data capacity possible (related to drive bay count)
- Connectivity – the type and number of connections possible (includes USB, Ethernet and sometimes HDMI ports)
- RAID Support Type – the different RAID configurations supported by the NAS using the drives added (see below)
- Power Consumption – amount of energy it uses as it operates and when idle.
As you can see, the specification of a NAS is not far off from a computer. But perhaps the most important aspects of a NAS are, the maximum storage capacity supported, the drive bay count, the HDDs to be installed, and the RAID types that it can support.
Of course, you can choose a more expensive NAS unit with better CPU and RAM, especially if you regularly use very large-size lossless multimedia files or intent on running other services on the device. But as a typical file access device (file server), even a dual-core CPU with 512MB of RAM (DDR4 at least) would be sufficient for 4K streaming on your smart TV, or 4K uploads from IP-based cameras.
As for RAID, simply put, it is a data integrity feature that automatically backs up your data by saving them in different types of redundancy configurations. RAID 0 is basically no redundancy, and the entire storage capacity (across more than one drive) is dedicated only for saving data. It splits the data, writing or reading it synchronously between the drives and saving some time in the procession. RAID 1 saves a copy of the files to a secondary drive to ensure a basic level of information redundancy, at the cost of reducing the maximum data storage that your NAS server can save to half. It goes all the way to RAID 6, where it uses even more complex redundancy methods such as block-level striping (using two parity blocks split between all disks).
Setting Up Your NAS for the First Time
Unlike the classic file servers of old, NAS drives today are pretty straightforward to set up. Think of how your router connects to your home network, then simply attach hard drives onto it. For most NAS setups, the basic instructions would be:
- Install your chosen HDDs, starting with the clipping attachment unique to each NAS unit.
- Install them into the allocated slots in the NAS unit with the clip attached.
- Initially connect the NAS using a wired connection in the same network as your access PC
- Find your NAS using the specific registration details provided by the manufacturer. You may have to download a software or app used to scan the network for the NAS
- Update the NAS to its latest OS version (usually included in the previous step)
At this point, the NAS should be ready for access anytime, anywhere. To complete the setup, you will be required to setup the storage volume(s) based on your drive configurations. This is done following the steps in the main NAS GUI usually accessible using a web browser. This is pretty much a point and click exercise. All data previously saved on the drives will be erased to create to create the new storage volume or volumes.
Also, additional network-based registration may also be required for extra services provided by the NAS manufacturer (such as when using mobile apps to access your NAS). Be sure to check this in the instruction manual, as well as with online-specific guides for each product available.
What Storage Drive Should I Use for NAS?
Almost all NAS drives use “slower” but more mechanically reliable 5400 RPM high-capacity HDDs. Because you don’t need a NAS for launching software, the advantages of SSDs are mostly unimportant. The economic advantage of using HDD for this setup is usually far more important. Even today, using SSDs for, let’s say, a 64TB NAS will immediately render the setup exorbitantly (dare we say unnecessarily) expensive.
That being said, specific NAS optimized HDD product lineups do exist, and it is typically recommended to use them in order to maximize the performance benefits of being connected to such a device:
Search Seagate IronWolf on Amazon
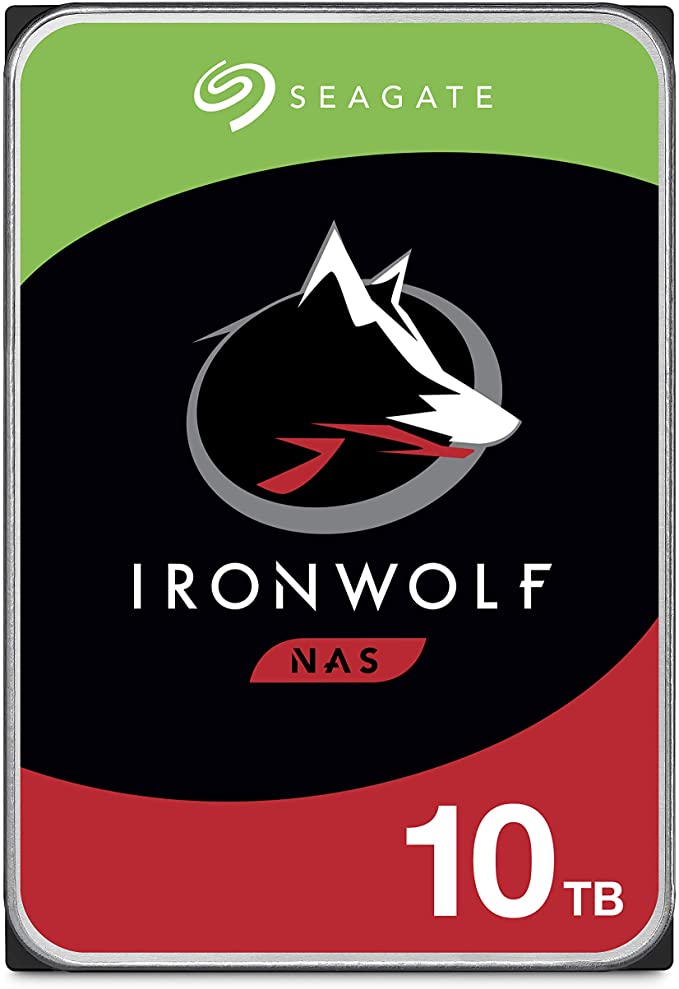
- Seagate IronWolf – one of the most popularly used NAS storage drives for IP camera network setups. The more optimized physical disk configuration means access is faster, and saving data onto it using multiple sources at the same time very possible.
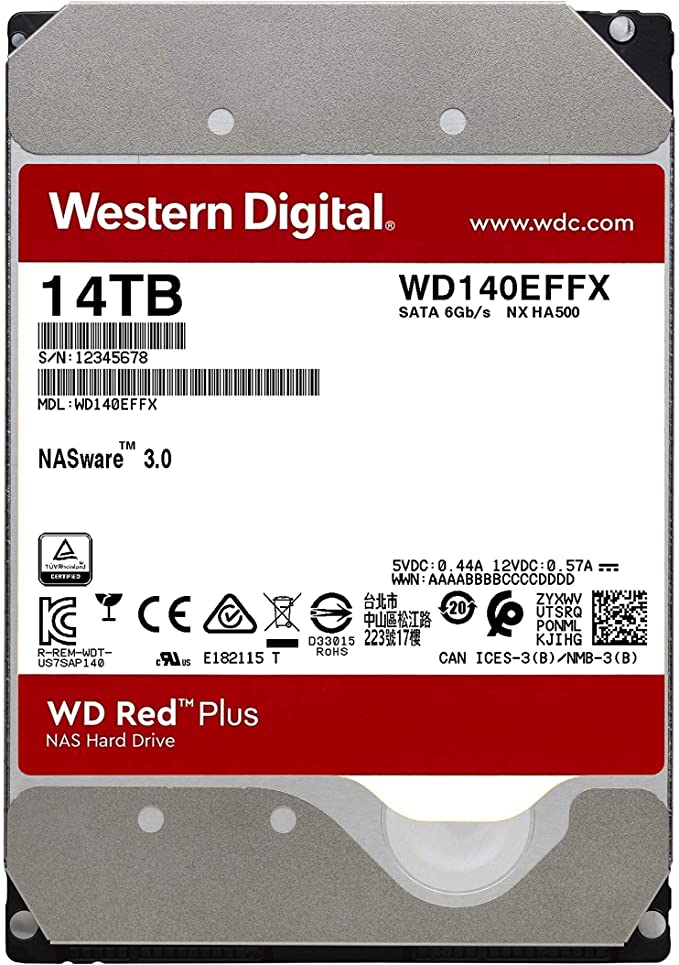
- Western Digital Red (HDD) – the second most often cited product lineup when setting up a NAS. A WD Red HDD is usually used for generic purposes, such as storing and access media files. Plus, they now come at a nice competitive price level compared with other NAS optimized drives.
- Western Digital (WD) Red (SSD) – yes, we mentioned just a few moments ago that SSDs are not recommended to use on a NAS. But if you have the technical reason (and funds) to do so, then go ahead. The SSD version of WD Red might be your fastest option.
- Seagate IronWolf (SSD) – here’s yet another contender for the (very) expensive SSD NAS setup. Remember what we said earlier about the HDD IronWolf? Now dial everything up to eleven. That’s how good it is for the premium that it is asking for.
Search Western Digital Red HDD on Amazon
How to Setup Your Own Cloud Storage with NAS
At this point, we look specifically at setting up your own personal cloud storage space. To setup your own cloud storage on the NAS, you need to install and activate the file sharing and synchronisation service (if not already installed and activate). You then need to create an account that you can use to sign-in and access this service and ultimately the remote storage. Afterwards, download and install the client app.
If you have used a cloud storage client such as DropBox for PC or Mac, you would know what I mean. This is an app that lets you decide which remote or local folder to synchronise to the cloud so there is always a remote copy that can in turn be synchronised to your other devices so you always have the most up-to-date copy wherever you are.
For steps on how to set up your own cloud storage with NAS, we will focus on QNAP. Other manufacturers such as Synology and ASUSTOR use similar routes to set up remote access to the personal cloud storage on the NAS. Depending on the firmware and NAS OS versions, the steps below may differ slightly.
QNAP Qsync (on the NAS)
The service you need to install, enable and configure on QNAP NAS to configure your own cloud storage is called Qsync. Once installed, you can configure it via Qsync Central. With a web browser, point to your NAS’s server IP, login and access the dashboard in the remote console that you access via the web browser. Here is where you can create user accounts, set sync permissions for shared folders, enable shared file links, configure version control and check event logs.
Once configured, you can start syncing by heading over to the app store in your preferred device and look for Qsync Client (computer) or Qsync Pro (mobile). Qsync Central also lets you manage your devices, including to block or erase a device remotely. Another feature that you may find useful for a group of users is the Team Folders. Here you can create, share and edit team folder permissions including stopping sharing at any time.
- Log in remotely via web browse to the QTS management console using an admin account
- Open Qsync Central
- Click on Users on the left sidebar and click on All users tab
- Select the users to enable and allow Qsync access rights (users are allowed access by default). Make sure that the user you wish to allow access to the service has the correct access permission.
- Download and install Qsync client from QNAP Essential Utilities. (Windows, Mac and Ubuntu clients available)
Configure Qsync Client
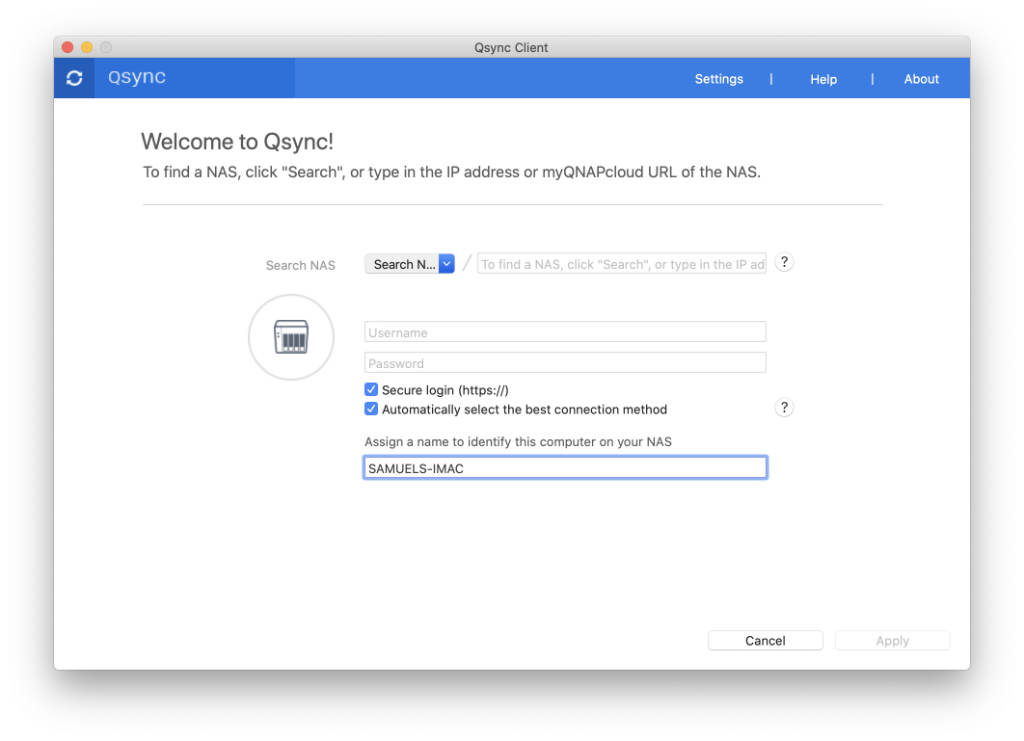
Download and install Qsync Client for your computer or mobile. As part of the setup you will be asked to sign-in using your QNAP ID or scan the local network. If you have a computer that does not leave the local network or home, use the latter. If you intend to access files remotely, say from your laptop then choose the QNAP ID or make sure that your QNAP NAS is accessible remotely over the Internet via MyDDNS (Dynamic DNS) address e.g. myofficenas.myqnapcloud.com. Enter your username and password for the Qsync client account and click Apply.
Home Folder Synchronisation
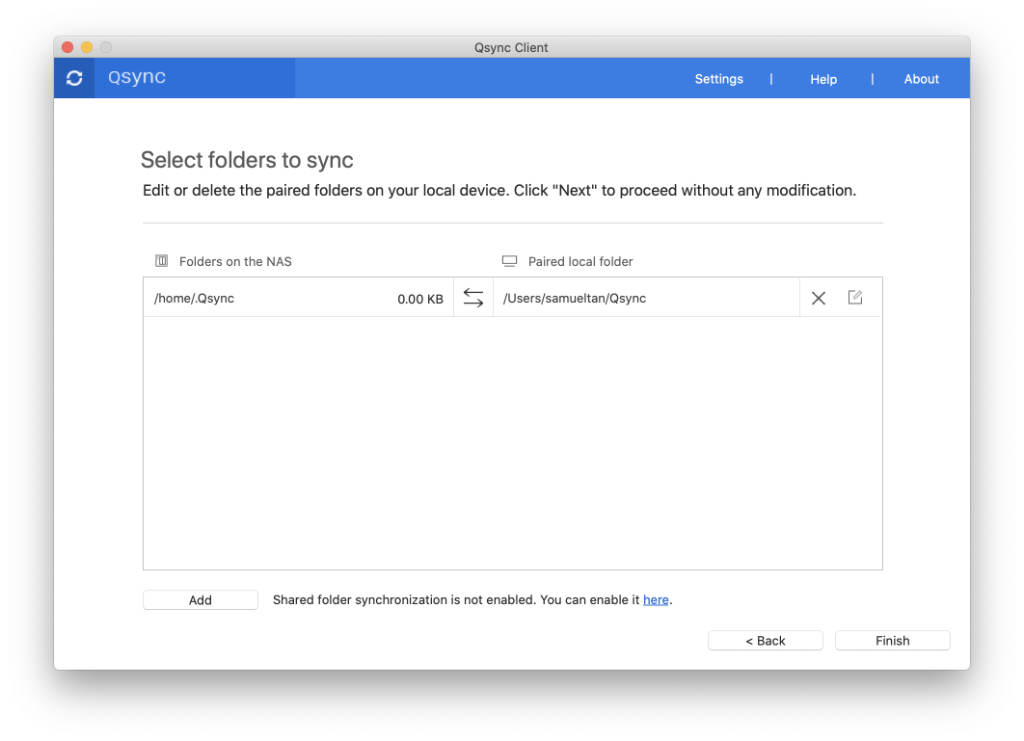
Next, select folders to sync to the cloud. You can edit or delete paired folders on your local device or simply accept the default. This creates a Qsync folder on your local drive. Anything that is saved to this folder will be synchronised to the NAS. You can even decide which folder within the register path to synchronise. We recommend leaving the home folder (the folder on the NAS) as default.
Shared Folder Synchronisation
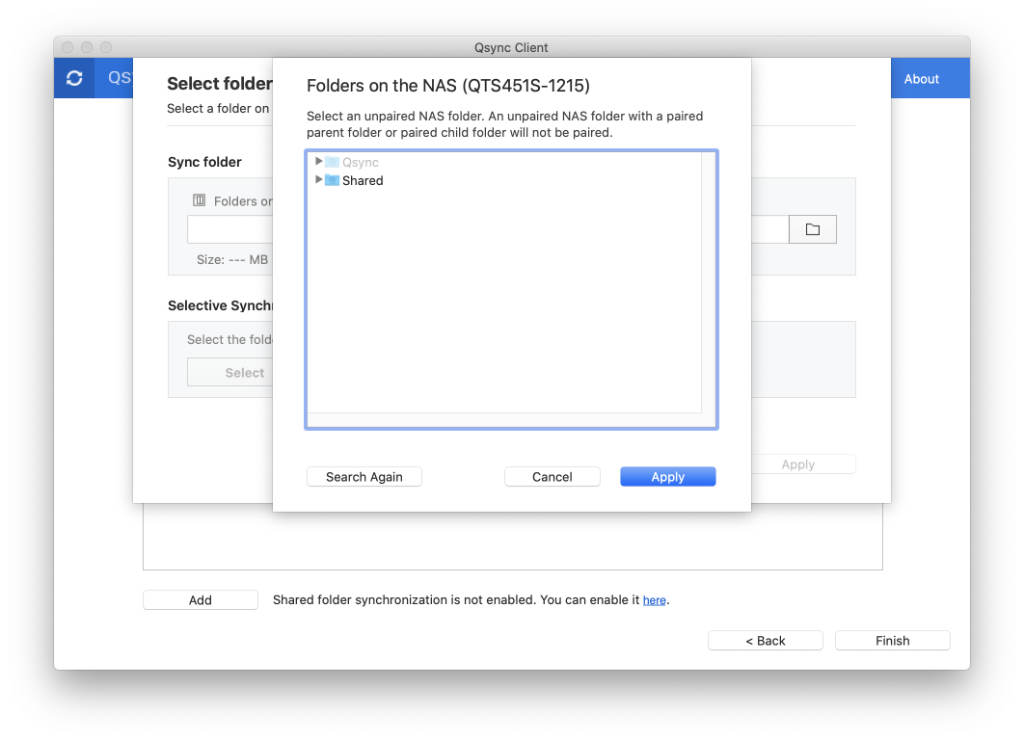
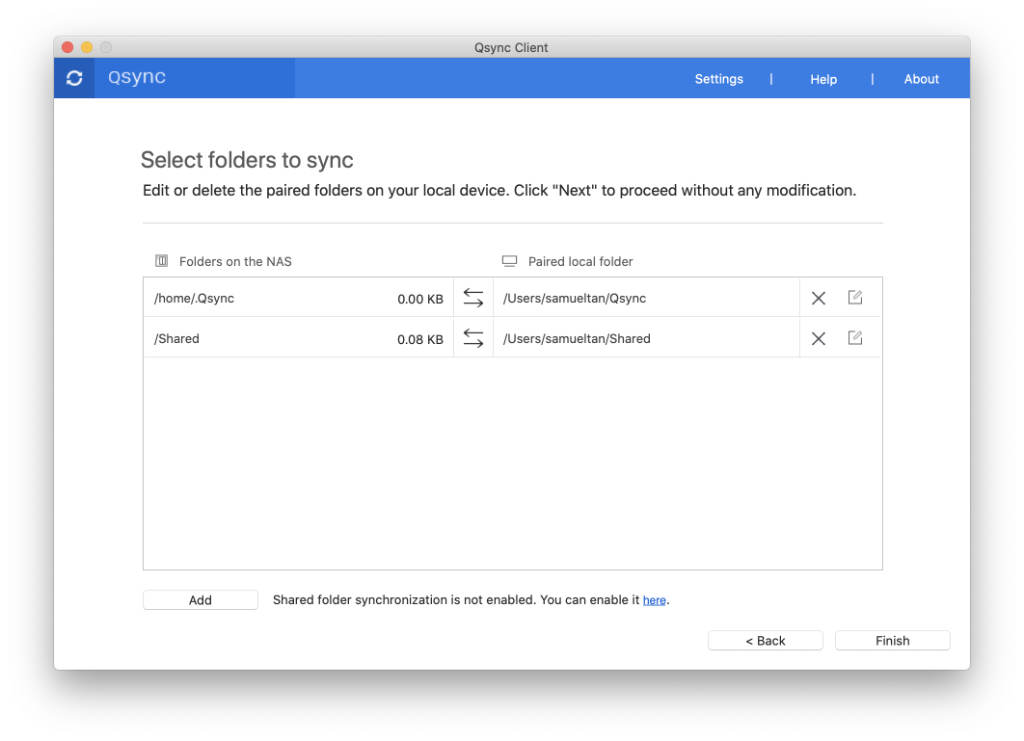
Apart from remote to home folder synchronisation, you can also synchronise existing shared folder(s) on the server to your local workstation. By default, this is not enabled. You will need to go back to Qsync Central on the NAS under Shared Folders in the sidebar to Allow sharing of shared folders. Then, come back to Qsync Client to Add synchronisation pairs.
Team Folder Synchronisation
Note: the following steps require email notification from the NAS server to be set up and working in order to send invites to team members.
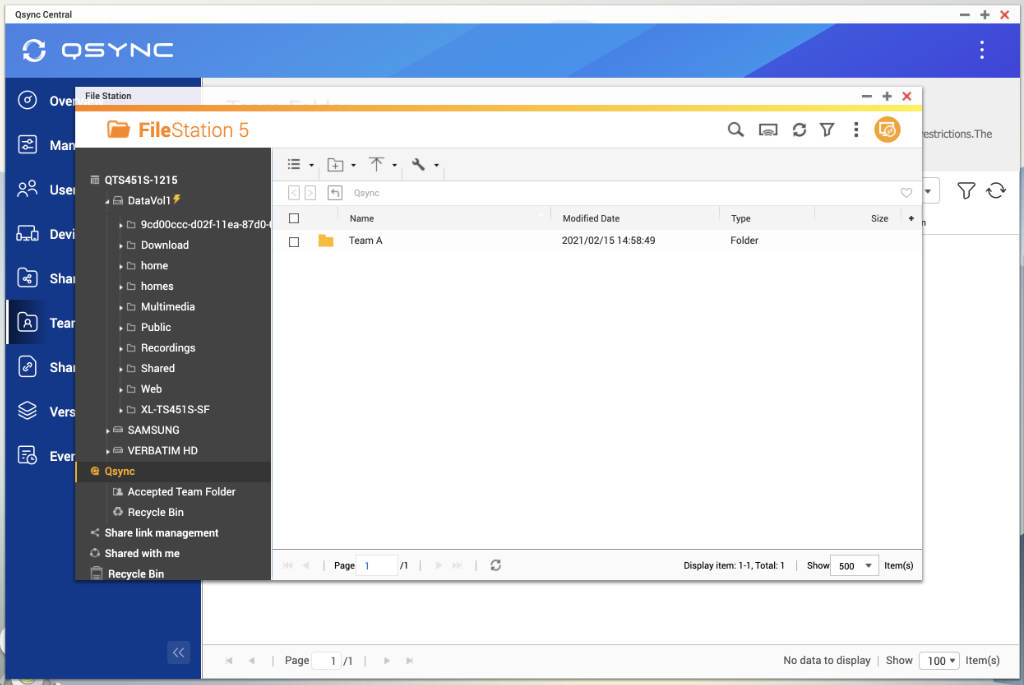
Apart from existing shared folders, you can also setup new Team Folders and synchronise this with the local workstation. Folders designated for each team can have different access permissions, with different team members to different team folders. To set up a team folder, you must first create a new folder under Qsync folder using File Station (see image below, a folder called “Team A” was created).
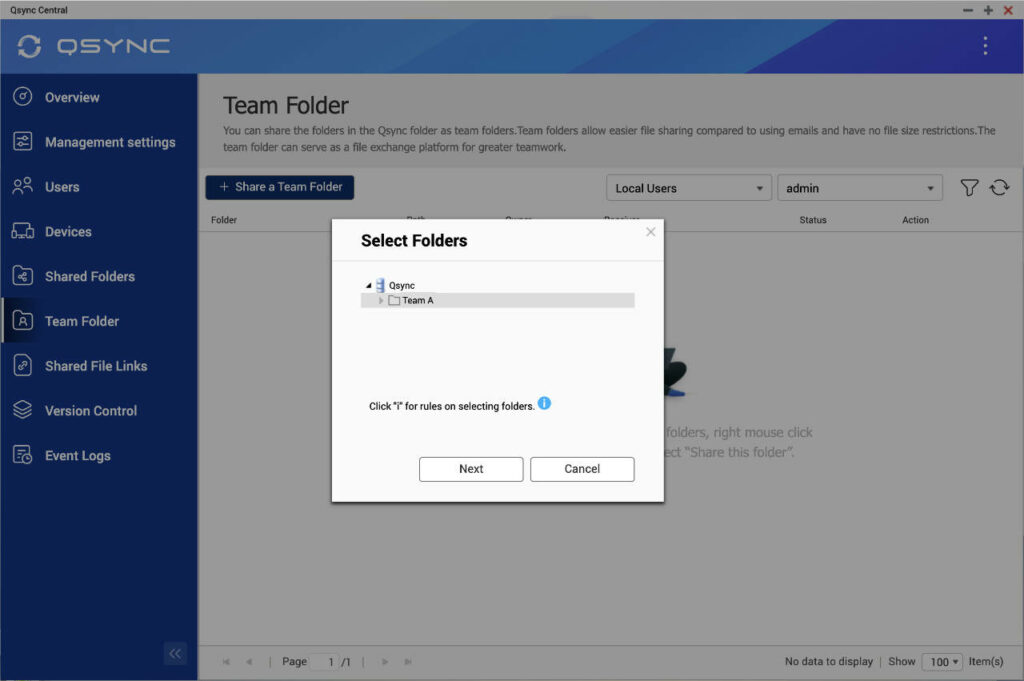
Then in Qsync Central, click on Team Folder in the left sidebar, and then click on the + Share a Team Folder button. In the pop-up, select the folder you created under Qsync and click Next.
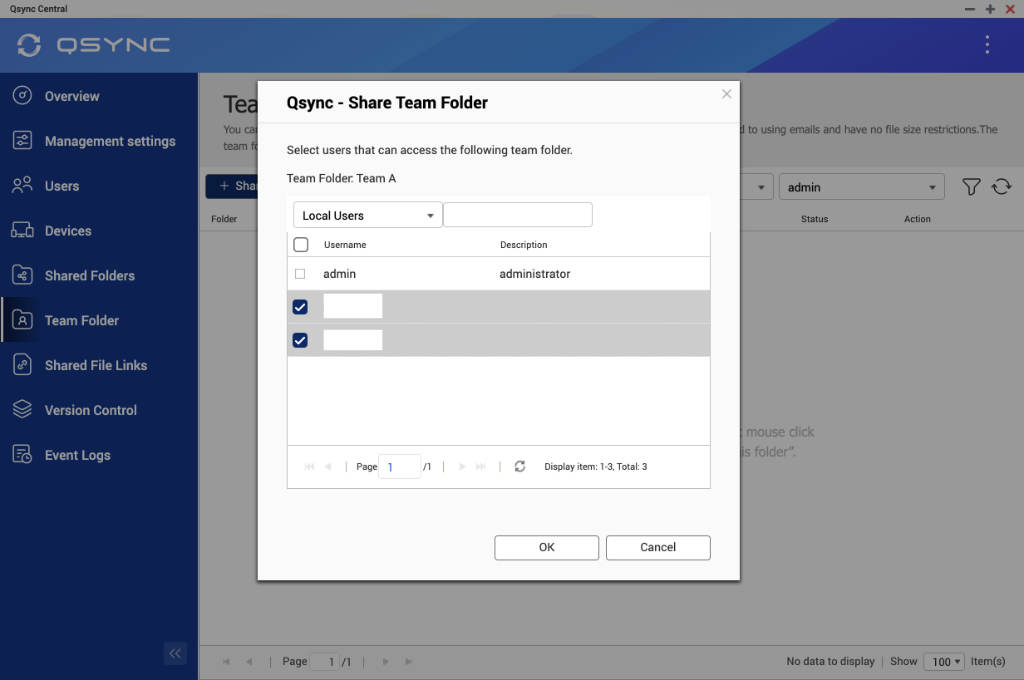
Next, choose who has access to said folder by ticking the checkbox next to their names and click OK when done.
Then go to the desktop Qsync client’ main page, there you will see a notification icon next to the server on the left sidebar (shown here in orange) see image below.
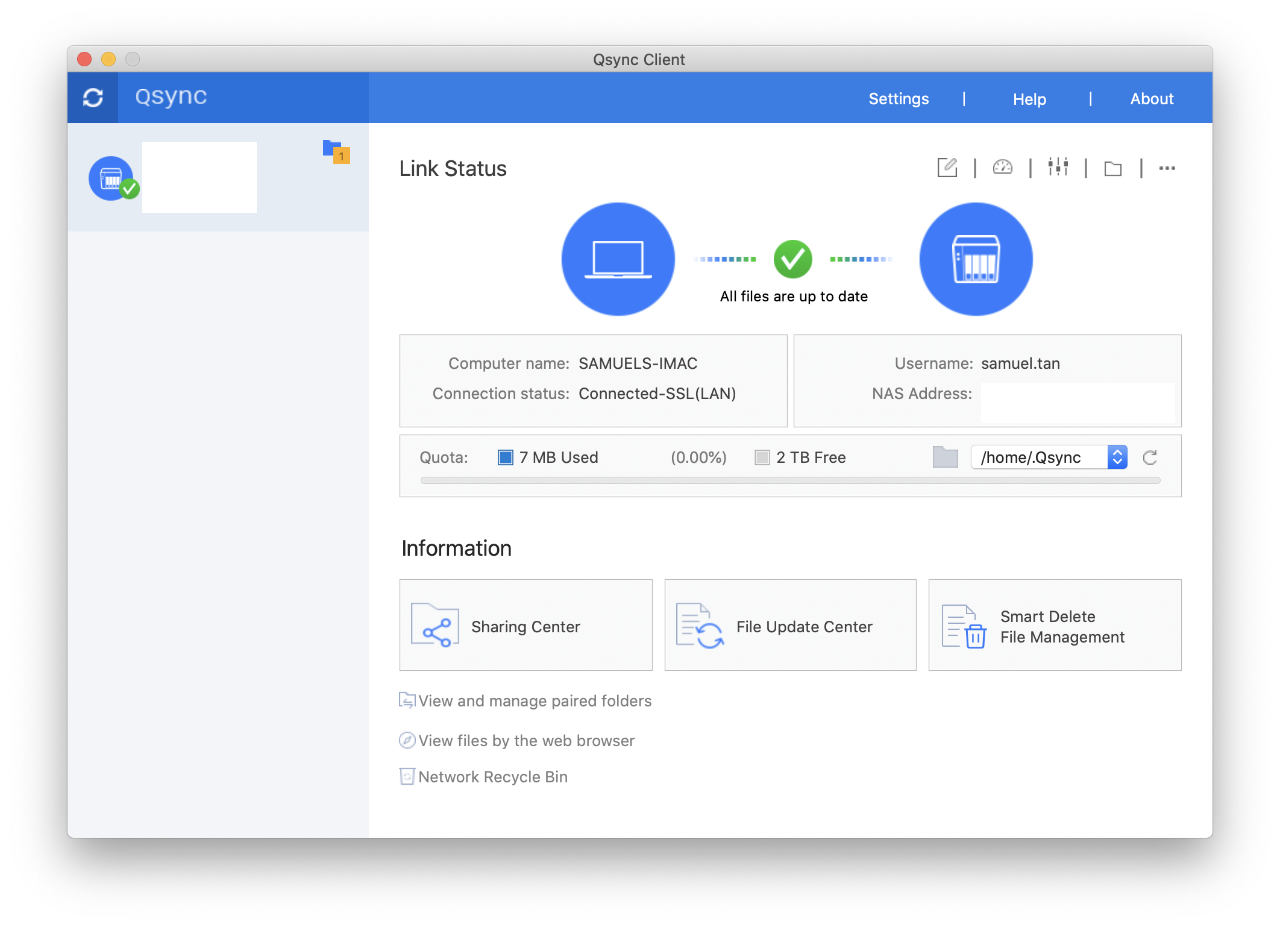
When you click on the yellow notification icon, a pop-up window will appear showing you the invite, tick the checkbox to Accept Team Folder, another pop-up will appear to let you decide the shared folder name and show you the local path to this. Click Apply to accept the default folder name.
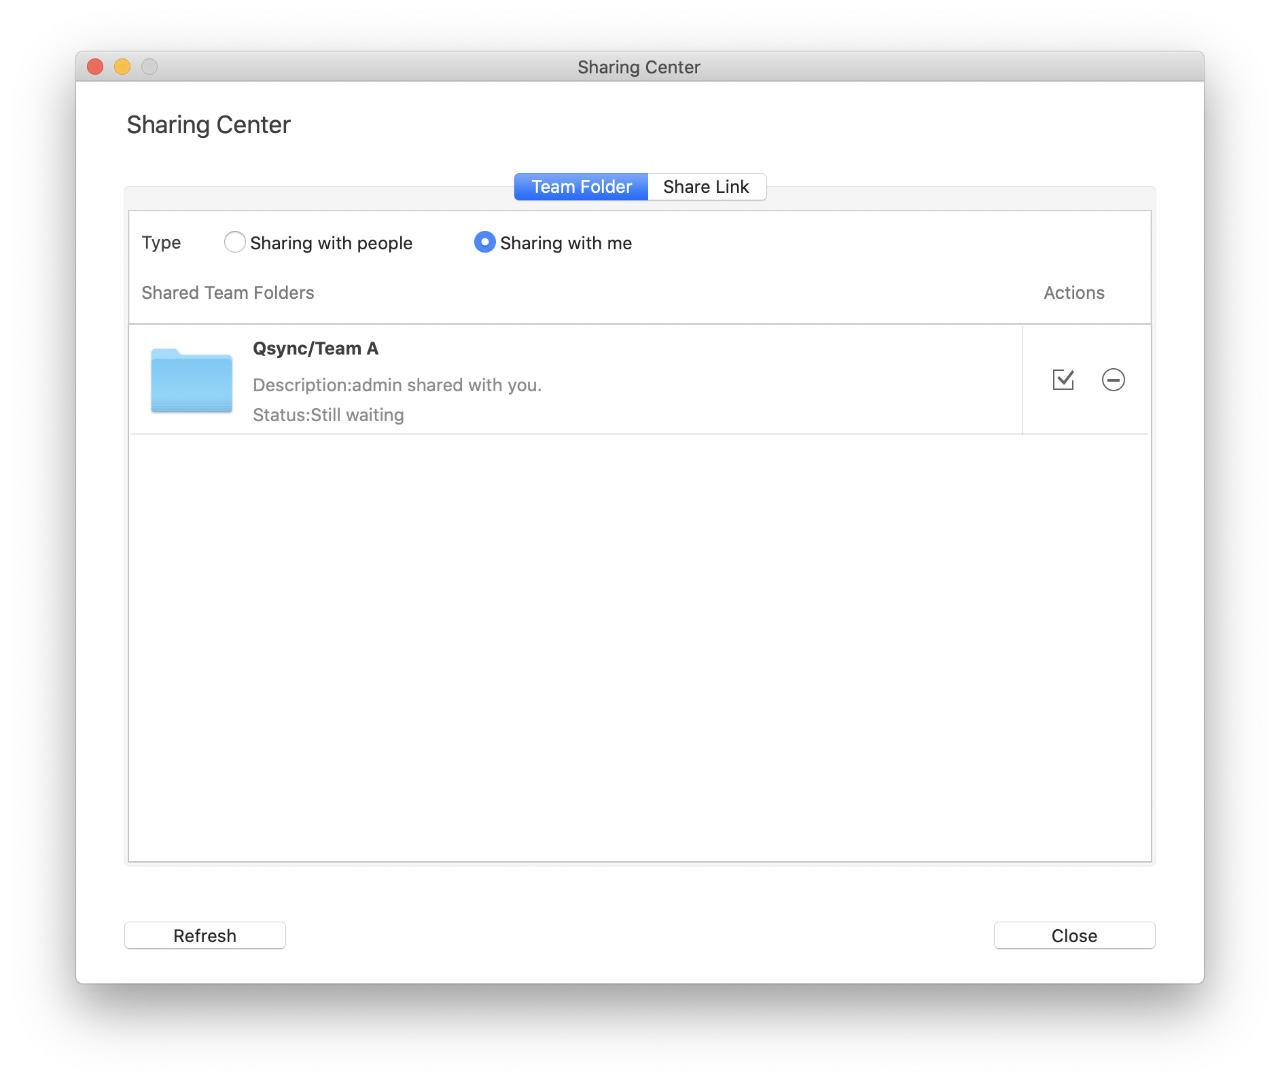
That concludes the Team Folder sharing.
For more instructions on setting up of Team Folders follow this QNAP tutorial on how to use Qsync to synchronise files between the NAS and my other devices.
Final Word
For many casual PC setups in homes, a NAS may perhaps be overkill. Indeed, several other alternative options exist that also provide similar features. Something as simple as a router with a USB port could technically provide network-based storage by just attaching a thumb drive or an external HDD into it.
However, the features and applications offered by a NAS today go beyond your standard file server. For one thing, most of the alternative setups offer only basic local connections. Additional setup and configuration are required on the router or with the use of third party services if you want to access the local storage via the Internet, whereas a modern NAS setup can be accessed online remotely with a quick and easy single point setup.
Recommended NAS Products
Finally, here is a list of actual NAS products that we can recommend today:
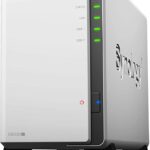
- Synology DiskStation DS220j – for the best entry level, cost-effective NAS systems
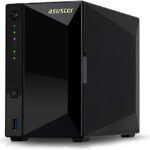
- Asustor AS4002T – first-class personal cloud storage use, without the premium price
- Synology DiskStation DS1019+ – ultimate media access, also for small-business backups
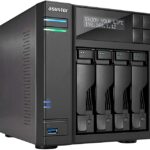
- Asustor AS6602T – recommended for general shared office data server
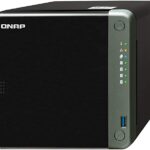
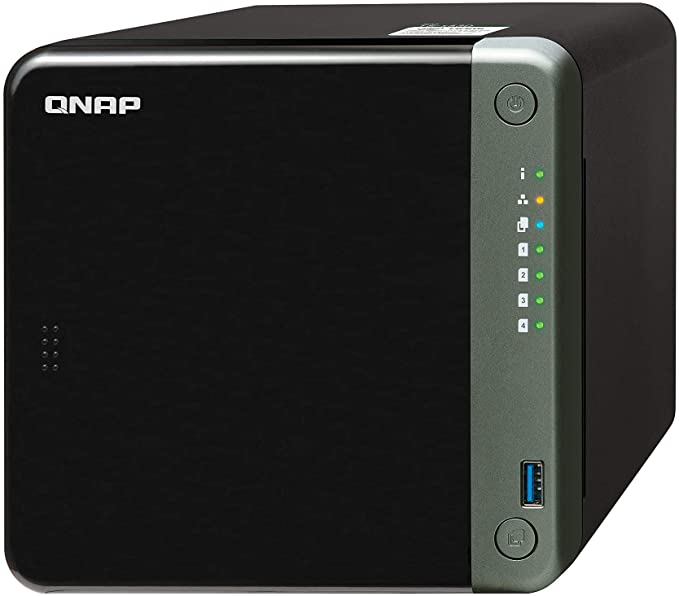
- QNAP TS-453D-4G – for multi HTPC (Home Theater PC) setups around your home and on multiple locations. Even the NAS has a direct HDMI output.
