Common Mistakes People Make When Building Their Own PC
Whether you are a PC enthusiast, professional PC builder or building your very own PC for the first time, you will benefit from learning these common mistakes that people make when putting together their own PC. At times, these mistakes are so common, to the point that even more experienced builders tend to commit them.
Whatever the case is, it is important that we at least arm ourselves with the knowledge of these mistakes. Since the more you know, the less you have to waste time or money fixing an issue for your first, or next, PC build.
1. Skimping out on your PSU/power supply
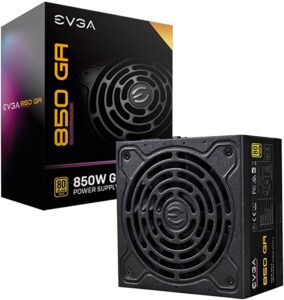
A common mistake for beginners, power supplies tend to be prioritized less in a PC build. This is because out of all the active PC components, the PSU appears to bring the lowest performance complexity level.
But as we have discussed in our PSU article, How to Choose and Install a Power Supply for Your Custom PC, it is important because it is the “engine” of the PC. None of the other components will perform at their intended rate or design, if you’re not using the proper power supply to begin with.
2. Spending too much on PSU/power supply
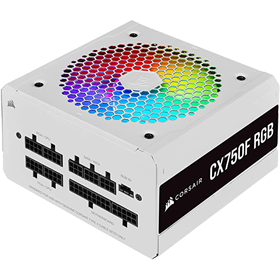
Then again, some people can be overly cautious when choosing power supplies. They tend to look for an 80 Plus Gold/Platinum certification, wildly overestimate their system wattage, or never veer away from super-premium brands.
Simply giving your PSU a performance overhead to maintain its efficiency curve is usually enough, and that requires just spending what you actually need for it.
3. Pairing a low-end CPU with a high-end GPU, and vice versa
The biggest upgrade you can provide indeed is to install a better GPU when it comes to gaming. But there is a thing called a performance bottleneck. Your GPU won’t be able to unleash its full potential if the CPU can only handle a limited amount of its performance.
As a rule of thumb, you can go at least one tier below or above. Bottlenecking will already occur at this point sure, but not as severe as like, combining a Core i9-10900 with an RX 550.
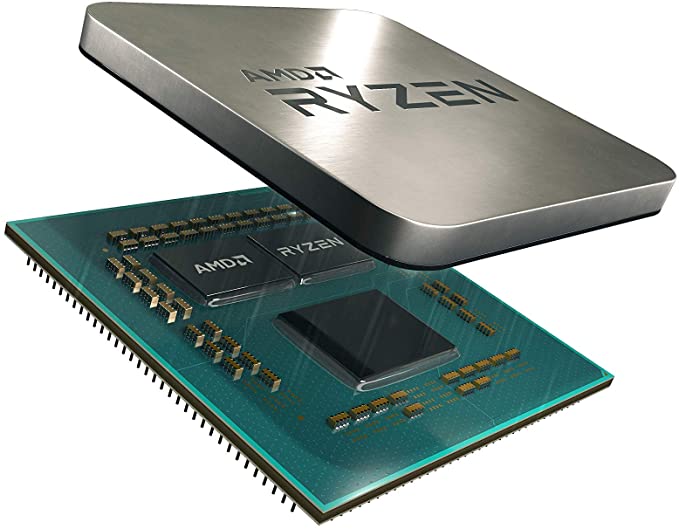
4. Pairing a low-end CPU with a high-end motherboard, and vice versa
On a more serious performance-limiting note, when choosing your motherboard, be sure that it pairs well with the CPU of your choice. Choose a motherboard too low-end for your CPU, and you risk constant thermal throttling due to VRM overload.
Choose a mother too high-end for your CPU, and you waste a lot of the potential that the CPU can provide. Though the latter is actually quite viable and a much better option, if you are planning for a significant CPU upgrade in the near future.
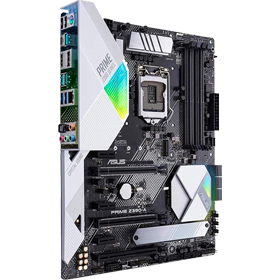
5. Not checking if the CPU would require a motherboard BIOS update
Often an issue for transitional generation CPUs and motherboards. For example, when odd-numbered Intel CPU generations are released (Tock phase), the previous even-number generation (Tick phase) compatible motherboards would usually require a BIOS update before the CPU can be used.
Since you can’t even boot to the BIOS without a compatible CPU, you need a previous-generation CPU before upgrading to the next generation. Some motherboards do have BIOS flashback features that can bypass this. But even today, these are quite limited to upper mid-range and high-end models.
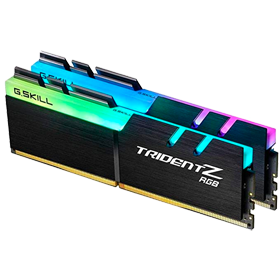
6. Not using memory modules in dual-channel
Beginners often see RAM only with their capacity values. Quite understandable, but it is important to learn firsthand just how tremendously impactful a dual-channel RAM setting can be. First, never use a single memory stick.
Second, use similar pairs with similar specs (more convenient if you buy pair kits). Lastly, install them in the preferred way of your motherboard’s instruction manual if your motherboard has four DIMM slots (often on alternating slots, for example slot 1 then slot 3).
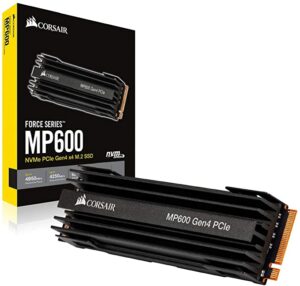
7. Confusing an NVMe SSD with M.2 SATA SSD
The M.2 PCIe x4 slot on your motherboard is a convenient outlet for you to install storage drives without the need to deal with cable management. However, the two types of hardware that can fit on it has wildly different specs and configurations.
The much faster, post-AHCI NVMe SSD is typically differentiated with a single split on its pinout section, while the “slower” standard M.2 SATA SSD has two splits. Don’t forget that M.2 SATA SSDs are just as fast as regular SATA SSDs, and may even disable some of the SATA ports when installed on an M.2 slot!
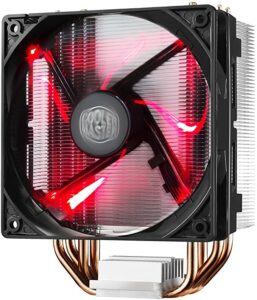
8. Buying a CPU cooler taller/thicker than PC case width
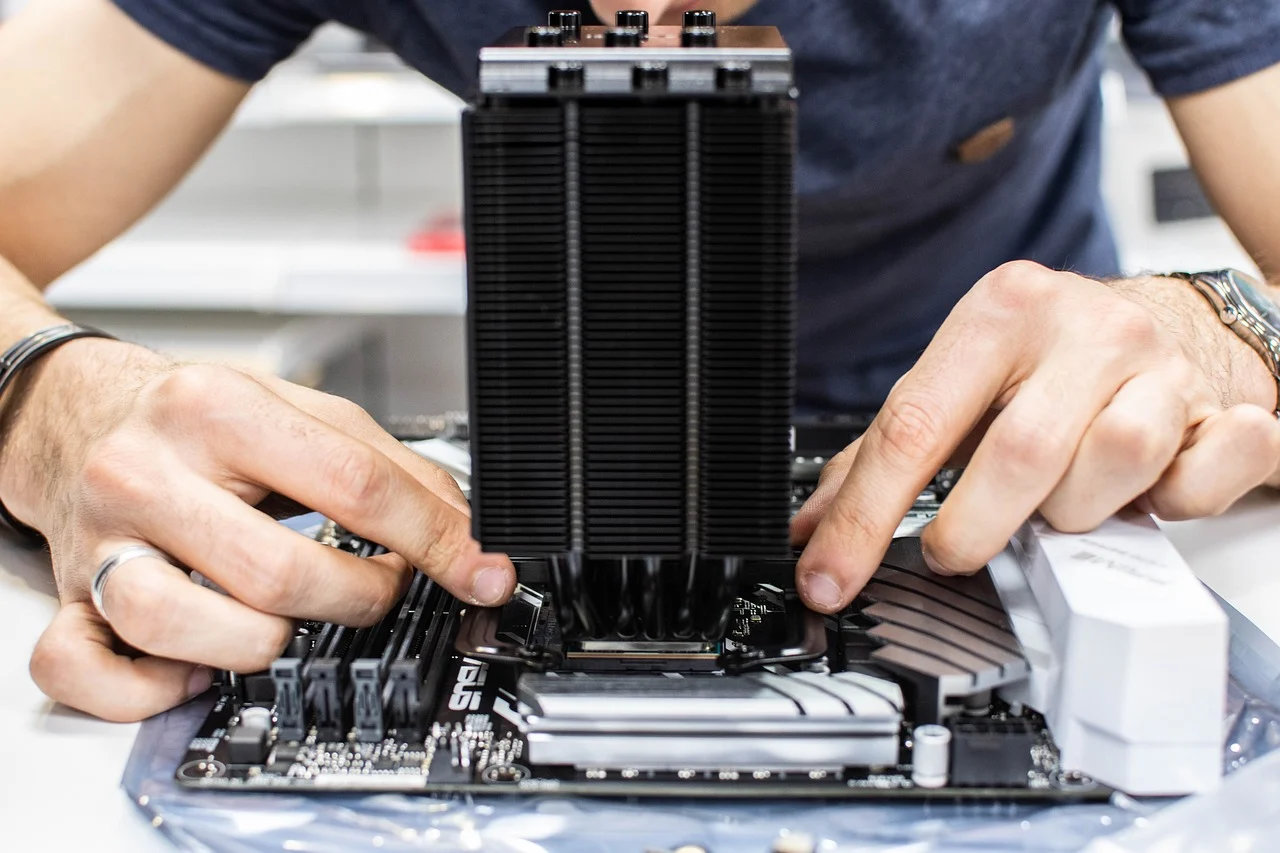
A pretty straightforward common mistake. You usually don’t have a sense of scale when seeing a CPU cooler and PC case separately. As such, you need to manually check the dimensions of your PC case to see if the height of the CPU cooler you are going to buy would match/fit. The same thing goes with the cooler’s vertical allowance versus the height of your memory modules, in case they stretch out far enough.
9. Not checking the number of fan headers on your motherboard
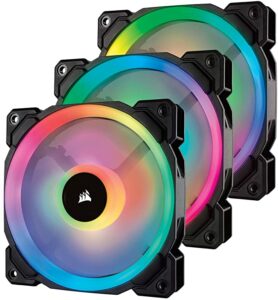
If you plan to use a set number of case fans, try to see first if your motherboard has enough fan headers to “accommodate” all of them. If there’s not enough, don’t worry. You don’t necessarily have to choose a different motherboard just yet.
However, you may want to spend a bit more on fan header splitters, or buy case fans that can be powered using your PSU’s peripheral/Molex connectors. Oh and, be prepared for a slightly more complex cable managing session as well.
10. Forgetting to install the I/O shield first
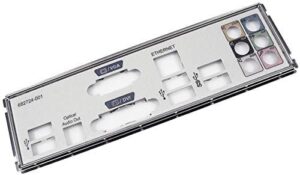
A mistake that even experienced PC builders occasionally commit. When doing your PC builds, try to always install the I/O shield on the PC case first before anything else. Trust us; you definitely don’t want the frustration associated with having to reinstall everything just because you realize the existence of a gaping hole on your motherboard’s rear I/O.
11. Not using the right monitor, connection, and setting for the intended FPS
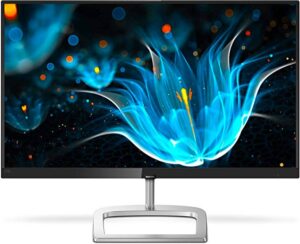
When setting up monitors that have refresh rates beyond 60Hz, check first if you have the right monitor, the correct cable, and the exact setting adjustment. Monitors with 144Hz refresh rate often require either an HDMI 1.4 or a DisplayPort connection. These are also usually not set by default if you just plug them into your system.
If using Windows 10, you can check and change the settings of your refresh rate by: right-clicking your desktop, choosing Display Settings, choosing Advanced Display Settings (bottom of menu), and then selecting your refresh rate at the appropriate Refresh Rate section.
12. Plugging the monitor directly on the motherboard when a GPU is installed
Remember that for your monitor to “showcase” your GPU’s performance, it needs to be plugged directly into it. Plugging the monitor into your motherboard’s rear I/O will cause the system to use the CPU’s onboard integrated graphics instead (making it seem like your GPU is not working as it should). Worse, if you are using a non-APU Ryzen or an Intel F processor, the PC may not even boot at all.
ONE MORE THING: PC Case
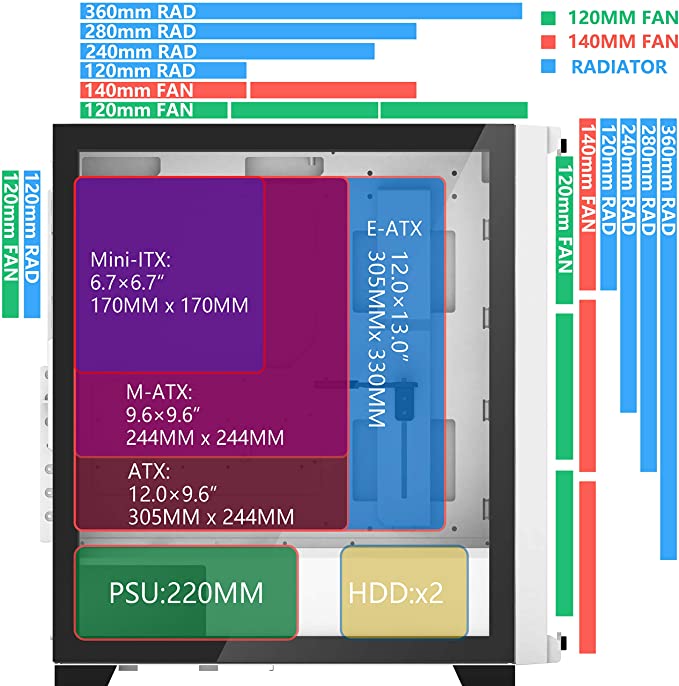
We talked about choosing the right CPU fan and ensuring that it fits in the case but what about picking the right case to fit everything else? Make sure that when buying a case, it will fit your build. Considerations include size of motherboard, size of graphics card, size of cooling fans and size of radiator as well as liquid cooling setup, size of PSU and allocation for storage drives. See below for the design of a mid-tower case that will take up to E-ATX motherboard and large radiator up to 360mm. Taking this extra step to ensure that all your components will be housed perfectly in a PC case will avoid time wasted
Final Thoughts
Finally, perhaps the most common PC building mistake that never seems apparent enough to enthusiasts and first time builders is the proper allocation of your budget. Sometimes, that extra money spent on fancy casings and RGB can be instead re-allocated to your CPU, GPU, or any other less-glittery hardware, to push your build just one tier higher.


