How to Choose and Install a Case for Your Custom PC
In the strictest sense, desktop casings are not really required to make a PC work. You can pretty much assemble all of its components on a sufficiently open space, and it will work just as well. But… we all know that a PC case is still important. For one thing, we obviously need something to safely house all of the components.
More than just protecting sensitive parts from exposure, good desktop PC casings can prevent situations where any sort of contact hazard might cause damage to the system.
And so, choosing the right PC case is yet another thing that you have to carefully consider when trying to complete your very first custom PC build.
PC Case Design: Terms and Specifications
There are many designs and configurations of PC cases that can directly affect your PC build. Obviously, the larger the case, the more components it can hold. Depending on how you want your PC to look visually, and how it would occupy its space, there are some design specifications that you need to prioritize more than others:
1. Form Factor
This refers to the size of the PC case. This specification is typically divided into E-ATX (extra large), ATX (large), micro-ATX (medium), and mini-ITX (small) form factors, see image below. As you may have already guessed from the form factor names, this corresponds to the size of the motherboard. Refer to our guide on how to choose and install a motherboard.
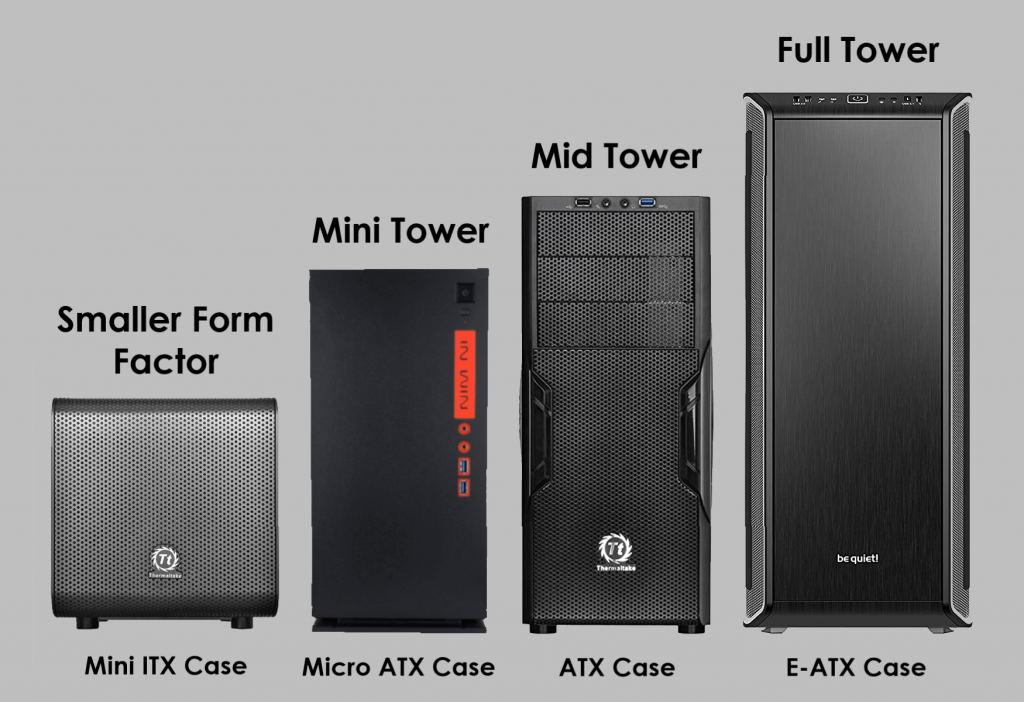
This also means that smaller form factors are compatible with larger ones. So a mini-ITX can fit into a micro-ATX, and both mini-ITX and micro-ATX can fit inside a full ATX PC case. These cases sometimes go by their lay terms; full tower, mid-tower, mini tower and or small form factor, see image below. If you find this confusing, it is best to check the specification, to be sure that it will house your motherboard. A rough estimate of the PC case sizes are shown below.
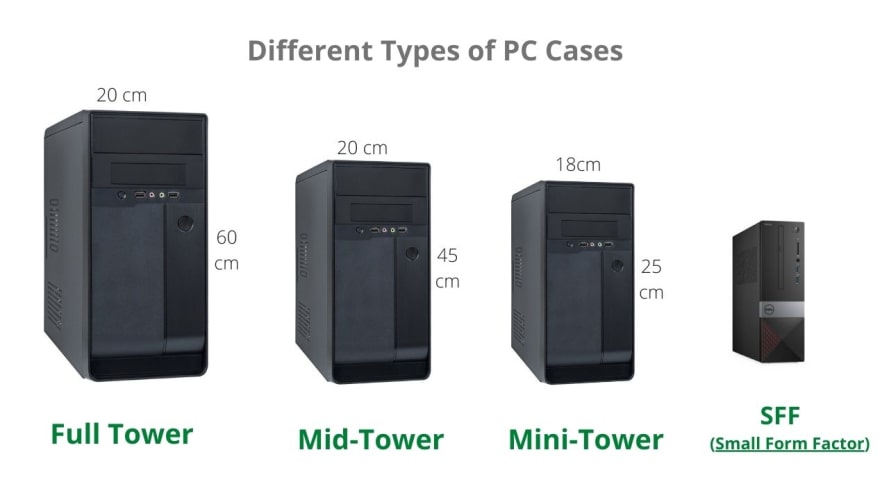
Here are the terms typically used to describe the PC cases and the biggest motherboard that will fit in them:
- Full Tower: ATX or E-ATX motherboard
- Mid-Tower: ATX motherboard
- Mini-Tower: micro-ATX / ITX
- Small Form Factor (SFF): mini ITX
2. Basic Case Design
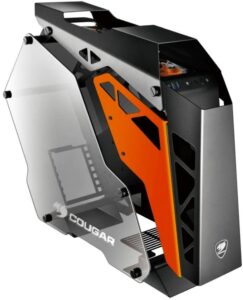
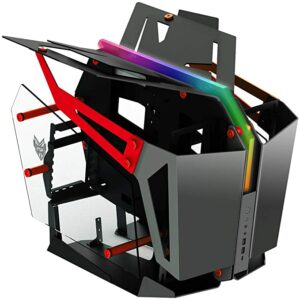
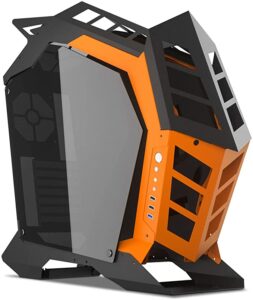
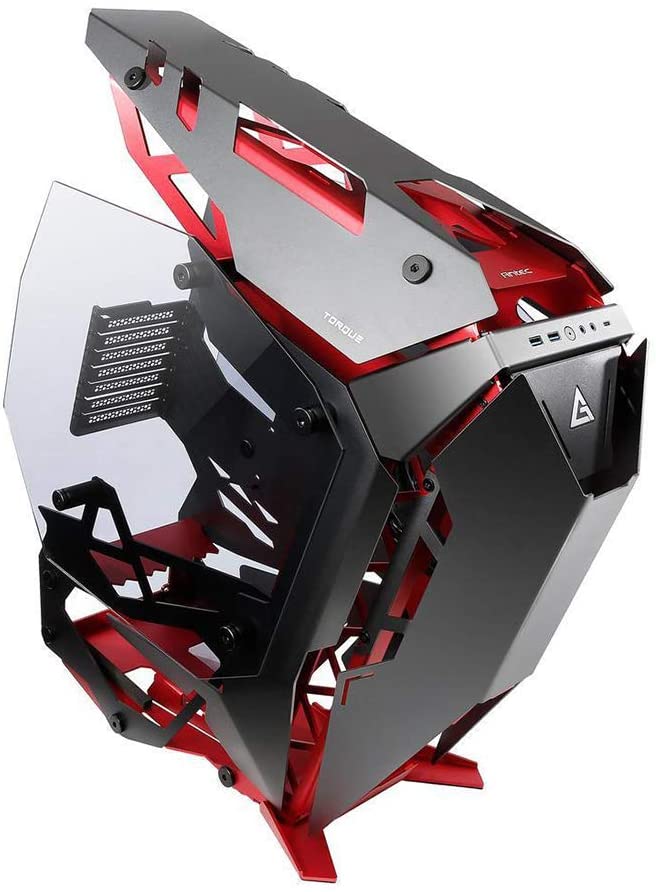
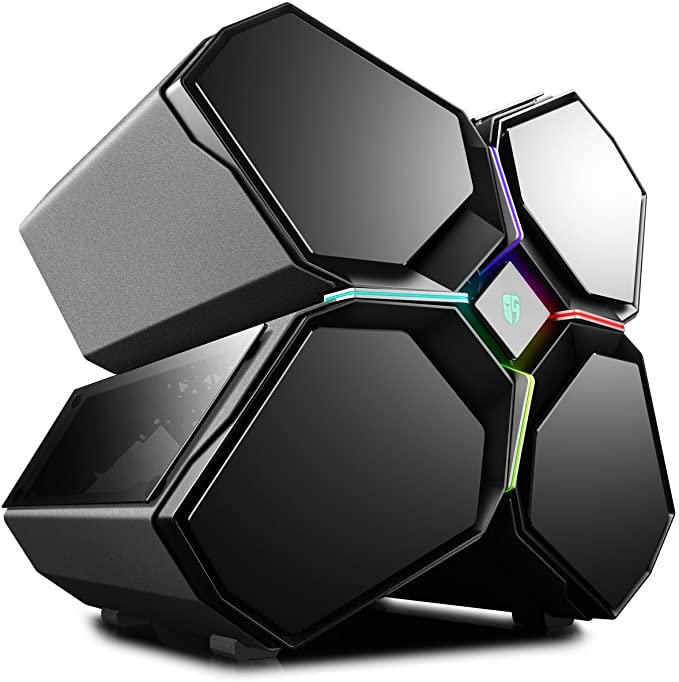
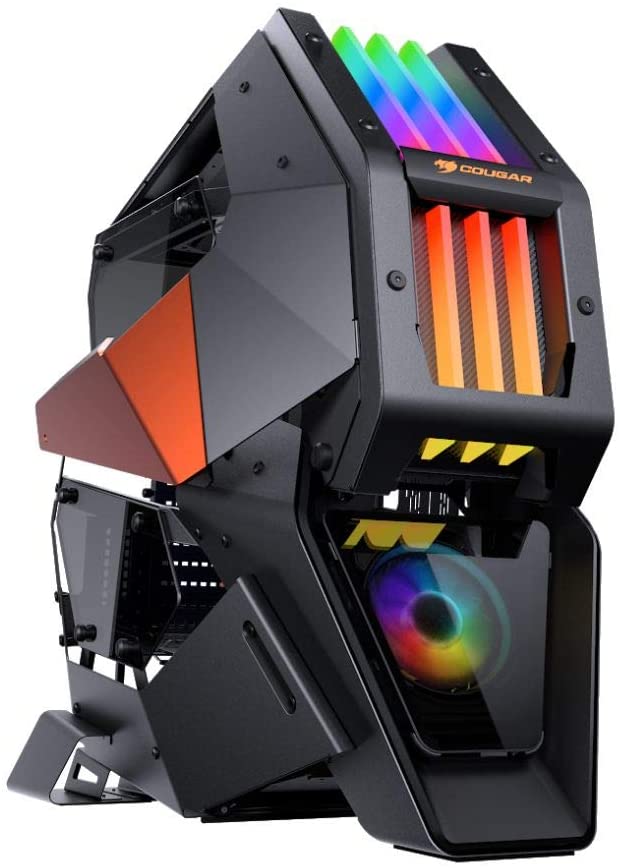
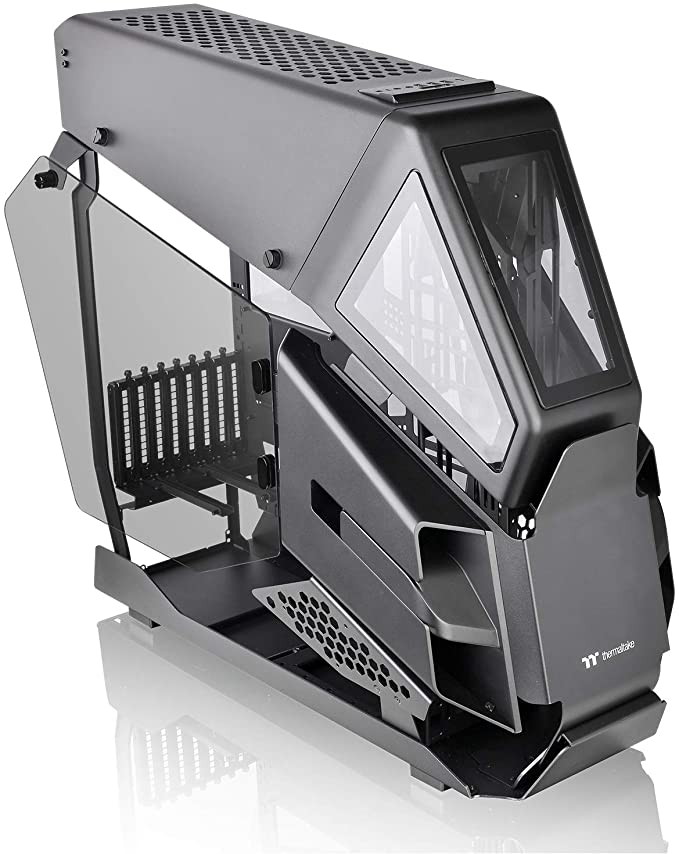
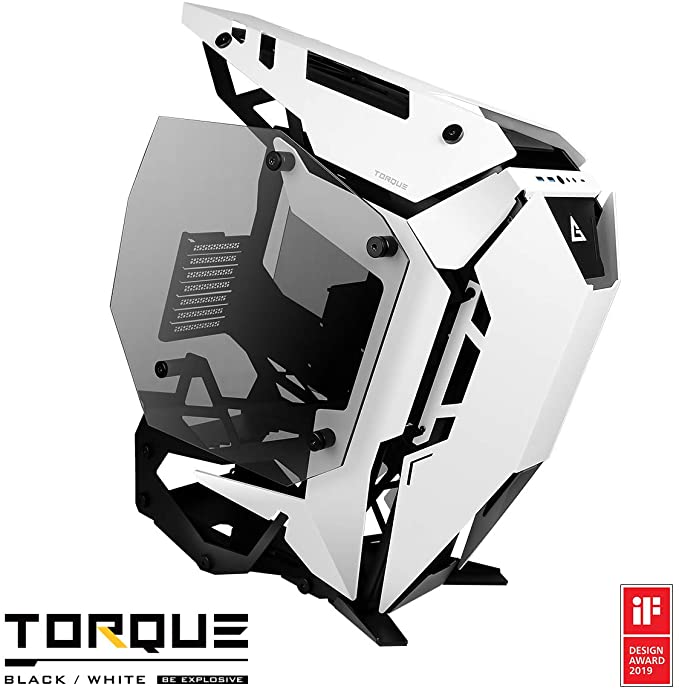
This refers to the overall design of the case itself. The standard tower build is the most common basic PC case design, and it is also the easiest for most beginner PC builders. Apart from the general form factor, there are no pre-determined types of PC case designs. As such, you may occasionally see very unusual slim designs like the Fractal Design Node 202, or even wackier ones such as the Gamer Storm Quadstellar.
3. Component Size Allowance
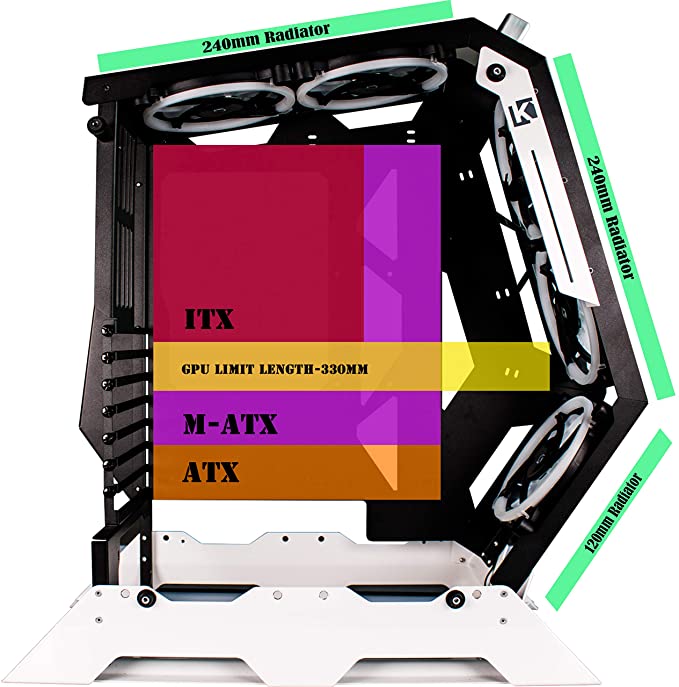
This is the maximum fitting size for larger components inside the case. There will usually be three that you need to consider when choosing a case. Please cross-check the specifications provided on a particular case to know if any of these measurements will properly fit:
- GPU length
- PSU size
- CPU cooler height
4. Expansion Slot Capacity
This is the number of installed PCI peripherals on the motherboard that can fit on the section where they line up with the PC case. Each expansion slot must have a sufficient room above it in order for a full size expansion card to be inserted and screwed onto the case. Take note that GPUs often occupy at least two expansion slots, so you have to provide an allowance for that as well.
5. Data Storage Drive Accessibility
This pertains to the maximum number of storage drives that can be secured firmly inside a PC case usually on the back panel of the motherboard tray. Larger 3.5-inch drives are placed and screwed in dedicated drive trays, while 2.5-inch drives can either be secured vertically on internal panels or onto the same drive trays.
6. Fan Availability
This will be the type of fans and the number that can be installed on the case. The two types of fans used in PC cases are the standard 120mm and the smaller 80mm fans. The maximum number of fans that can be installed depends on the case size and design. A typical full ATX tower type case with a PSU shroud, for example, can have up to nine fans (x1 back, x3 front, x3 top, x3 bottom). For the cooling capabilities of such fans and their configurations, check out our article on how to choose and install a cooling system for your custom PC.
7. Front I/O Panel Layout
This is basically the ports and buttons available at the front of your case. A typical tower-type case usually has these buttons and ports at the front panel. These can include some if not all of the following:
- Power button
- Reset button
- Drive activity indicator LED
- Headphone jack
- Microphone jack
- USB (2.0/3.0) ports
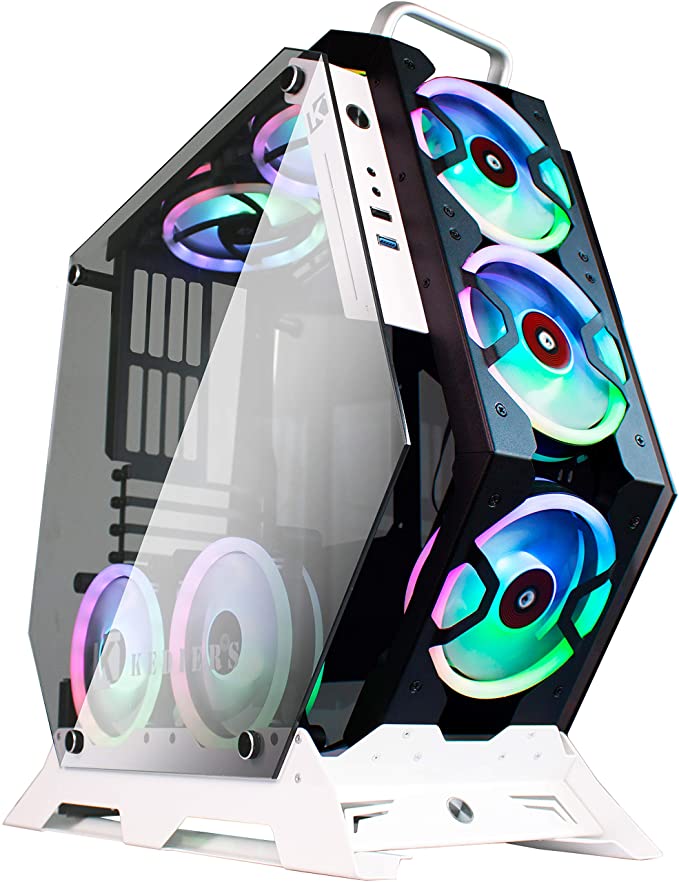
Depending on the case design, the layout may be significantly different, so you need to consider this when choosing a case as well. Some gaming or designer cases may have the front I/O panel on the top or side of the tower.
8. Fixture Accessories
These are the tiny components and internal panel layouts that help organize components inside the case. Screws and standoffs are mostly used. However, cable management-related items might also be included, such as grommets and Velcro straps.
9. Dust Filters
Installed on case openings, these filters help reduce the amount of dust that enters the PC. Be sure to choose a PC case with dust filters that easily detach its dust filters, for easy and convenient maintenance cleaning.
10. RGB Lighting
Not a necessary feature, but it is definitely considered pretty normal now to have RGB lighting configurations for your PC case. The lighting will usually come from either case fans, components such as memory modules and CPU coolers, or RGB strips.
Build Considerations and Configuration
Unless you really know what you are doing already, it is recommended that you refrain from choosing any PC case design other than the basic tower type. Installing components in smaller and/or unusual case spaces is typically VERY beginner unfriendly.
But even for regular tower-types, there are several things that you need to keep in mind:
- For first-time PC builds, a full ATX case is recommended even for a micro-ATX build. The additional space will help you organize the components much easier, compared to when you immediately challenge a micro-ATX case first.
- If possible, choose a PC case with the internal panel opening/hole aligned perfectly with the center of the CPU section of your motherboard. This will be important later so that you don’t have to pull out the entire motherboard when installing new CPU coolers that require backside securing brackets.
- Don’t forget that the other side of the case can be removed to reveal yet another, albeit much smaller panel area. This is where you will do most of the cable management stuff, HDD and SSD installations too if the PC case provides dedicated screw holes for storage drives.
- Organise the cables. When tucking the wires inside the back panel, you should minimize the length exposed at the main side as much as possible, to provide the internals with a very clean and organized look. For example, after plugging in the main 24-pin motherboard power connector, gently pull the wires towards the backside panel until only the connector a few centimeters of wire are jutting out the main case area.
- You don’t have to screw the motherboard tightly on the PC case. Just twist the screw until it gets somewhat tighter than when it is loose. You might inadvertently damage a few circuits if you screw them too tightly.
- ALWAYS remember to install the I/O shield first before screwing the motherboard in. It will be quite frustrating and time-consuming to remove the motherboard again just to put I/O shield later in if you absentmindedly installed the motherboard first.
- In PC cases where the PSU is installed at the top, you may have to install and screw the PSU first before installing the motherboard. (Don’t forget to route the cables at the back!)
- Try to always install the GPU with the PC case lying down. This is to prevent the GPU from sagging down and pulling on the PCI-E slot (potentially damaging it permanently) before secure, or as you are securing it into the expansion slot.
- For much bigger GPUs that could not be screwed at the extension slot properly, PCI-E extension wires and vertical expansion slot holders are usually installed on the PC case.
- ALWAYS check if the PC case will include fans. This is for you to immediately determine how many extra (separate purchased) case fans you would need for your build, if these are not included.
- Lastly, manage your cables. As already mentioned on a few other tips earlier, cables are supposed to be neatly tucked away on the backside panel. This not only makes the internal view more aesthetically pleasing, but component accessibility becomes easier as well.
Search Gaming PC Case on Amazon
Final Words
To sum things up, in choosing your first PC case a good balance between visuals and your building skill level is needed. You want something good on the eyes, and can be used as a technological piece of room décor. At the same time, you’ll want something easy enough to work on, so that you don’t get overwhelmed in installing the rest of the components, or increase the risk of accidentally damaging one of them.
Oh and one last thing to mention. Unlike other, more essential PC components, it is actually alright to skimp quite a bit on your PC case budget if money is tight. Just be sure that the material build of the case you want to use is sturdy enough, and has lots of space for you to easily practice installing components with.
Edited by Samuel J Tan
