How to Choose and Install a Motherboard for Your Custom PC
Even to the uninitiated, the motherboard of a PC looks and feels as if it is the most important component of the entire build and you are not far off. After all, it is the biggest component in terms of area occupied in your case, and it is where almost everything is attached, connected, and installed to.
But precisely due to the comprehensive design of its operation, as well as its connections, that many starting PC builders feel intimidated by the options available when it comes to motherboards.
At first glance, installation procedures for motherboards may seem like something that only a technician can do. But in reality, it is not, and it can be learned by everyone.
With knowledge, choosing the motherboard that one truly needs becomes easier. Installation can even be done completely alone, simply by following a good set of instructions, as well as a bit of guidance from this basic overview.
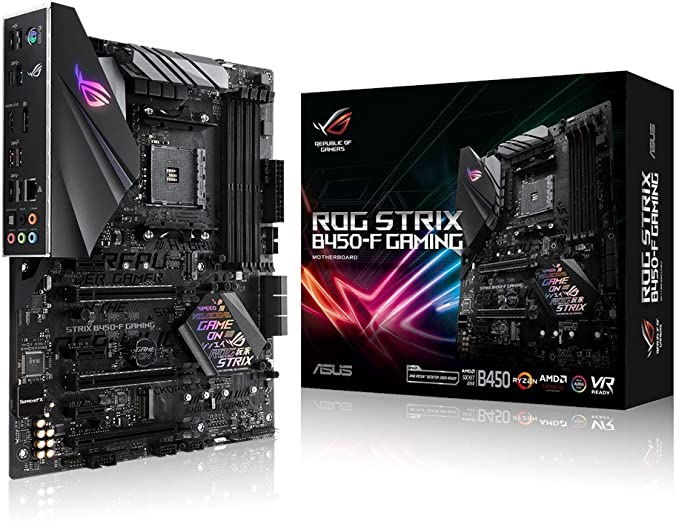
Motherboard Notable Specifications: What you need to know when choosing your motherboard
Features and options are mostly what the specifications of motherboards usually provide. Manufacturers like to highlight the motherboards performance capabilities, but it pays to understand the basic features available on a motherboard to understand what these performance capabilities actually translate to in application. The most important of which are:
1. Form Factor
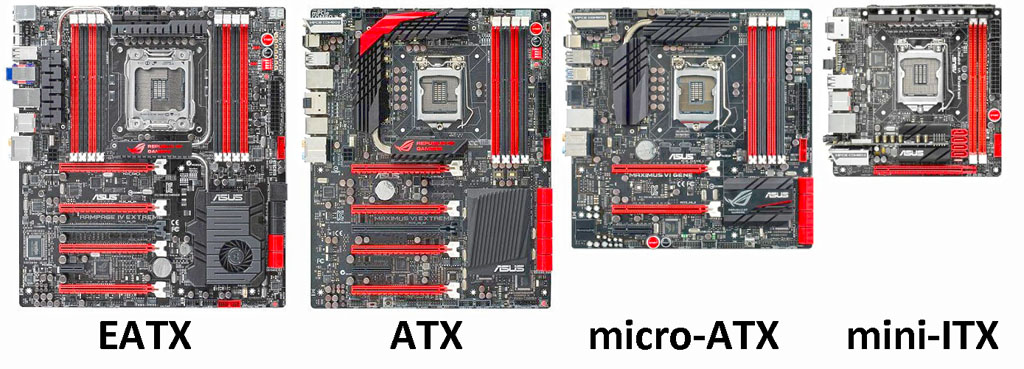
Form Factor refers to the size standard of the motherboard. As mentioned in our earlier overview, these are primarily divided into ATX, Micro-ATX and ITX for most desktop setups. They go hand in hand with the case you will need to house the motherboard. Smaller form factors are designed to fit on larger cases, so your ITX motherboard will almost always fit on larger ATX PC cases. Remember, if you have an eye on a case that you like, note the size and then choose a motherboard with form factor that will fit and vice versa. If you have a motherboard that you would like to get, look for a PC case that will house its form factor.
2. CPU Socket
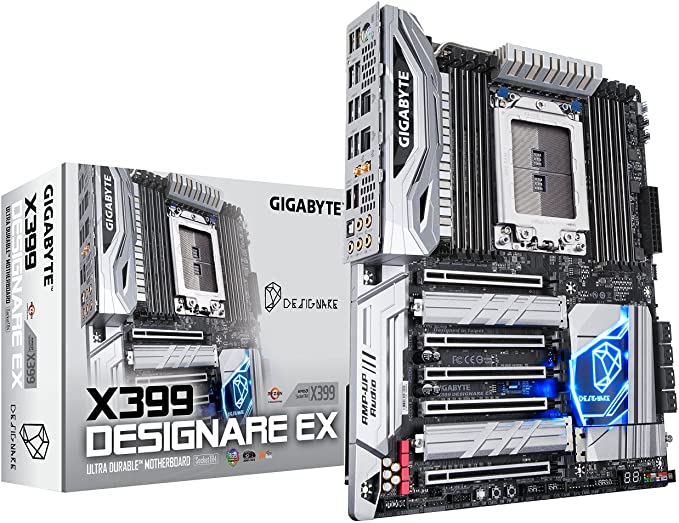
This is the type of socket that will be available on the motherboard for the CPU it is designed for. There are different types of sockets for different CPU manufacturers (AMD and Intel), but this will also vary depending on the generation and architecture of both its own chipset and processor. For the current generation, you only need to know that AMD CPUs fit into AM4, while Intel CPUs fit into LGA1151 (8th/9th gen, 2nd revision) and LGA1200 (10th gen).
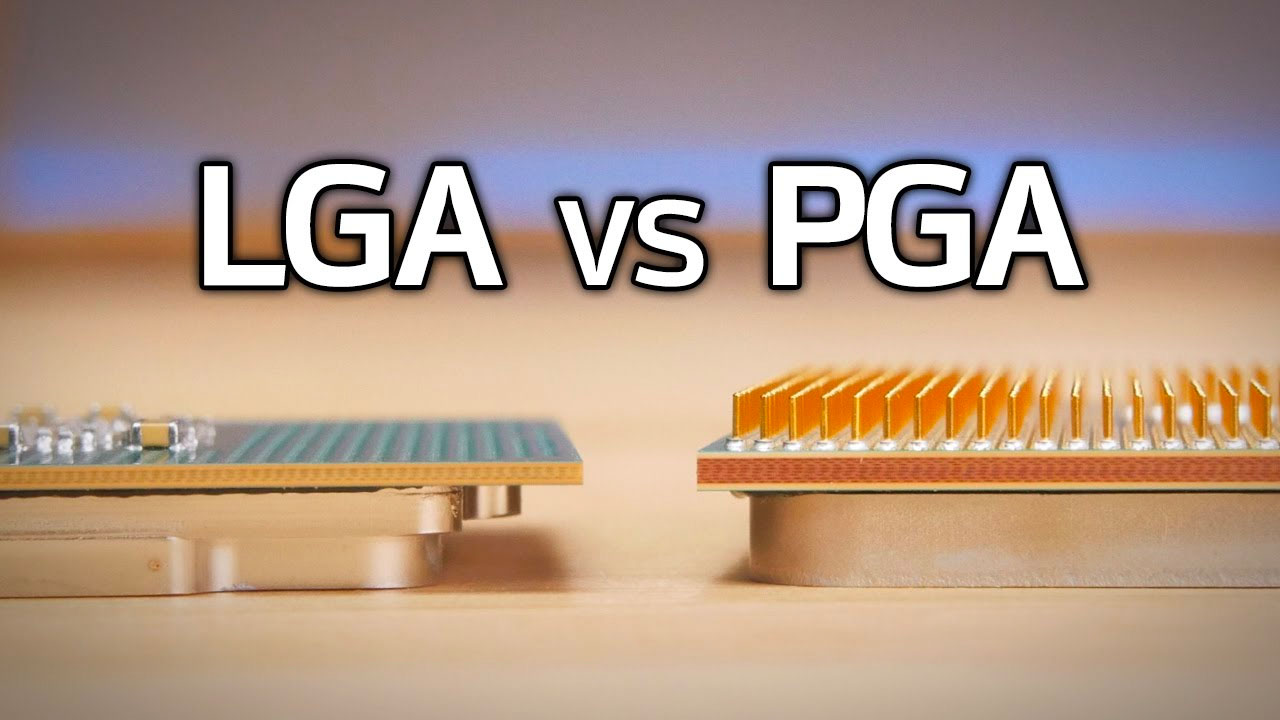
PGA vs LGA
It is also quite noteworthy to mention that with the exception of Threadripper CPUs, AMD has pins on the CPUs directly known as PGA – Pin Grid Array, while Intel has pins on the motherboard socket known as LGA – Land Grid Array. This means the PGA sockets are ‘female’ hold the pins while the LGA sockets are a series of pins that line-up with the contacts on the CPU. The aforementioned AMD Threadripper CPU uses TR4 socket with LGA socket twice the size of standard Ryzen CPU with PGA socket.
3. Chipset
This is the alphanumeric designation of the motherboard’s main IC (integrated circuit), which determines the data flow between all components within it, and the ones connected to and/or installed onto it. You don’t have to worry about how each chipset works. You just need to know the basic features of each chipset, and the CPUs that they can support. Here is a list of available chipsets for the current generation of AMD and Intel motherboards:
| Socket Type | Entry Level | Mid-Range | High-End | Server/Enthusiast |
|---|---|---|---|---|
| AM4 (AMD) | A320, A520 | B350, B450, B550 | X370, X470, X570 | – |
| TR4 (AMD) | – | – | – | X399 |
| sTRX4 (AMD) | – | – | – | TRX40 |
| LGA1151 rev2 (Intel) | H310 | B360, B365, | Z370, Z390 | (same) |
| H370, Q370 | ||||
| LGA1200 (Intel) | H410 | B460, H470, Q470 | Z490 | W480 |
4. Memory Compatibility
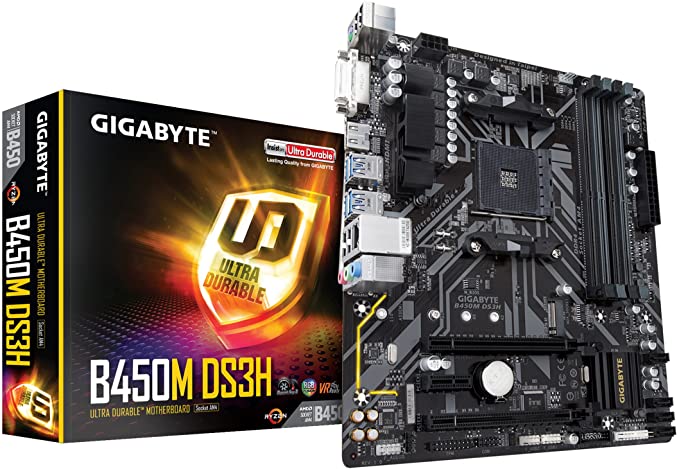
This refers to the type of memory modules and the base clock speeds that the motherboard supports. This also includes the maximum amount of supported RAM you can install on the motherboard. You can check the specific values on the instruction manual and official product page. Other RAM related specs for motherboard memory compatibility here will usually include:
- Max number of DIMM slots (2 or 4 slots)
- Dual-channel memory support (universal in all motherboards)
- ECC or non-ECC unbuffered RAM support (with ECC reserved for server motherboards)
- Extreme Memory Profile (XMP) support
5. Expansion Slots
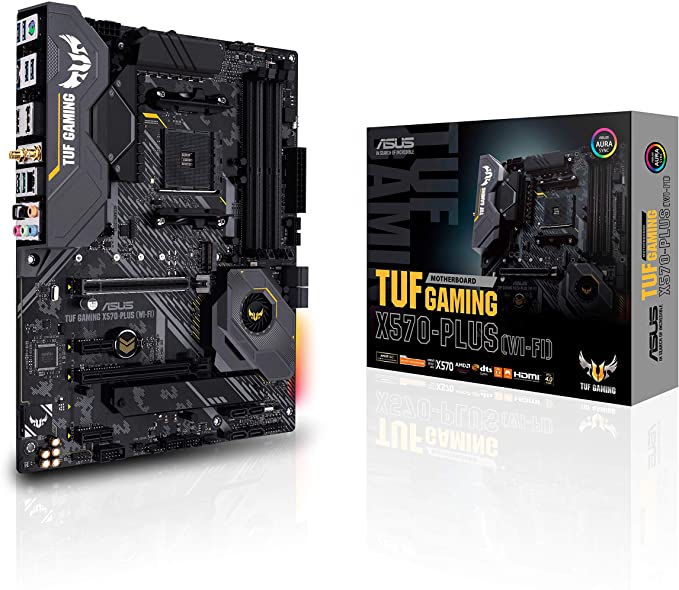
Expansion slots determines the type and number of PCI Express slots available on the motherboard. These are usually located at the lower section of the board grouped together and aligned to the rear IO access openings on the case. Often this is also what gets enthusiasts excited about as it presents options for future upgrades and add-on cards.
Mix and match the compatible PCI Express slots of the peripherals you want to install as necessary. The PCI-E x16 slot will usually be reserved for GPUs, and this is also where the PCI-E x4 slot for M.2 SATA/NVMe drives can be located.
NOTE: lower-pin PCI-E peripherals can be installed on higher-pin PCI-E slots. For example, a PCI-E x1 Wi-Fi adapter can be installed on any PCI-E slot (x1 to x16).
6. Multi-graphics features
SLI and CrossFire technologies incorporate the use of multiple PCI-E slots for certain specific multi-GPU setups. Not necessary for any standard PC today, but you at least need to know that these exist. Should you have the need to use one of these cards, you will need to line them up with two PCI-E slots.
7. Back Panel Connectors
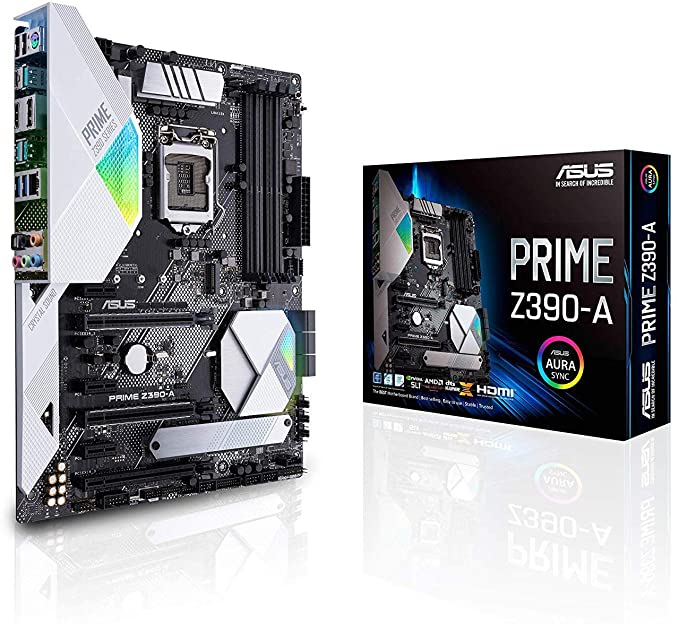
Also known as the I/O ports of the motherboard. These will typically include USB ports, video out ports for integrated graphics, an RJ-45 port, audio jacks, as well as legacy PS/2 connectors. An I/O shield is usually provided to cover gaps between ports when installing the motherboard on a PC case. Some higher end motherboards may even have entire covers for the I/O ports section keeping the back of the connectors sealed.
8. Internal Connectors and Headers
These are usually what intimidates most newbie PC builders, as there are various connections sprawled all over the motherboard for different components of the PC. These would typically include:
- Power connectors – usually a 24-pin main power connector, and an 8 (4+4)-pin CPU connector. Check our previous article on power supplies for more information on this.
- Fan headers – one dedicated for the CPU fan, and the rest for other fans you want to install on the PC case. These are available in standard 4-pin configurations.
- SATA data connectors – these connect to the data connector port of your SATA devices. Typically found on the lower left section. Not to be confused with SATA power connectors, or the ones on the power supply that provides power for the SATA devices.
- Front panel header – this connects all the available buttons and indicator LEDs at the front of your PC case. Referring to the instruction manual for the correct pin layout is often necessary, but some motherboards may have the layout guide directly written on it.
- USB port headers – connects to USB ports at the front of the PC case. USB 2.0 and USB 3.0 headers are completely different, and are impossible to confuse with one another.
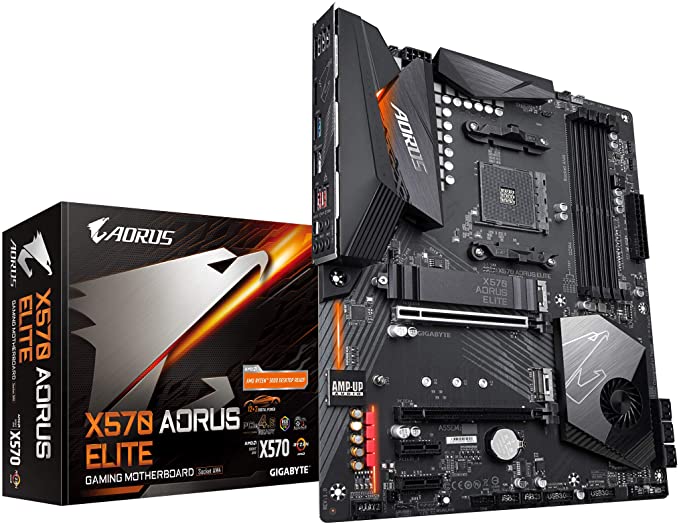
Motherboard with Integrated Graphics Processing Unit (iGPU) Option
For those building PCs on a budget and do not have the money for a pricey discrete graphics cards up front, the idea of simply using the integrated GPU on the motherboard may be an attractive option. This is akin to breaking up the PC built into two stages, upgrading to a dedicated graphics adapter when you can afford it. However, there are several considerations, advantages and disadvantages, as well as other things to note of when using integrated graphics on your motherboard:
- First, the CPU of course needs to support integrated graphics. For Intel, all CPUs that DOES NOT end in the letter ‘F’ have integrated graphics, while in AMD, all CPUs that DOES end in the letter ‘G’ have an iGPU.
- The chipset of the motherboard has to support integrated graphics. Easiest way to confirm this is to check if a particular motherboard has (its own) video options/features at its product page.
- Integrated GPUs do not come with dedicated memory but instead use the system memory or RAM of your computer (on your memory modules) as its VRAM, therefore higher RAM allowance/allocation on your system may be necessary. This is also known as shared memory.
- A dual-channel memory module configuration is an absolute must when using an iGPU.
- Using an iGPU puts (not too much, but still considerable) additional stress, not just on the CPU, but also on the motherboard, which needs to supply more power to keep both its CPU and GPU functions operational. (additional info on VRM section below)
- Look for the video I/O ports on the back panel of your motherboard, as this is where the iGPU provides video signal to the monitor. Any discrete GPUs installed on the motherboard will usually be disabled, thus automatically using the iGPU on boot, if a monitor is connected here.
- Even when using something “high-end” like a Ryzen 5 3400G for iGPU gaming, don’t expect any mind-blowing graphics, though you may still play at standard frame rates depending on how you tweak the settings.
Motherboard Hidden Specification: Voltage Regulator Modules
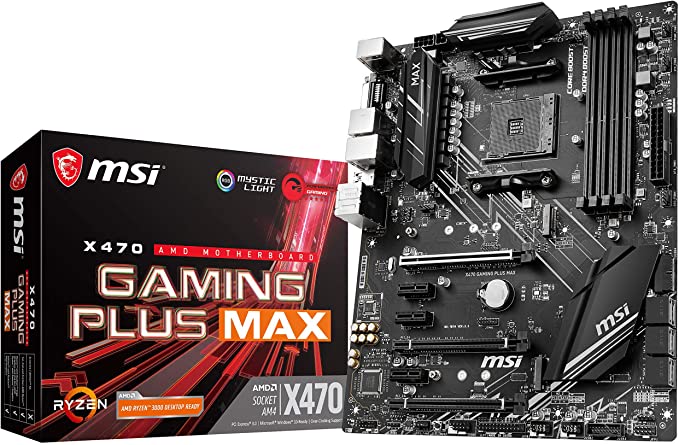
While it is true that options and features are the bulk of what motherboards can offer for your PC, there is one very important specification for it that is often not mentioned directly by manufacturers: CPU power delivery. A voltage regulator module (VRM) is a combination of electronic components (choke + capacitor) on a motherboard, that is designed to deliver and control supplied power to any component of the motherboard.
Importance of VRMs
They are especially important for CPUs, where the quality of power delivery can affect its performance. This is even more so when overclocking, as the power draw significantly increases (and therefore heat as well) when the processor pushes further and further towards its performance limits.
VRM power delivery is usually determined by its phases, this is the number of cycles that a certain electric current can be “refined” to provide the exact power needed in a particular moment. There is no direct way to determine the number of phases a motherboard can provide.
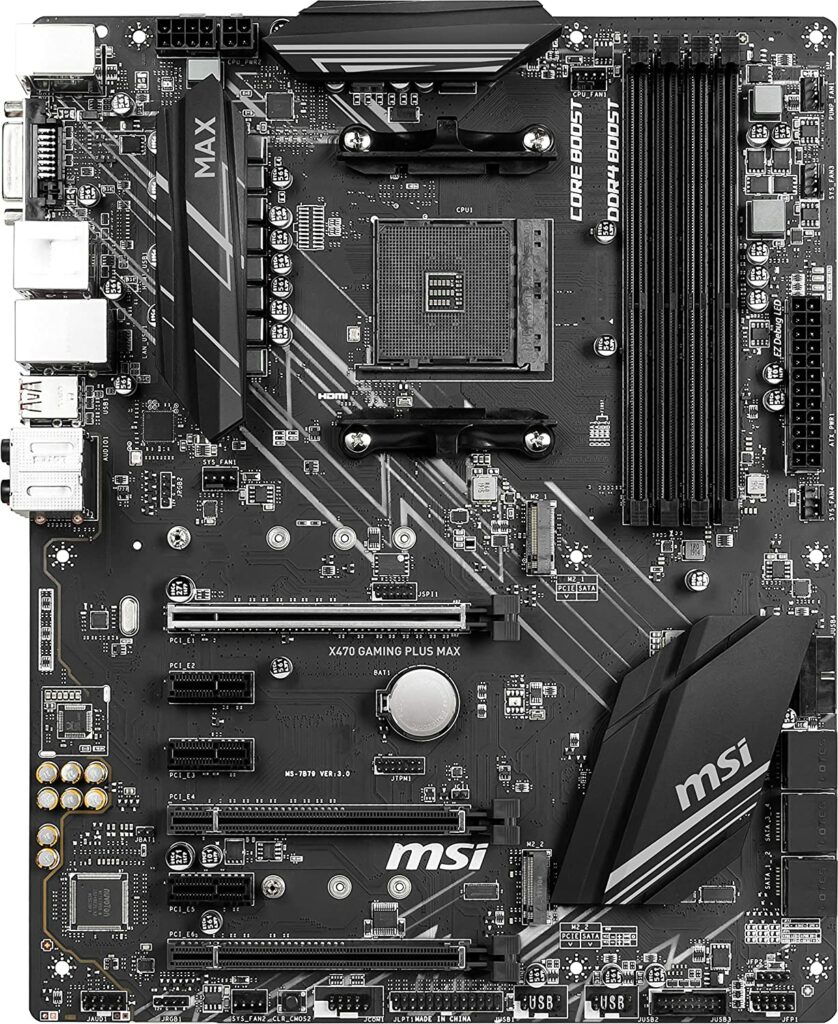
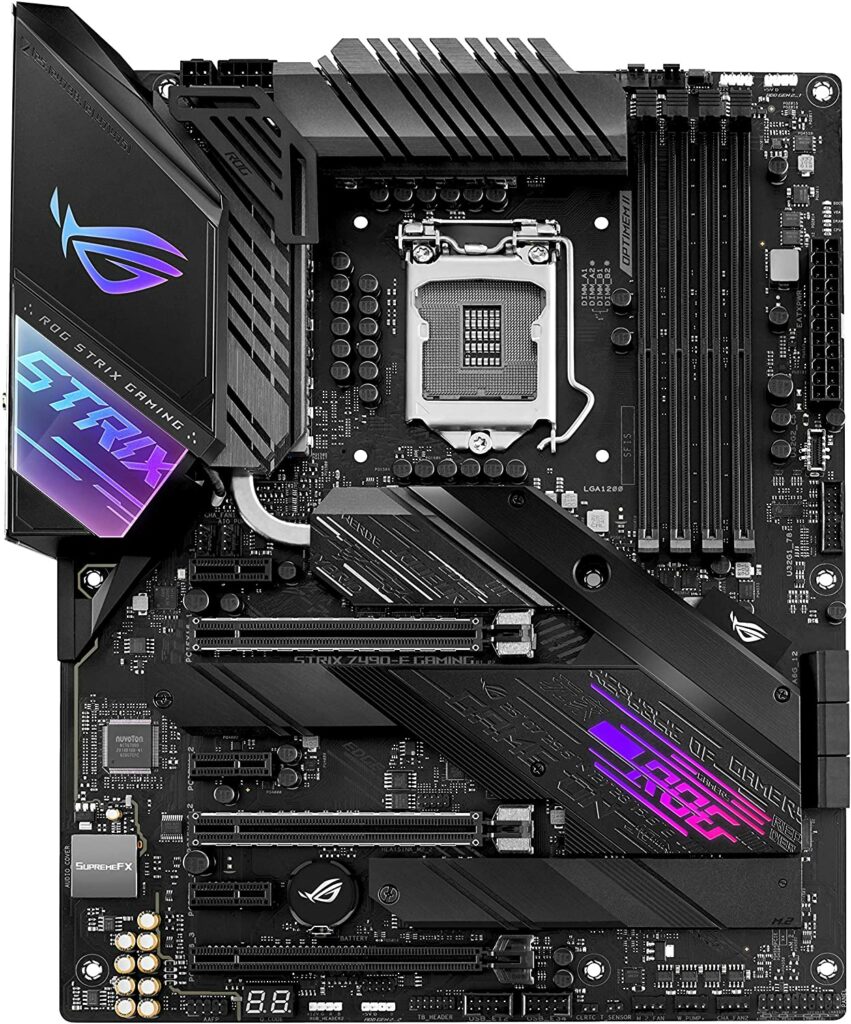
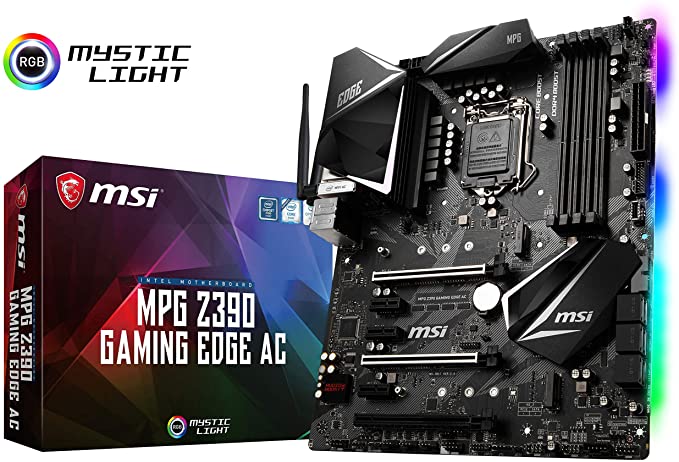
However, a rough estimate can usually be made by counting the number of chokes, or the cube-like black components surrounding the CPU socket. For instance, if you see three chokes clustered together, plus two that are on another section near the CPU socket, then we can estimate that the motherboard has 3+2 VRM phases.
Balancing VRMs and your (installed) CPU
Generally, the higher the VRM phases, the more CPU load your motherboard can handle. Do note however, that stressing the VRMs by increasing the workload of the CPU results in significantly higher temperatures, and may exceed its thermal operational limit.
That being said, processors running on their stock clock speeds don’t require too much phases. So long as the CPU is not too high-end for the motherboard, they should work as designed without thermal throttling.
For example, a mid-range Ryzen 5 3600 at stock clock speeds can work on a relatively entry-level A320 motherboard. But using a high-end Ryzen 7 3900, even at stock clock speeds, would definitely over-stress the VRMs on the same motherboard.
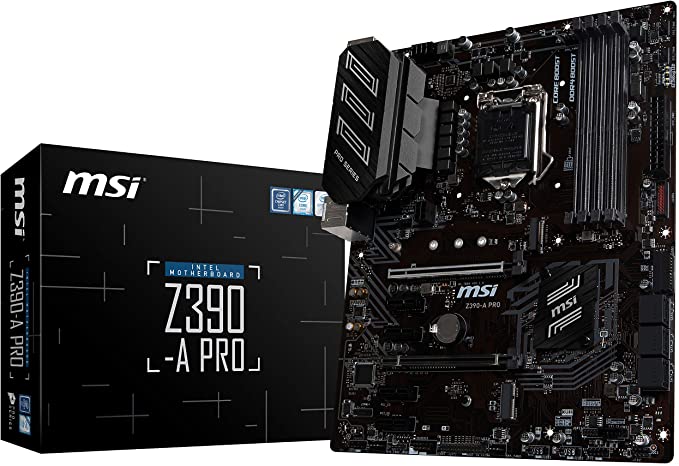
Reversely, an entry level Core i3-9100F CPU would be a total waste to the completely decked out 8 or 10-phases of a typical Z390 high-end motherboard.
In summary, to make the most out of your CPU performance, you should consider the following features on a motheboard:
- Balance the tier of the CPU you are using to the motherboard’s relative tier.
- Good motherboard cooling is always a must (either by using a downdraft CPU cooler, or using PC case fans)
- To that end, motherboards with heat sinks around the VRMs might be necessary, depending on your performance expectations.
Final Words
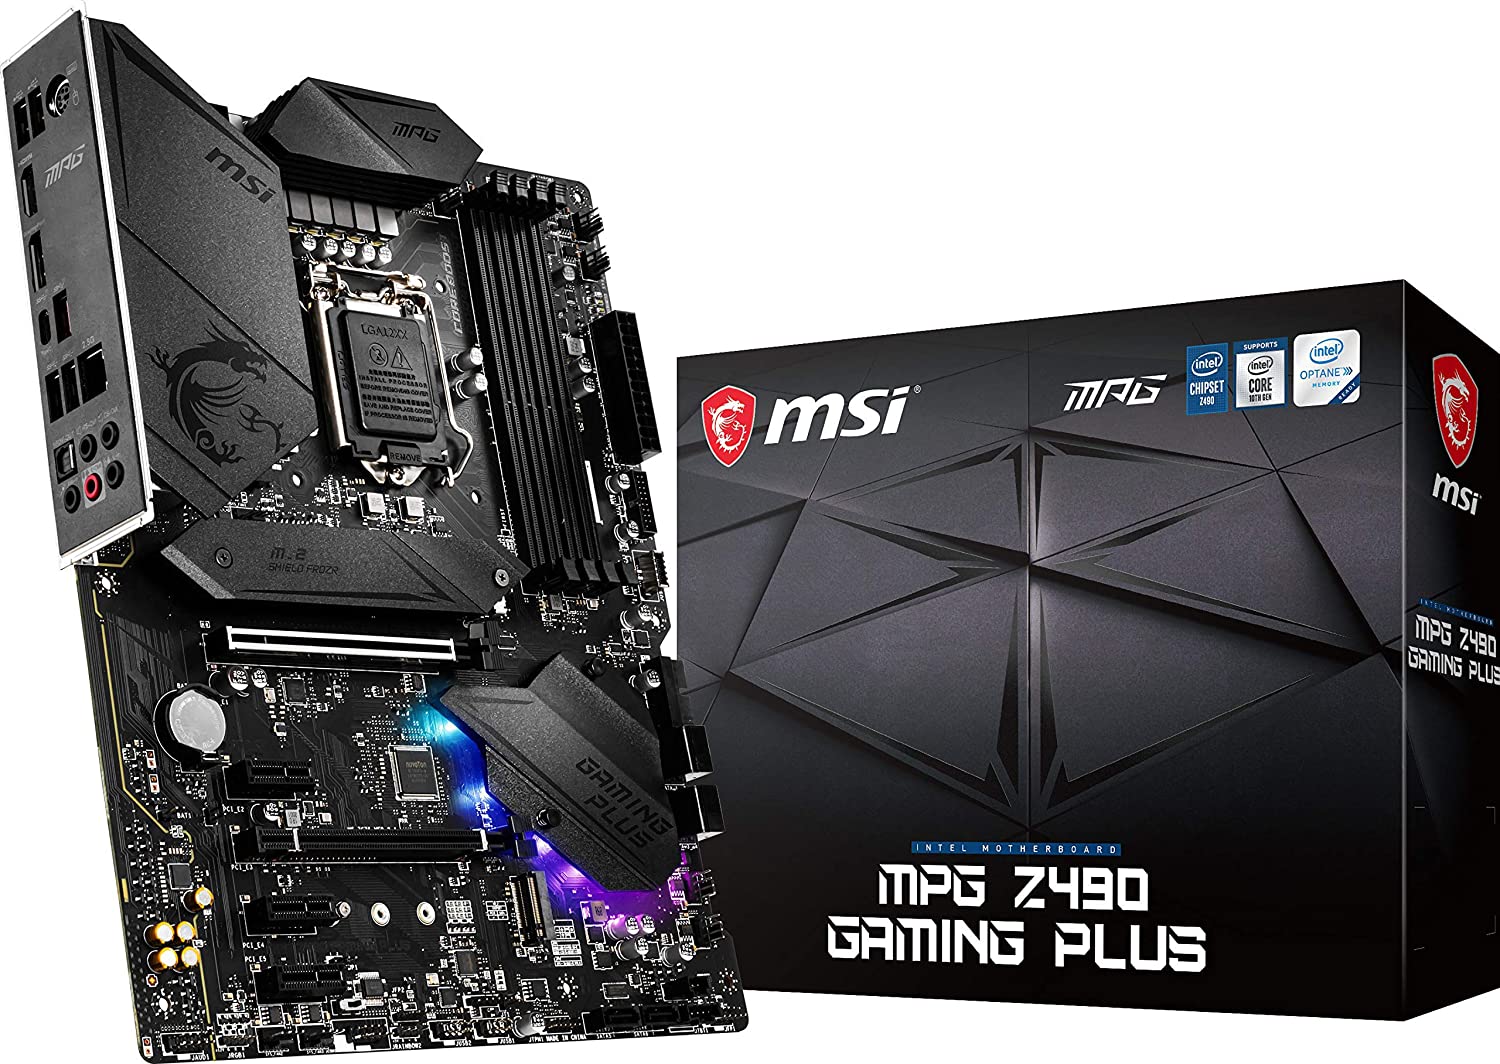
To choose a motherboard, is to choose the features and options that you want available on your PC. As we have discussed, knowing the VRM rating of a particular motherboard is also very important. The better its power delivery, the higher CPU tiers it can support, delivering the overall performance for your PC.
That being said, budget is something that would still be inevitably incorporated with these spec considerations. If you don’t actually have any particular use for a feature, or if you can dial back your CPU choice a few notches, then you may be able to save money on a cheaper motherboard without losing what your PC build actually needs.
