How to Choose and Install Memory Modules for Your Custom PC
RAM or random access memory, is like the secondary to-do-list of your CPU. Your CPU has its own cache memory to fetch specific instructions as it operates. But RAM holds the data, software and programs that are currently in use, so that your CPU can repeatedly access it quickly as you use the computer.
Unlike storage devices and hard drives, the nature of the information stored in the memory is volatile or temporary. The higher the RAM capacity in your memory module, the more program, operations and data it can hold, thus improving multitasking. If your memory module only holds a small amount of RAM chip, you will experience noticeable performance drop, as your system struggles to fetch and swap programs with the storage device into the memory “bucket” of your PC.
Loading and switching between applications will take longer. Working with big video files, data and photos will also feel sluggish. Having multiple tabs open on your browser will significantly hamper the performance of your computer. These are all ‘symptoms’ of having small memory, no matter what CPU you have.
Think of the RAM memory as the work desk and the storage as the filing cabinet. You take your applications and data out of the filing cabinet and place them on the desk to work on. The bigger the work desk, the more applications and files can be left open to quickly switch between them without swapping them out with the filing cabinet. This is an analogy I like to use over and over when explaining to users why they need more memory. Having to move applications and data between the RAM memory and storage takes time and slows the computer down.
Editor
So, which memory module do we choose? And how much RAM do we need?
Knowing Your Memory Module
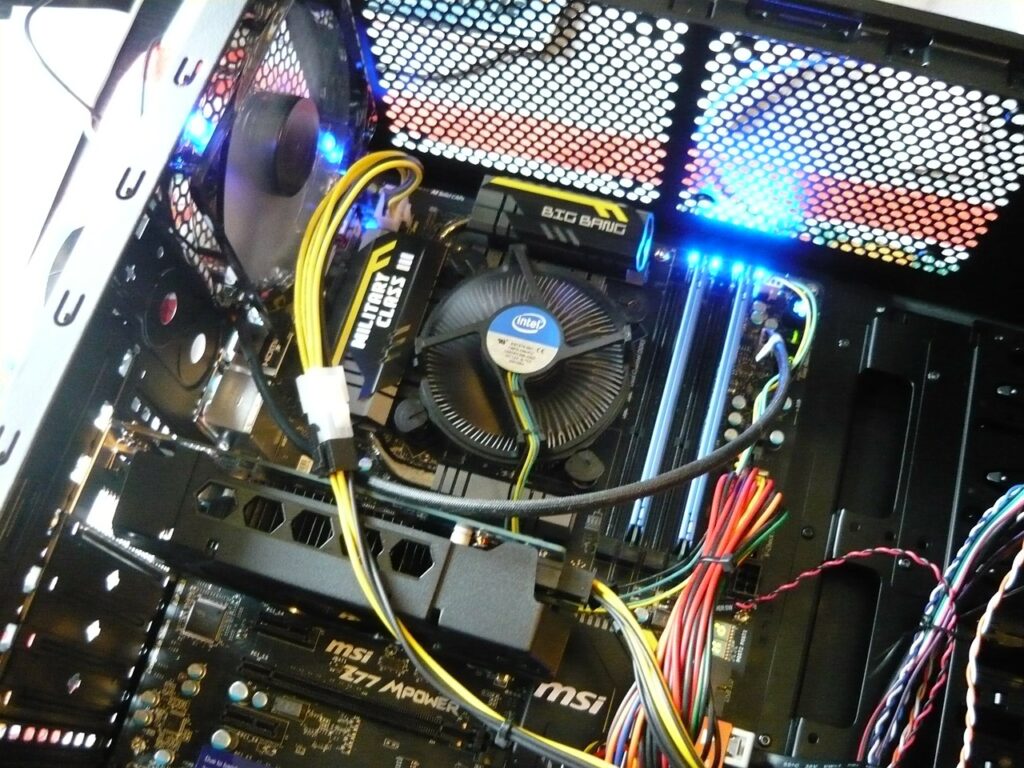
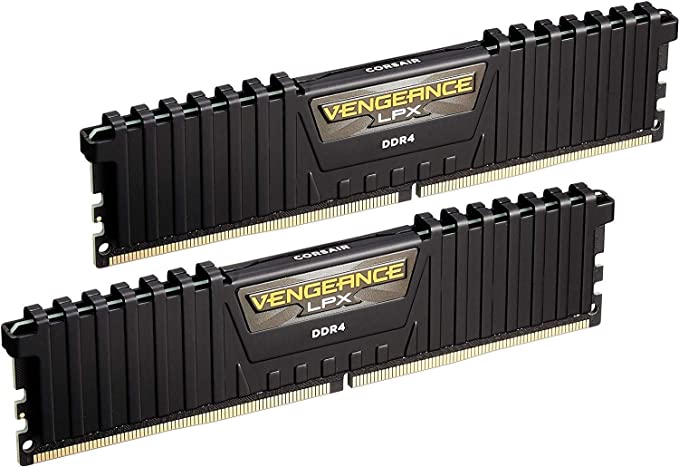
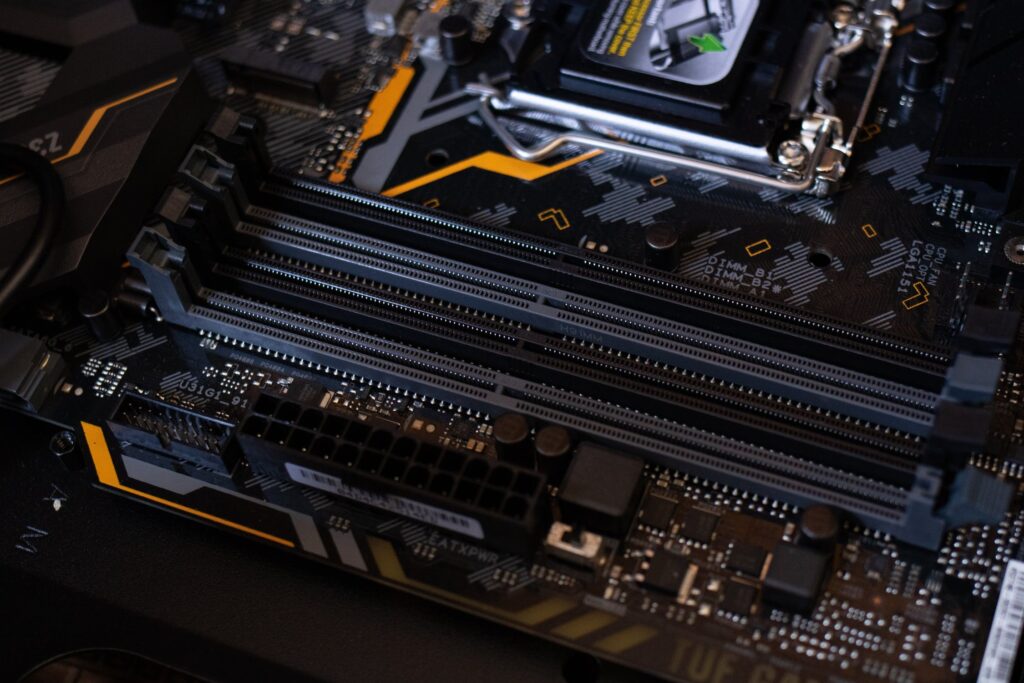
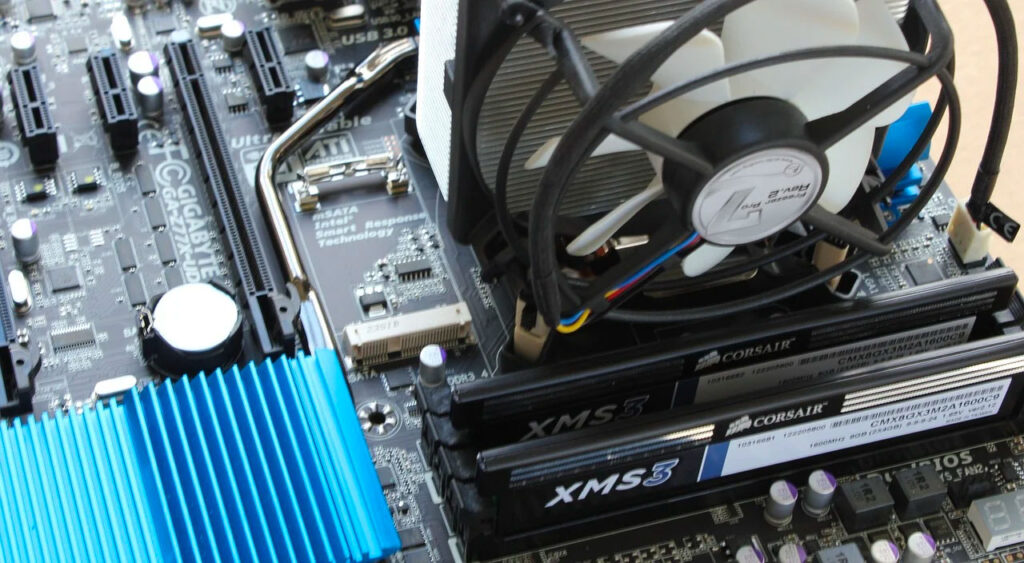
Memory modules are installed on a motherboard via DIMM slots, which are almost always placed beside the CPU socket. On most consumer-type motherboards, there would be either four or two DIMM slots. This configuration will depend on the technical tier of the motherboard. The slots are configured as pairs, so four DIMM slots will be grouped in twos. As for the memory module specifications needed, you need to take note of the following:
1. Data Capacity
Like your storage drives, this is the maximum amount of digital data that the memory module can hold. These will typically be available in 4, 8, 16, 32, or even 64GB (GigaByte) modules. These days, 8GB or 2 x 4GB modules is the absolute minimum, but the sweet economic spot is 16GB or 2 x 8GB modules. Bigger capacity pairs such as 32GB or 2 x 16GB modules and 64GB or 2 x 32GB modules are also available.
Using memory modules with higher than 16GB RAM would usually be for very specific multi-tasking and productivity setups, or for those who like to play very RAM hungry games, such Cities Skylines or ARK Survival Evolved. Also, there is a limit as to how much memory you can have. Check the motherboard for maximum supported memory.
2. SDRAM Class Types
Today’s memory modules are based on Synchronous DRAM or SDRAM for short. These are dynamic random access memory that synchronises with an external clock signal, usually the frequency of the CPU or an internal bus clock.
Newer generation SDRAMs are still based on the same idea but doubles the data rate, transferring data on the rising and falling edges of the clock signal. This new memory is known as DDR SDRAM. It increases the transfer rate without increasing the clock frequency.
Since then, newer and faster DDR SDRAM memory have come on the scene such as the DDR2 SDRAM, DDR3 SDRAM, DDR4 SDRAM and the yet to be launched DDR5 SDRAM (2021). Each generation improves upon the last with improved I/O bus signal, reduced power consumption, increased pre-fetch buffer width, better signal integrity and stability. Ultimately, increased transfer rate.
All modern motherboards and graphics cards currently use the DDR4 SDRAM memory modules. Also to consider is the speed of the memory; 2666MHz, 3000MHz, 3200MHz, 3600MHz, 4400MHz or 5100MHz, more on this next.
3. Clock Speed
Similar to the CPU and GPU, the clock speed determines the base transfer rate data of your memory module. The current lowest and highest (base) clock speeds for DDR4 SDRAM are 2133Mhz (megahertz) and 5100Mhz respectively.
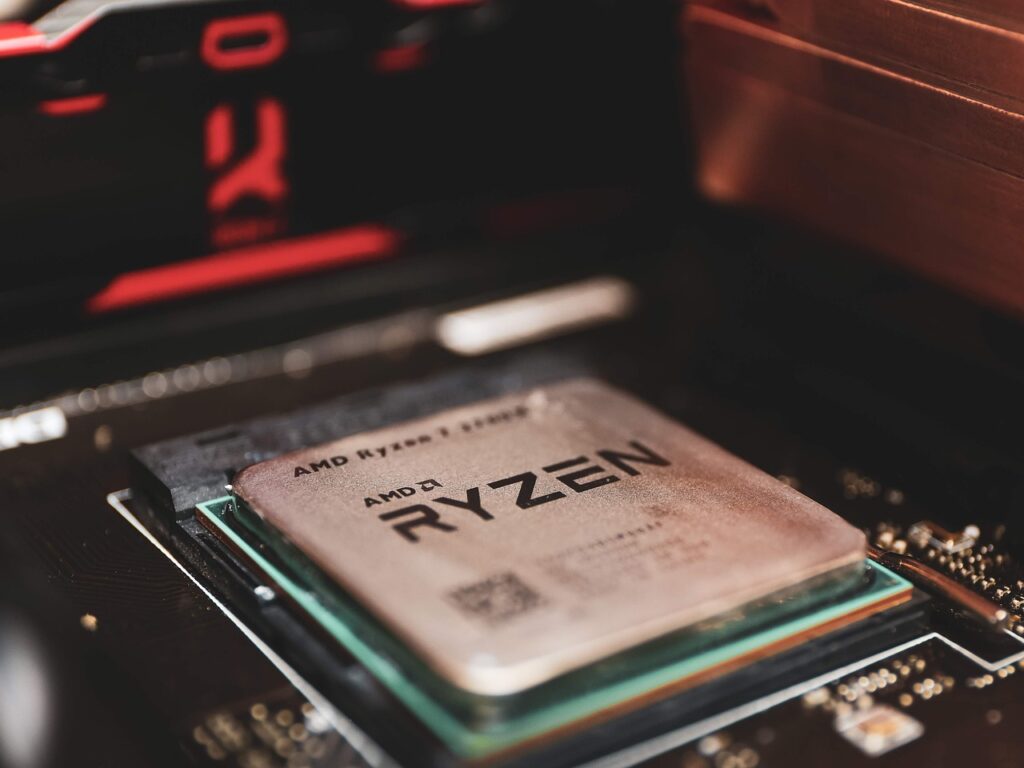
Of course, the higher the clock speed, the higher its apparent processing speed will be. While clock frequency speeds aren’t as important on Intel Core CPUs, they are quite important for AMD Ryzen CPUs (especially for 1st and 2nd generation Ryzen CPUs), usually gaining noticeable performance boosts with higher RAM speeds.
4. CAS Latency
The column address strobe latency or CAS latency, as the name suggests is the number of clock cycles required when instructions are fed on a column and when it will be available for retrieval. In memory module specification lists, this will be represented by the letters CL, then the clock cycle number (e.g. DDR4 2666Mhz CL19). Generally, the lower the CAS latency, the better the performance of your memory module will be.
5. Dual Channel
Also, all consumer-grade memory modules are dual-channel compatible. This means you can use identical memory modules in pairs on the motherboard and the computer through its memory controllers will be able to communicate with them simultaneously via two channels. This allows for double the speed of data exchange compared to using just the one channel.
Motherboards with dual channel architecture have memory controllers that use two channels to access its memory modules. There are memory controllers with quad-channels, six channels or eight channels although these are typically reserved for servers.
Other specifications, such as memory specification compliance, data integrity features (ECC or non-ECC) will simply be used to cross-reference the compatibility of your memory module to your CPU + motherboard setup.
Configuring Your PC’s Memory for Performance
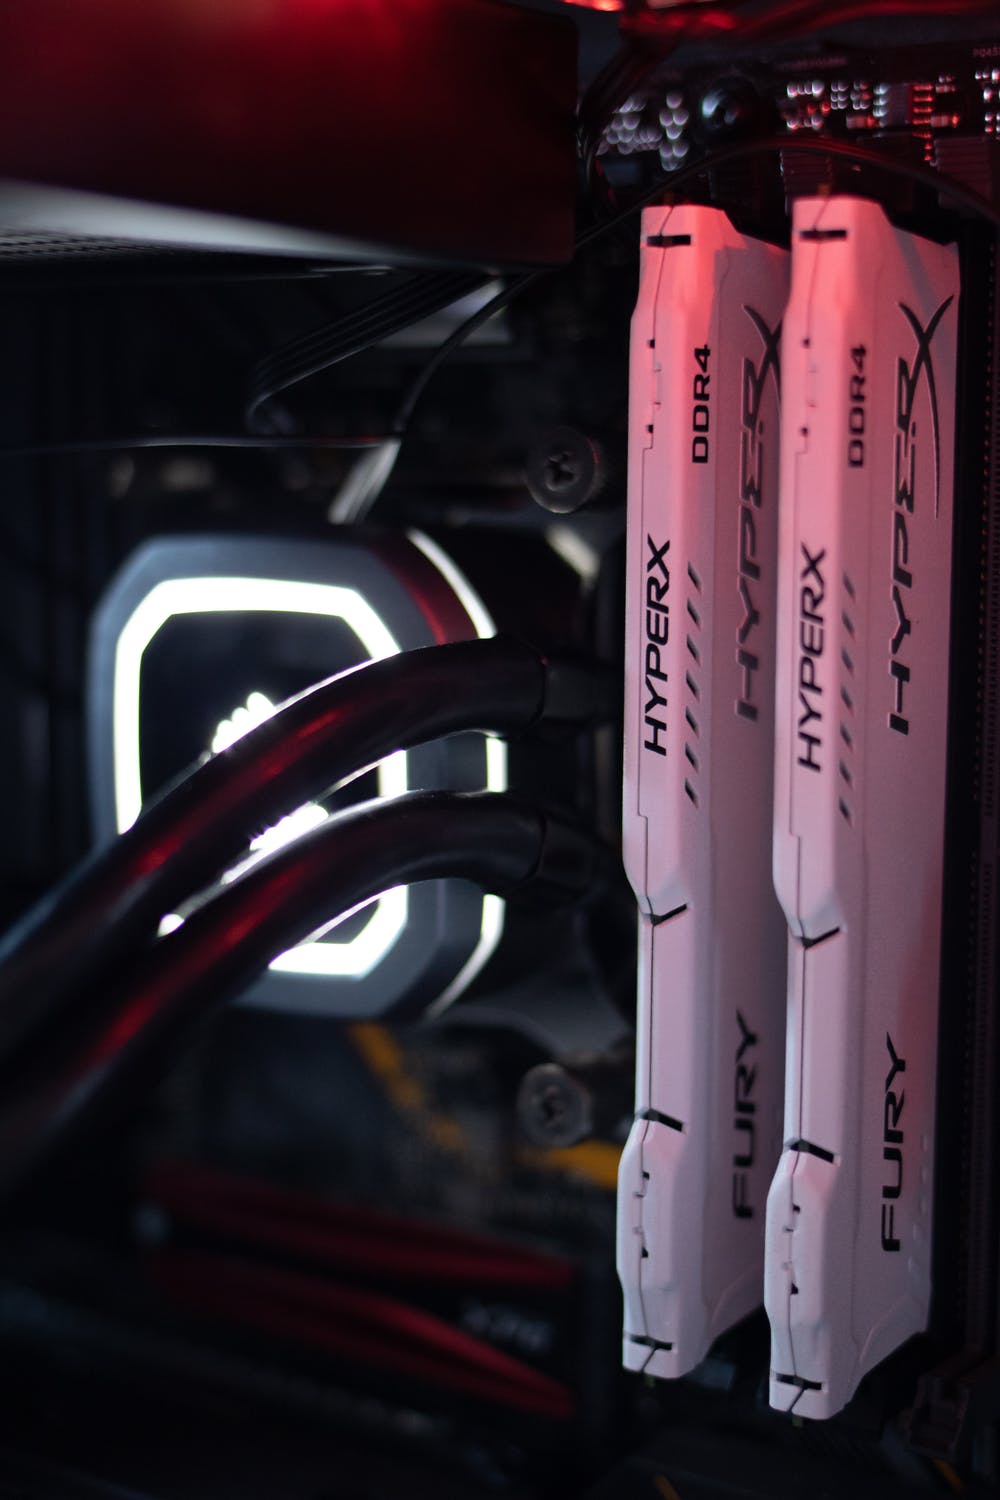
While installing memory modules is as easy as observing the notch(es), opening the latches on either ends of the slot, lining up the pins and inserting them properly into the DIMM slots until they click into place, the configuration as to how they are installed will be important to optimize their performance. Some of the basic things you should know about are:
1. Dual-channel setup is a lot more efficient than single-channel.
Basically, it is much better to install two 4GB memory sticks on two DIMM slots than just one 8GB on a single DIMM slot. The tandem performance of the two memory modules on dual-channel will provide considerably prominent improvement on your RAM. The only reason you would perhaps go single-channel, is if you don’t have the budget to buy another stick just yet, but will simply add the other in the near-future (as opposed to buying half capacity for two, and then throwing them out to replace with two higher capacity ones later).
2. Combining two memory modules of different specifications would work, but you will have to sacrifice performance level
This negates the advantage of using dual-channel. For example, the other module will have to clock down its speed if its partner’s speed is lower. Thus, it is also recommended to use the exact same memory sticks in paired DIMM slots.
3. In motherboards with four (4) DIMM slots, you don’t just put the memory modules in any slot.
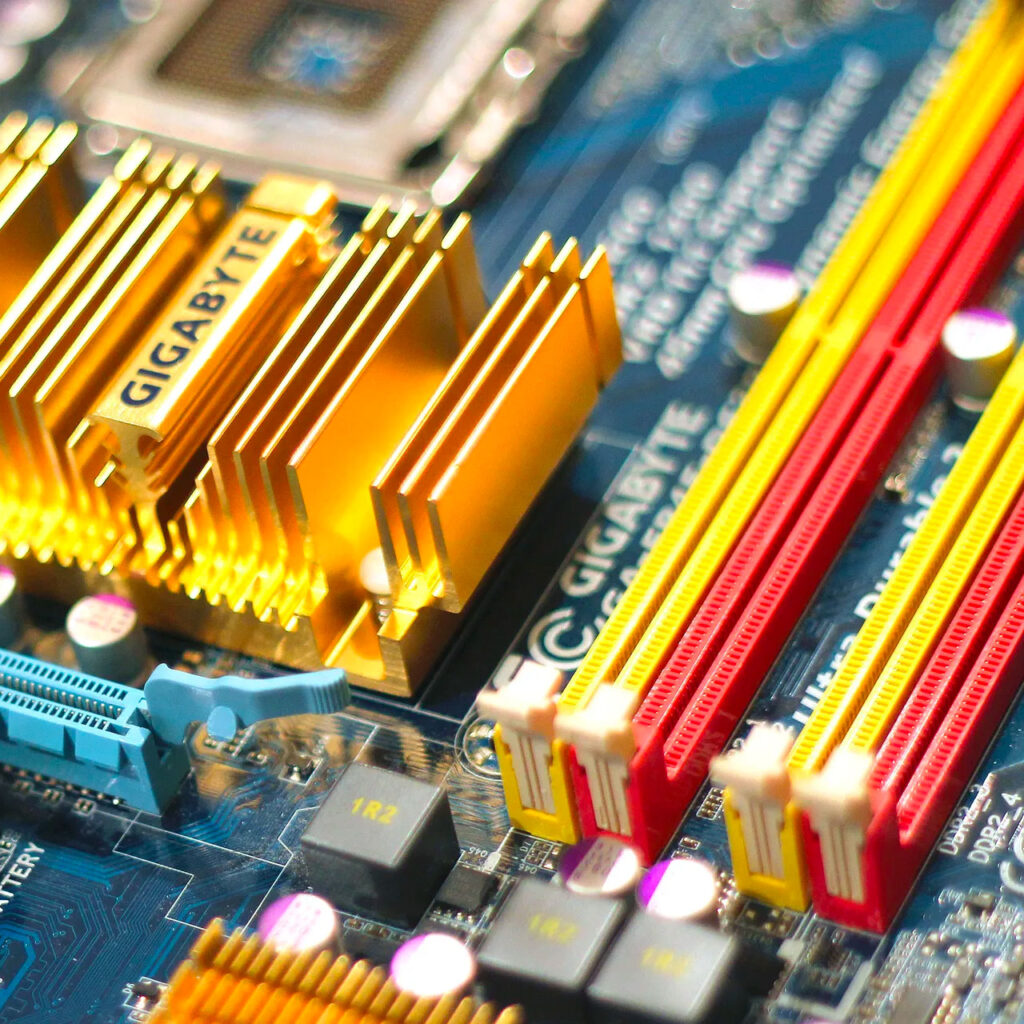
Each slot will be partnered with another slot in dual-channel, commonly represented by the different colors of the DIMM slots. For motherboards with four DIMM slots, the memory bank is configured in “A-B-A-B” formation. If you only have two identical memory modules to install e.g. 2 X 8GB modules, insert these identical modules in the “A” slots. If you have four modules to install then insert the next pair in the “B” slots. If the slots are colour coded, use identical memory modules for the same color. Refer to your motherboard’s technical manual to check which slots are in dual-channel configuration with each other.
4. Check in your BIOS if your memory module is actually using its advertised clock speed
If it is operating at a lower clock speed, then you may have to first enable an XMP profile. You simply have to go under the tab that enables XMP profiles on your BIOS, and turn it on. Depending on your motherboard, it should automatically be set on its maximum speed. Otherwise, you may still have to manually set the clock speed through its own RAM settings.
5. If you are unsure if your SDRAM DDR4 memory module specs will be compatible with the motherboard don’t worry.
So long as all components are set for DDR4, they should still work. Your faster memory module will still be compatible for slower memory controller on the motherboard. For example, using a 2666Mhz memory module on a motherboard that only supports 2400Mhz bus speed will mean the memory run at reduced clock speed and vice versa. This would not be optimal but will still work.
6. That being said, you should try to match memory module clock speed to your budget.
For example, there is basically no point in getting 3200Mhz sticks if you are setting up a motherboard system that supports a 2400Mhz or 2666Mhz bus clock. It is not money well spent.
7. If you have to choose between higher clock speed or lower CAS latency, prioritize the one with the higher clock speed.
CAS latency will usually only be important when comparing memory modules of the same clock speed.
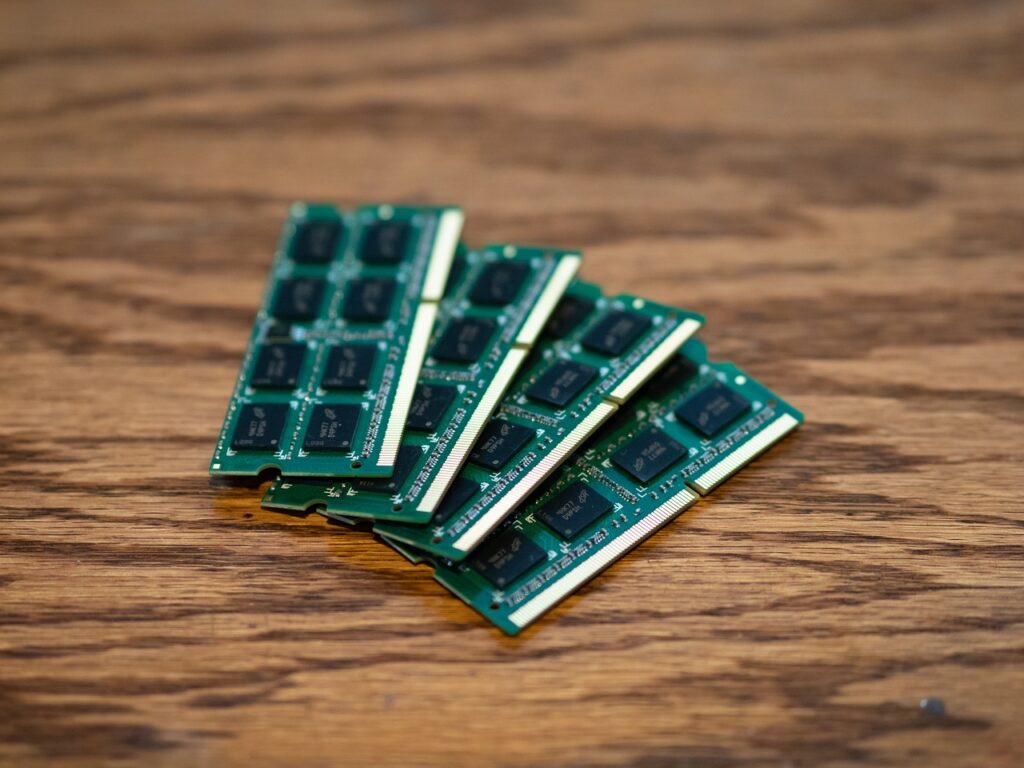
8. Do not confuse standard DIMM memory modules with SO-DIMM memory modules.
SO-DIMM memory modules are made for laptops and barebone setups that use mobile processors and as such, are completely incompatible for your consumer-grade desktop motherboard for custom PC.
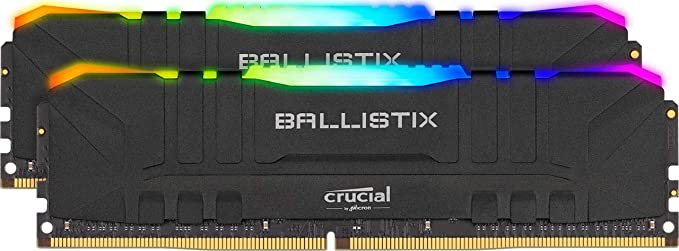
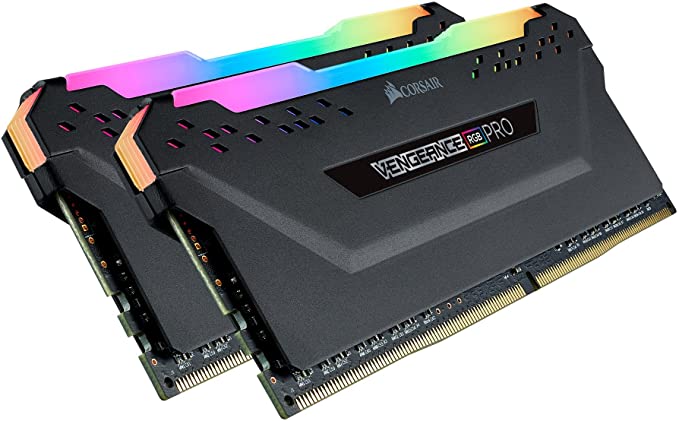
9. Heat spreaders (those fancy covers on memory modules) don’t really provide any direct benefit on your RAM module nor the LED lights
If you have sufficient airflow and cooling inside your PC there is really no need for heat spreaders. So if you can find cheaper and still reliable memory modules without heat spreaders, go for those. The same logic applies to modules that have fancy sparkly bright RGB LED lights.
Sourcing Your Memory Modules
Here are some manufacturers offering desktop memory modules for Custom PCs:
- Adata
- Apacer
- Corsair
- Crucial
- Elpida
- GeIL
- G.Skill
- Hynix
- HyperX
- Kingston
- Micron
- OLOy
- Patriot
- Samsung
- Teamgroup
Memory module specifications are more standard than storage devices. This means that the same components are being used across memory modules carrying different brands with the same OEM manufacturers involved in putting them together. In short, they are branded differently by the companies selling the RAM. So, even memory modules from companies that are not exactly known for their memory module such as PNY, are still good to use.
Final Thoughts
So, as you can see, there are a lot of considerations when choosing memory modules. Capacity is one thing, but so is pairing, the available slots, their data transfer specs, and the way they are installed. Ultimately, your choice of memory modules must start with what motherboard and CPU you choose. Check the motherboard’s minimum requirement for memory specification and go from there.
Indeed, the amount of information about RAM memory modules may be overwhelming for new users but. We hope that this clarifies most of the questions that came up about choosing and installing the right memory modules for your custom PC. We would love to hear your experience, leave us your message below.
Search DDR SDRAM Desktop Memory on Amazon
Edited by Samuel J. Tan


