Step-by-Step Guide to Building a Gaming Rig: Tiered approach
Gaming PCs have become more convenient to build through the years. Prior to the pandemic at least, many new technological updates lowered the cost of high-performance component. This made it possible to diversify current generation builds. In fact, our current digital information-centric environment makes it easier and more advantageous to build your own gaming rig. Here is our step-by-step guide towards building your own gaming rig.
With all the information you need to build your own gaming rig coupled that with the raw performance difference compared to traditional bulkier units or off-the-shelf computer, and you can pretty much be assured that learning the ropes and doing it yourself is an important investment on its own.
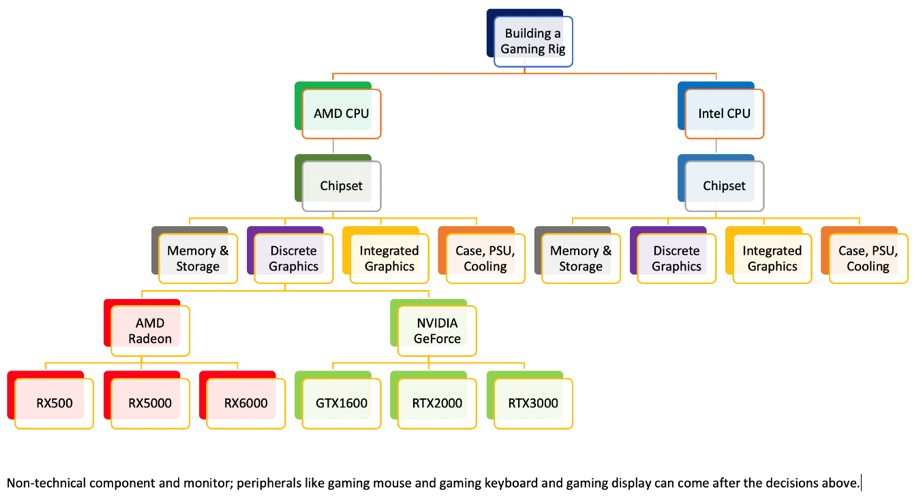
But, where exactly do we start? We’d like to present an equally convenient and visually-efficient way to know which components you need to decide on first for your custom gaming rig in our step-by-step guide.
Component Priority Overview
Let our simple, yet comprehensive priority tier guide show you the way starting.
1st Priority Tier: Choosing Your System Reference (CPU)
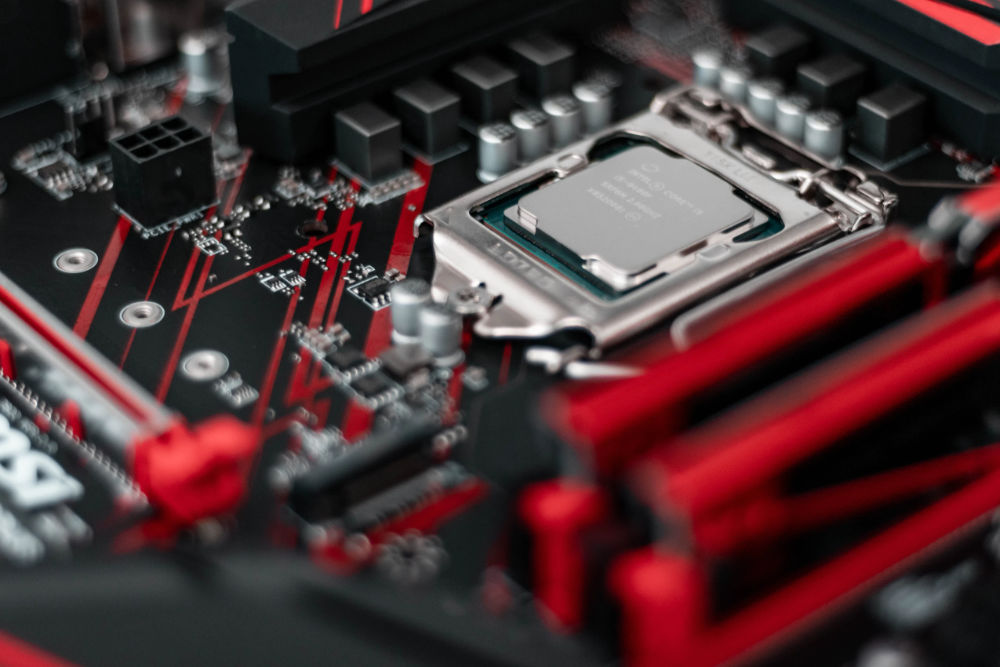
While a gaming rig heavily prioritizes graphics over anything else, we can’t really start from the graphics card. This is because in building a PC, compatibility has to come at the very front, or else the unit won’t even be able to turn on. As such, for our first priority tier we need to know is which CPU you want to use. Currently, there are only two choices, which are:
Intel – as of 10th Gen (Comet Lake), the company has now turned around to become the prime DIY budget option on mid-tier to entry-level CPUs. However, its high-end offerings remain quite non-sensical in terms of performance compared to either AMD or even its earlier releases. This is why for cheaper pure gaming setups, Intel is the economical choice as the more architecturally advanced CPU manufacturer. New 11th Generation Intel Core i5 and Core i7 11000 series processors are also slowly coming on the market offering an even wider choice, if you decide to go Intel.
AMD – starting 2017, the company kicked back itself into overdrive with the release of Zen (architecture), represented by its lineup of generational Ryzen processors. While Zen 2 (Ryzen 3000 series) maintained the spirit of having scalable options for all build tiers, Zen 3 (Ryzen 5000 series) remained exclusively for higher-end enthusiasts. This is despite the Ryzen 5 5600X being touted as the best “bang-for-the-buck” CPU of the current generation.
It is still early days to compare the performance of 11th generation Intel processors against Ryzen 5000 series processors. While 10th Gen Intel processors maybe slower than Ryzen 5000 class for class, the 11th Gen Intel processor sees an average performance gain upwards of 14%. This is where once decides of the price difference is worth the extra.
Then there is the matter of price jumps from one processor to the next becomes too big that it takes a big chunk of your budget e.g. Intel Core i5-11600K 6-core to Intel Core i7-11700K 8-core or AMD Ryzen 5 5600X 6-core to AMD Ryzen 7 5800X 8-core.
RELATED: How to Choose and Install a CPU for Your Custom PC
2nd Priority Tier: Choosing The Motherboard Chipset
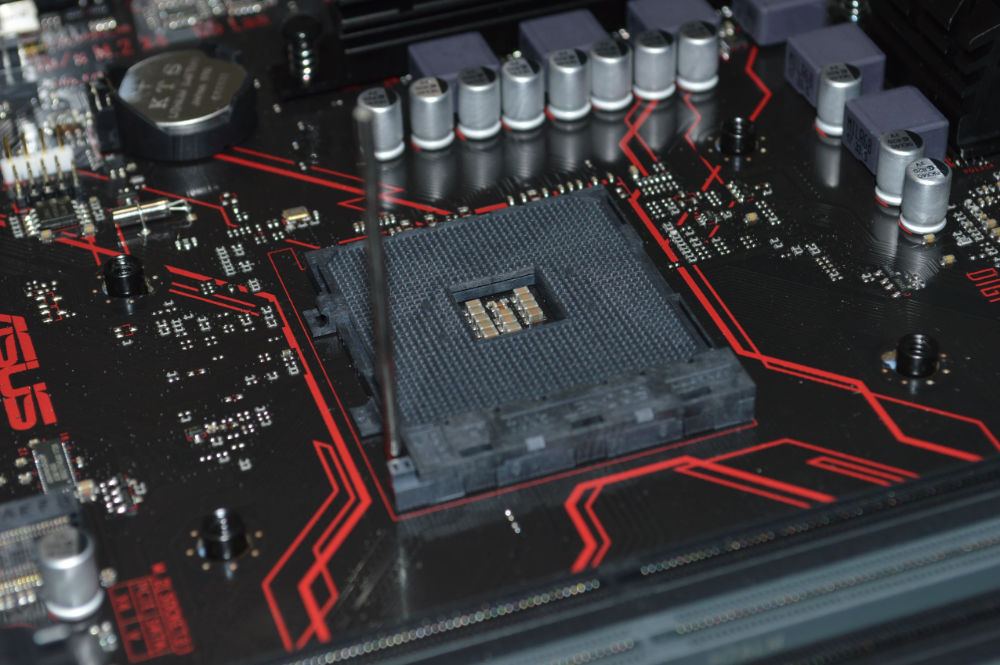
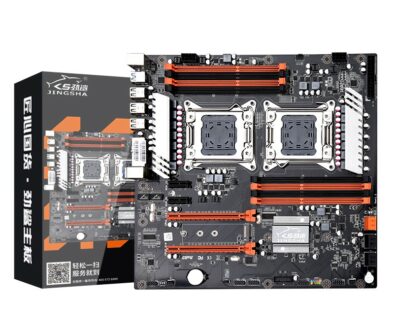
After choosing the CPU, we now have to match it with a compatible motherboard. First, you need a motherboard CPU socket that would fit the generation of that motherboard. Next, you need to make sure if a BIOS update would be necessary for the CPU generation you chose. Other features that you might want/need, such as the number of DIMM slots, available ports, etc., then follows after. Here are the chipsets currently out there to support your choice of processor.
H410 (Intel, LGA 1200) – budget chipset for 10th/11th gen Intel CPUs. Usually has two DIMMs, and limited USB 3.0 ports. VRMs are adequate, could stably power up a Core i5-10400F using only a stock cooler with no issues, provided the PC case itself has good airflow. No overclocking.
B460 (Intel, LGA 1200) – mainstream chipset for 10th/11th gen Intel CPUs. Mostly have four DIMMs, and better port/header/slot availability. Has a noticeable bump in power regulation and heat dissipation efficiency compared to H410. Still no overclocking, but it barely even needs it.
Z490 (Intel, LGA 1200) – enthusiast level chipset for 10th/11th gen Intel CPUs. All possible features crammed, VRM power delivery is great, handles even up to Core i9 with a good cooler. Memory and CPU overclocking available.
A520 (AMD, AM4) – budget chipset for Zen 2+ platforms. Frequently lampooned for limited features and zero overclocking options. But the chipset is actually pretty decent, capable of holding modern graphics cards and (compatible) Ryzen 5’s with no significant heat management issues.
B550 (AMD, AM4) – mainstream chipset for Zen+2 platforms. The to-go motherboard for almost all AMD CPU users due to its cost performance balance, feature qualities, and overclocking options. Higher-end B550’s can even accommodate the high power regulation requirements of Ryzen 7 and Ryzen 9 CPUs.
Z570 (AMD, AM4) – enthusiast chipset for Zen+2. It offers more features than B550, but due to B550 being overclockable and budget-friendly, it isn’t given that much attention (relatively). Often considered as the go-to choice for Ryzen 9 3900X and 5950X.
RELATED: How to Choose and Install a Motherboard for Your Custom PC
3rd Priority Tier: Memory
After completing your motherboard choice, the next component that you have to choose is the memory module. First, because the motherboard would definitely have more specific RAM considerations, the maximum supported speed. Second, slotting in memory modules precedes the step of choosing/installing the cooler on your CPU. Lastly, it indirectly determines the level of the rest of the components to follow.
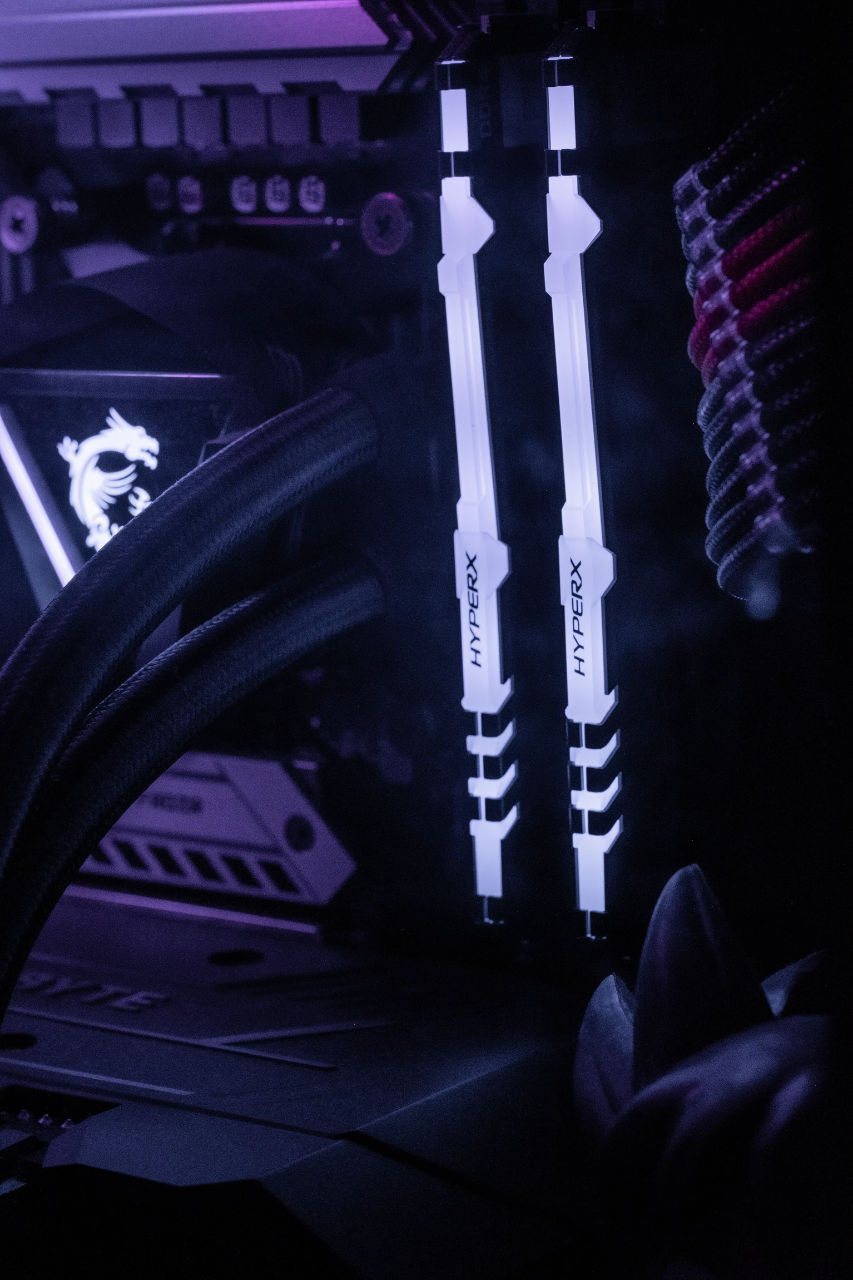
So long as you are using DDR4, there is no other specific category that you need to consider priority-wise. This is also where you decide the size of memory. Typically, they come in kit form with two identical strips in a pack. A good starting point would be the 16GB (2 x 8GB) kit. You can double that to 32GB (2 x 16GB) if you budget allows it.
RELATED: How to Choose and Install Memory Modules for Your Custom PC
3th Piority Tier: Storage
Storage drives are essential in order to install the operating system and applications required as well as to save user files. Hence, it shares the same priority tier as the memory. Once you have decided on a motherboard, get to know the type of interfaces available for storage, this could be one or a combination of those listed under this section. With fast storage NVMe SSD and SATA M.2 SSDs currently supported on new motherboards with PCI-e interface, we recommend focusing on these after memory modules since they are also directly installed onto the motherboard.
As for performance needs, the order of importance is as follows:
NVMe SSD – PCI-e x4 M.2 slots are pretty standard for current generation motherboards, so there is absolutely no reason to try and assess your budget for an NVMe SSD first. Not only do you enjoy the instant benefits of M.2 slotted storage drives, but nowadays, there isn’t really any significant price difference (with powerful budget options such as the WD SN550 and Kingston A2000). Storage that uses NVMe PCIe x4 interface are among the fastest. However, not all NVMe PCIe Gen 4.0 x4 are built the same, find out more about the performance differences of todays large (1TB) and extra large (2 or 4TB) storage for hardcore gamers.
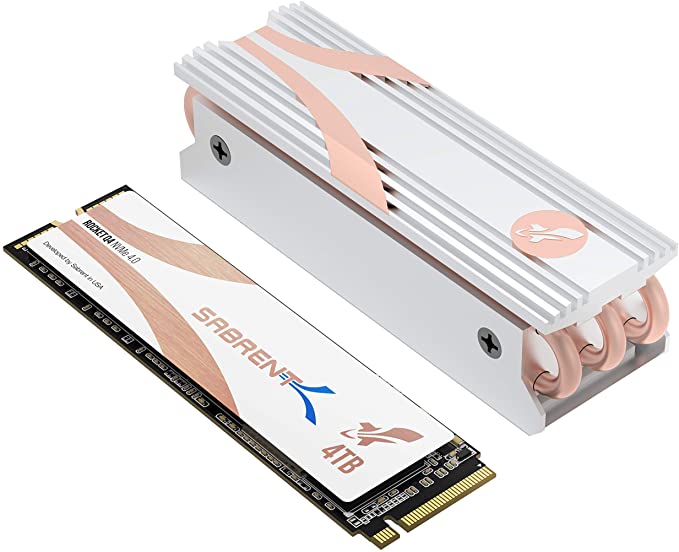
M.2 SATA SSD – has the same inherent advantages of an NVMe, but without its enhanced data transfer speeds. An okay option, but like we said, budget NVMe options exist, and these really make M.2 SATA SSDs are a hard sell.
SATA SSD – the default SSD option. Choose this if you need more budget options (just go NVMe if you plan on using high-end SATA SSDs), or if you need more SSD drives but all PCI-e x4 M.2 ports are already occupied. These are great as secondary storage for backups or infrequently accessed files that you may wish to access quickly.
HDD – (still) the best economical option for archiving data, or for fetching simpler executables like old-school games. Of course, you can also install full games on it, but only those with loading times that are fast enough by default.
And remember… get an SSD first. No matter what you do, an SSD (be it SATA, M.2 SATA or NVMe) for your main operating system and software drive is an absolute must. The rest will then depend on your data type and handling choices. How about DRAM you ask? Prioritize if on a boot drive. Otherwise, it’s not strictly required (DRAM-less NVMe SSDs have host memory buffers anyway).
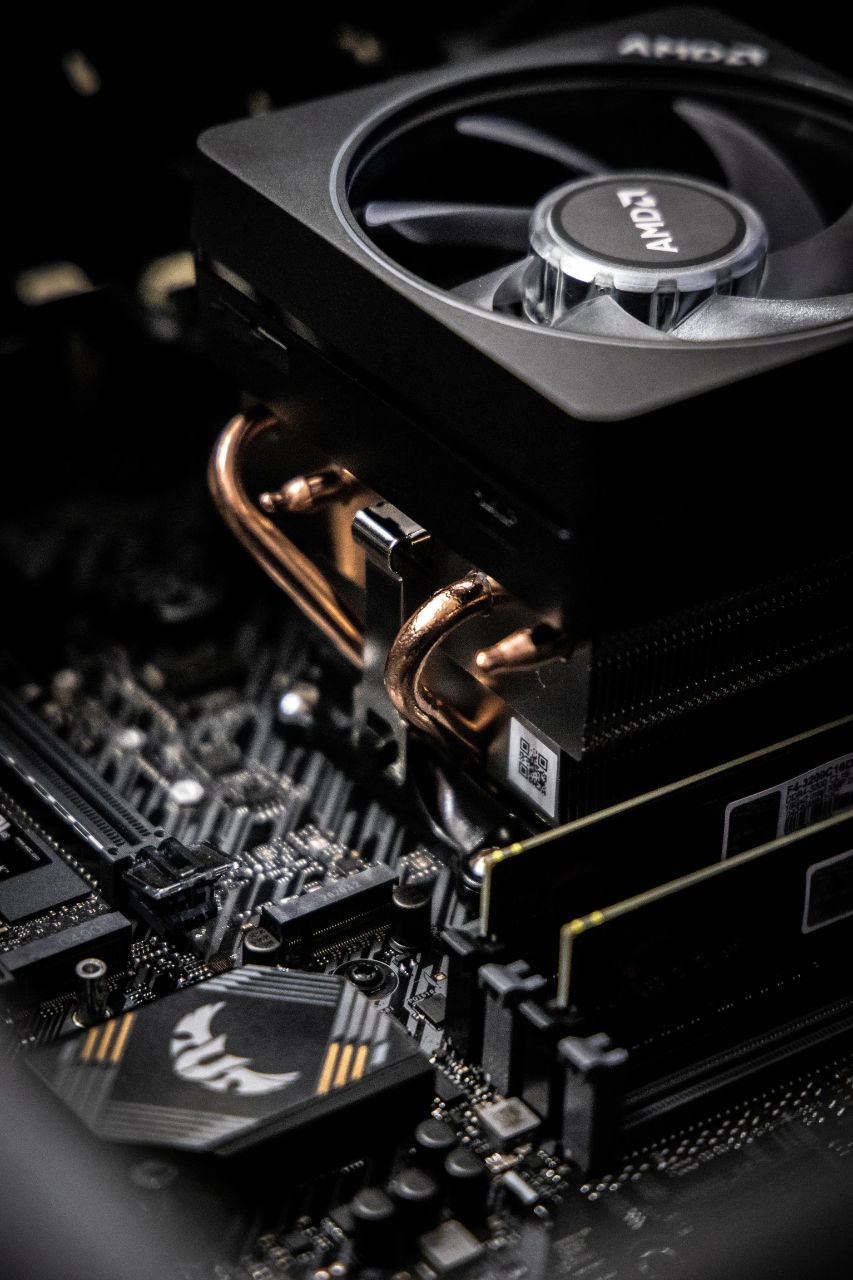
3th Priority Tier: Setting up the Case, Convenient Cooling
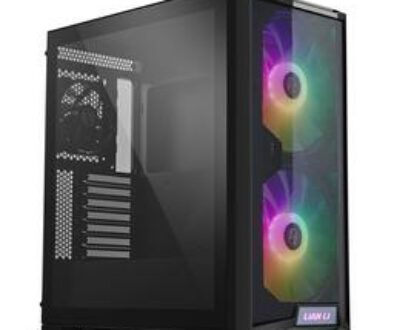
The PC case is an interesting piece of the build. This is because despite not having anything to do with computer technologies (unless you count front panel switches), it is actually prioritized much higher than other technical components. Why? For one thing, the space inside the case will determine which GPUs you can cram inside it. It also determines the PSUs that you can fit in, the coolers that can stay inside its width, and the fan setup you need to optimize heat management.
- It is also worth mentioning that if you’re not simply going straight for a Full-ATX case, you might want to prioritize a PC case alongside the motherboard. This is to double-check if it would fit your mATX or min-ITX build.
As for cooling component priorities:
- As mentioned, check if the fan and heatsink block CPU cooler you’re using would fit inside the case’s width. For AIO (All-in-One) setups, also check if the particular panel in the case would support a certain radiator size.
- For case fans, check the number that can be installed (versus the number you plan to install). If not universally using 120mm size, you might want to double-check size compatibilities as well.
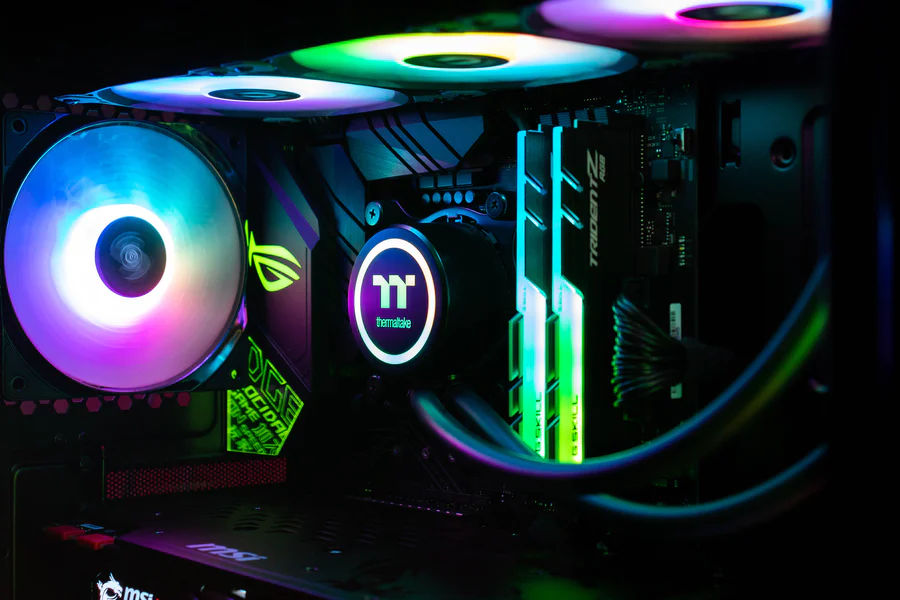
3th Priority Tier: Integrated or Discrete Graphics
Finally, with all compatibility kinks out of the way, we get into the graphics hardware options. There are two options available at this tier, integrated or discrete graphics.
There are no major checklists for integrated graphics, though there are few notable reminders for their setup:
- iGPU “VRAM” eats up your main RAM capacity, hence why the memory modules are prioritized on the same level as the iGPU.
- The most powerful iGPUs to date are on the Ryzen 5 3400G and Ryzen 7 4750G, both of which being roughly equivalent to a GTX 750 Ti
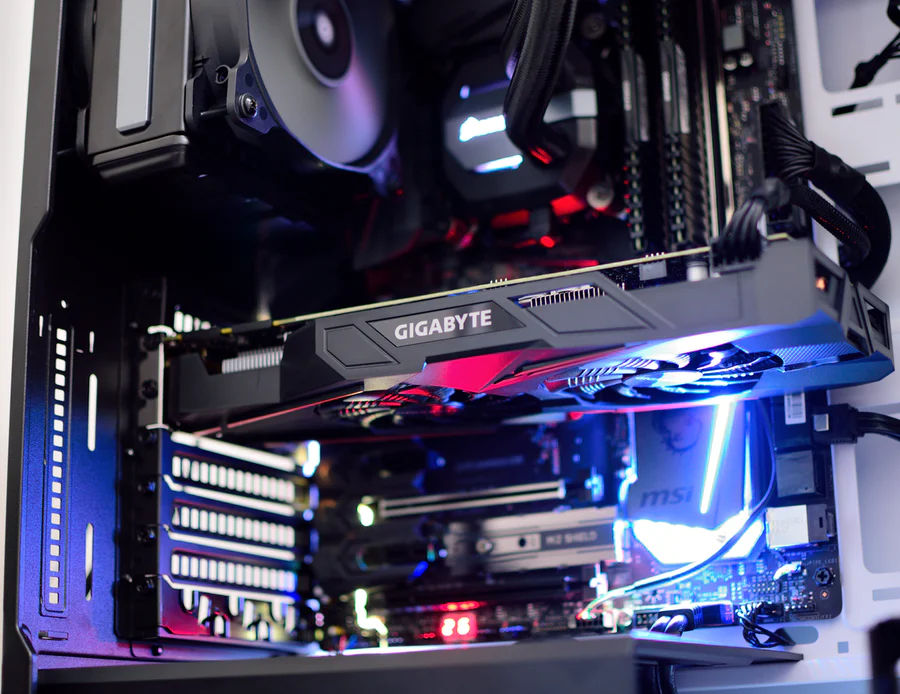
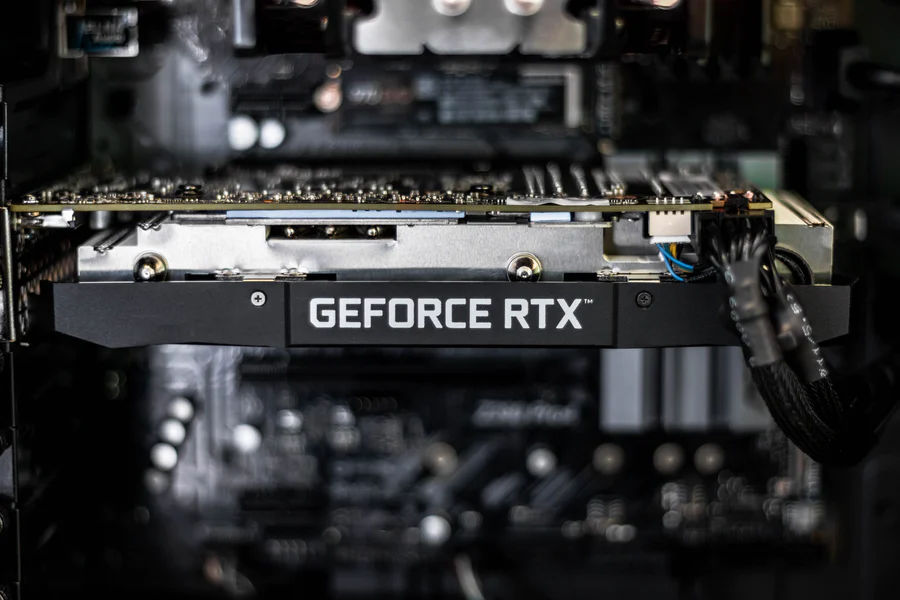
The graphics card is usually the last processing-performance-related component to be considered when building a gaming rig, since there are usually no compatibility risks (just slot it into the mobo PCI-e x16 slot). Plus, it has to be able to fit in your chosen PC case, see earlier point about double checking available room if you are after a compact case.
For discrete graphics cards:
- If using a considerably spacious PC case, almost all graphics cards less than 280mm long can usually fit. A double-check on measurements can make things less of a hassle, of course.
- Very large GPUs might require additional accessories such as support stands or PCI-e extenders to help with balance and support inside the case.
In the next tier, we consider NVIDIA or AMD Discrete Graphics.
4th Priority Tier: AMD Radeon or NVIDIA GeForce
In terms of modern GPUs released in the last three years, the performance level priority (when used for gaming) are as follows.
| Rank | Nividia 16 Series | Nvidia 20 Series | Nvidia 30 Series | AMD 5000 Series | AMD 6000 Series |
| 1 | – | – | RTX 3090 | – | – |
| 2 | – | – | RTX 3080 | – | RX 6900 XT |
| 3 | – | RTX 2080 Ti | RTX 3070 | – | RX 6800 XT |
| 4 | – | RTX 2080* | RTX 3060 Ti | – | RX 6800 |
| 5 | – | – | – | – | RX 6700 XT |
| 6 | – | RTX 2070 | RTX 3060 | RX 5700 XT | – |
| 7 | – | RTX 2060 S | – | RX 5700 | – |
| 8 | – | RTX 2060 | – | RX 5600 XT | – |
| 9 | GTX 1660 Ti* | – | – | – | – |
| 10 | GTX 1660 | – | – | – | – |
| 11 | GTX 1650 S | – | – | RX 5500 XT | – |
| 12 | – | – | – | RX 5500 | – |
| 13 | GTX 1650* | – | – | – | – |
*The 2070 Super almost the same, 2080 Super offers a negligible boost
*The 1660 Super technically occupies the same spot as the 1660 Ti
*The 1650 went under four total revisions, and is now significantly more poweful than its first iteration in 2019.
I am sure you will agree that the table above pitching NVIDIA GeForce against AMD Radeon discrete graphics is enough to allow you decide on which is a good choice to go for. Again, price can be a factor in choosing between entry, mid-range, premium or ultra performer. Due to high demand in graphics card for bit-coin mining, be prepared to spend a bit more here.
RELATED: How to Choose and Install a Discrete Graphics Card for Your Custom PC
5th Priority Tier : PSU Juggling
The PSU becomes the last on the priority, not because it is the least important. But simply because we needed to know all the components that will affect the total system power draw. In this step-by-step tier list, there isn’t really any other specific pointers that we can refer. Just be sure to follow both the specifications, hardware requirement and installation guide to match whatever configuration it will take on your PC case.
RELATED: How to Choose and Install a Power Supply for Your Custom PC
Non-technical components and Monitor
Peripherals like gaming mouse end gaming keyboard as well as monitor(s) can come after the more technical decisions one has to make above.
Edited by Samuel J. Tan
