DIY Wireless Charging Station: A Beginner’s Guide
Wireless charging has become increasingly popular as a convenient and cable-free way to charge smartphones and other devices. Instead of constantly plugging and unplugging charging cables, wireless charging allows you to simply place your device on a charging pad and let electromagnetic induction do the rest. While many commercial wireless chargers are available, building your own DIY wireless charging station allows for customization, cost savings, and a deeper understanding of how the technology works.
In this guide, we’ll cover how wireless charging works, the materials and tools needed, and a step-by-step guide to building your own wireless charging station. Whether you want to integrate a charger into your desk, nightstand, or create a multi-device charging hub, this beginner-friendly tutorial will help you get started.
If you are looking to enhance your existing wireless charger, be it for smartphone or watch, to fit with your decor, we also have inspirational stands and enclosure ideas for you. Keep reading.
How Wireless Charging Works
At the heart of wireless charging is a technology called electromagnetic induction, which allows power to transfer from a charging pad to a compatible device without physical contact. Inside the wireless charger, a copper coil creates an alternating electromagnetic field. When a wireless charging-compatible device (such as a smartphone) is placed on the charger, another coil inside the phone picks up the electromagnetic energy and converts it into usable electrical power to charge the battery.
Most modern smartphones and wireless charging devices follow the Qi (pronounced “chee”) wireless charging standard, developed by the Wireless Power Consortium (WPC). Qi charging ensures compatibility across different brands and devices, making it the most widely used standard. Other proprietary wireless charging technologies exist, but Qi is the most universal and reliable for DIY projects.
Before starting your DIY build, it’s essential to check whether your device supports wireless charging. Most flagship smartphones, including iPhones (from iPhone 8 onwards) and many Samsung Galaxy and Google Pixel devices, are Qi-compatible. If your phone doesn’t support wireless charging, you can still add a wireless charging adapter, which plugs into the charging port and allows it to work with Qi charging pads.
Materials and Tools Needed
To build your DIY wireless charging station, you’ll need a few essential components that ensure efficient power transfer and durability.
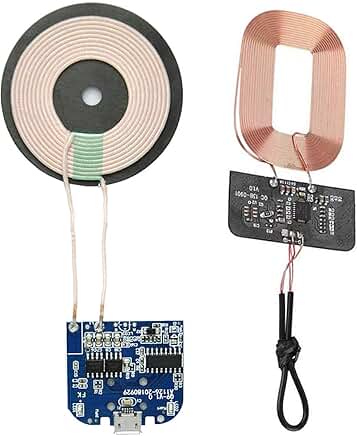
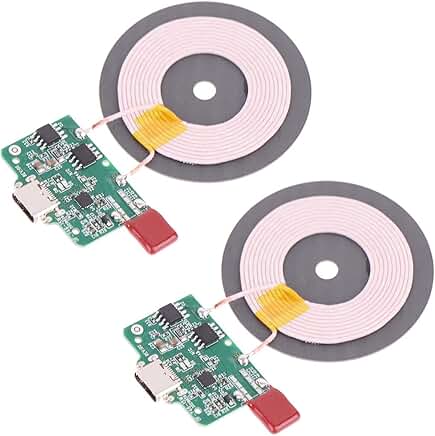
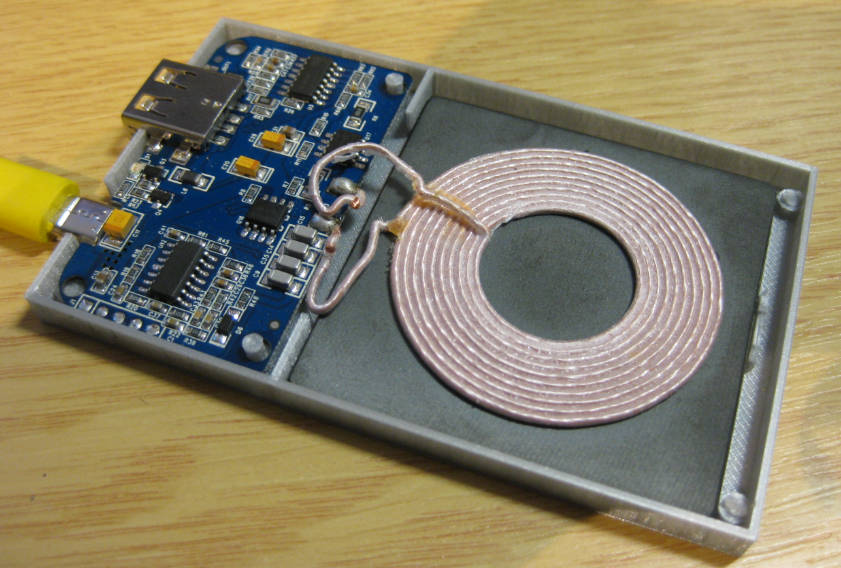
a) Wireless Charging Module
The Qi-compatible charging module is the core component of your DIY charging station. These modules consist of a transmitter coil, power management board, and microcontroller that regulate power transfer. Choose a module with an output of at least 5W for standard charging, but if you want fast wireless charging, look for a 10W or 15W charging module.
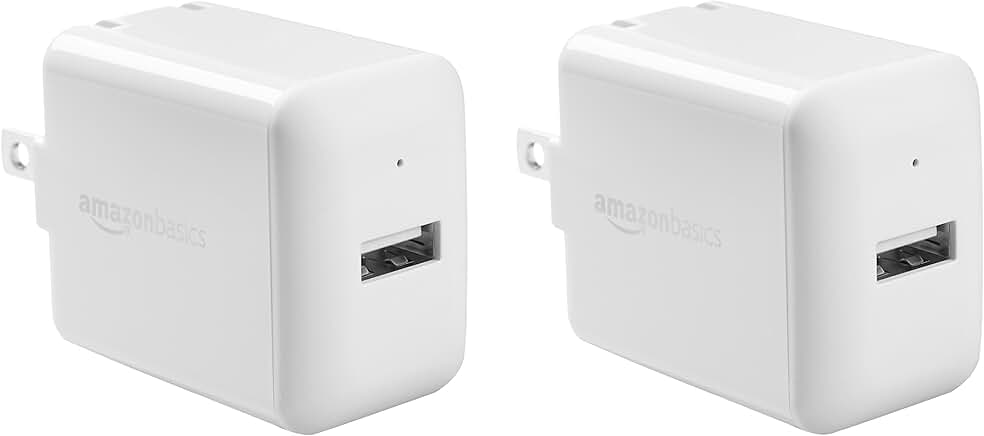
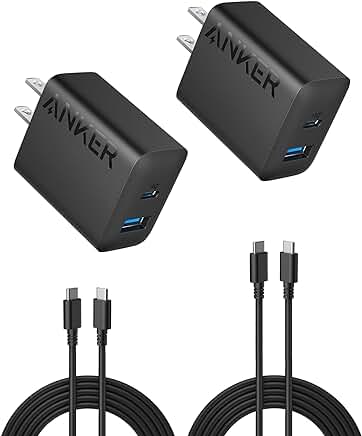
b) Power Source
Your wireless charging module will require a stable power source to function properly. A standard USB power adapter (5V/2A or higher) works for most modules. However, if you want fast wireless charging, use a QC 3.0 or PD (Power Delivery) adapter that provides sufficient power.
c) Enclosure or Charging Pad Base
To make your charging station both functional and aesthetically pleasing, you’ll need a sturdy enclosure to house the charging module. This can be:
- A wooden case for a natural look.
- An acrylic or plastic enclosure for a modern, sleek design.
- A repurposed object, such as a book or furniture surface, for a hidden charging setup.
d) Additional Components
- Copper coil placement – Ensuring proper coil positioning for maximum charging efficiency.
- Heat management – Adding ventilation holes or cooling features to prevent overheating.
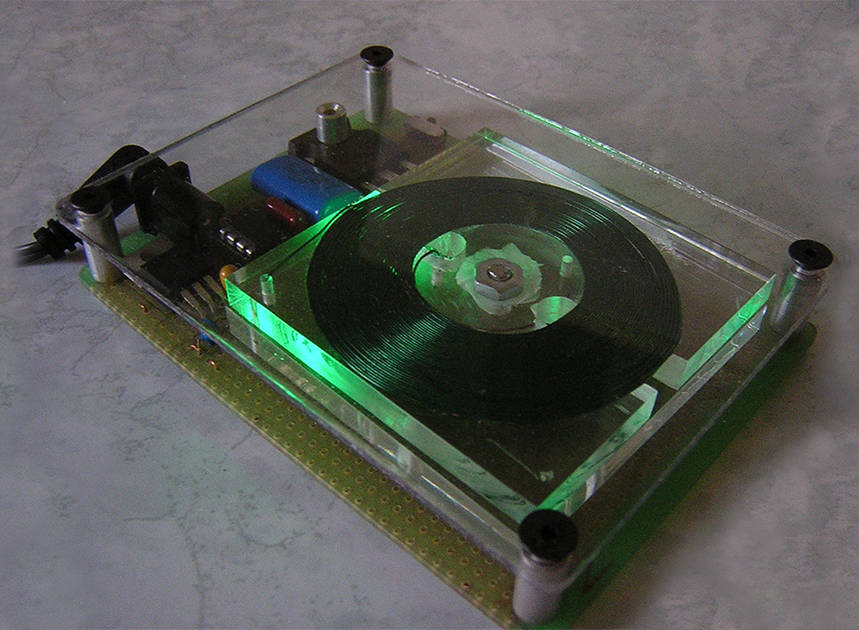
- LED indicators (optional) – Adding a small LED light to show the charging status.
Having these materials ready ensures that your DIY wireless charging station is efficient, safe, and customised to your needs.
Step-by-Step Guide to Building a DIY Wireless Charging Station
Once you have all the necessary materials, you can begin assembling your DIY wireless charging station. Follow these steps to ensure a functional and well-integrated charging setup.
Step 1: Prepare the Charging Module and Power Supply
Start by unboxing your Qi wireless charging module and identifying its key components, such as the transmitter coil, power input, and circuit board. Connect the charging module to a USB power source and test it before proceeding. Place a wireless charging-compatible device on the coil to ensure it begins charging properly.
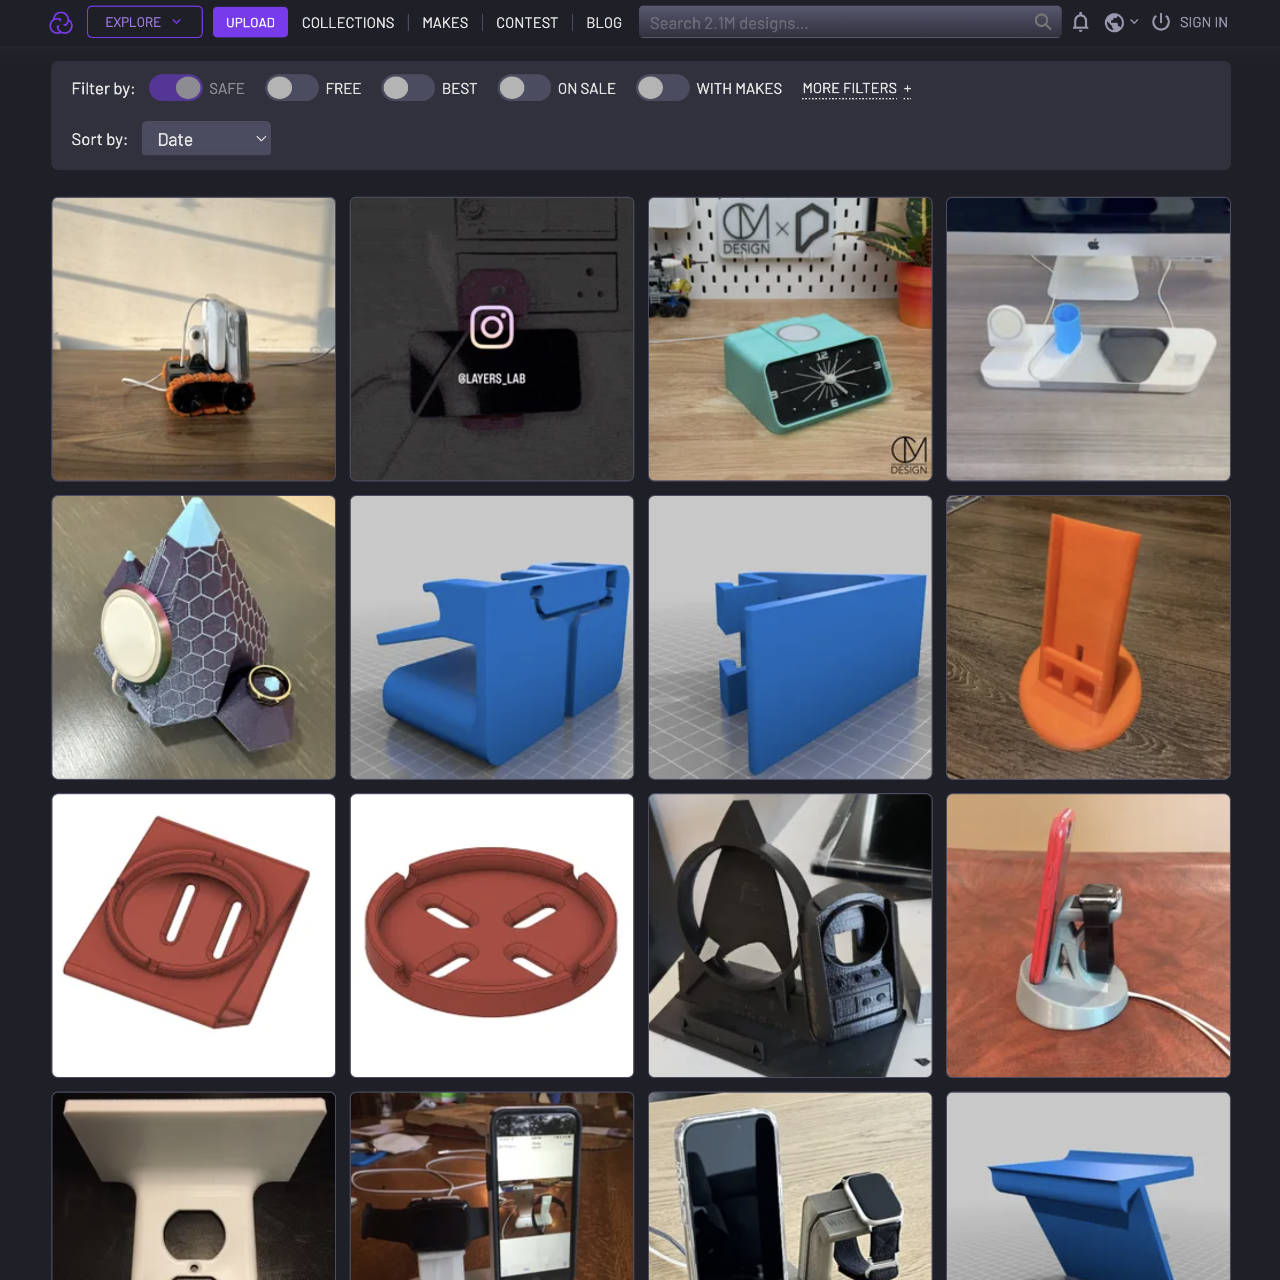
Step 2: Designing and Assembling the Charging Pad
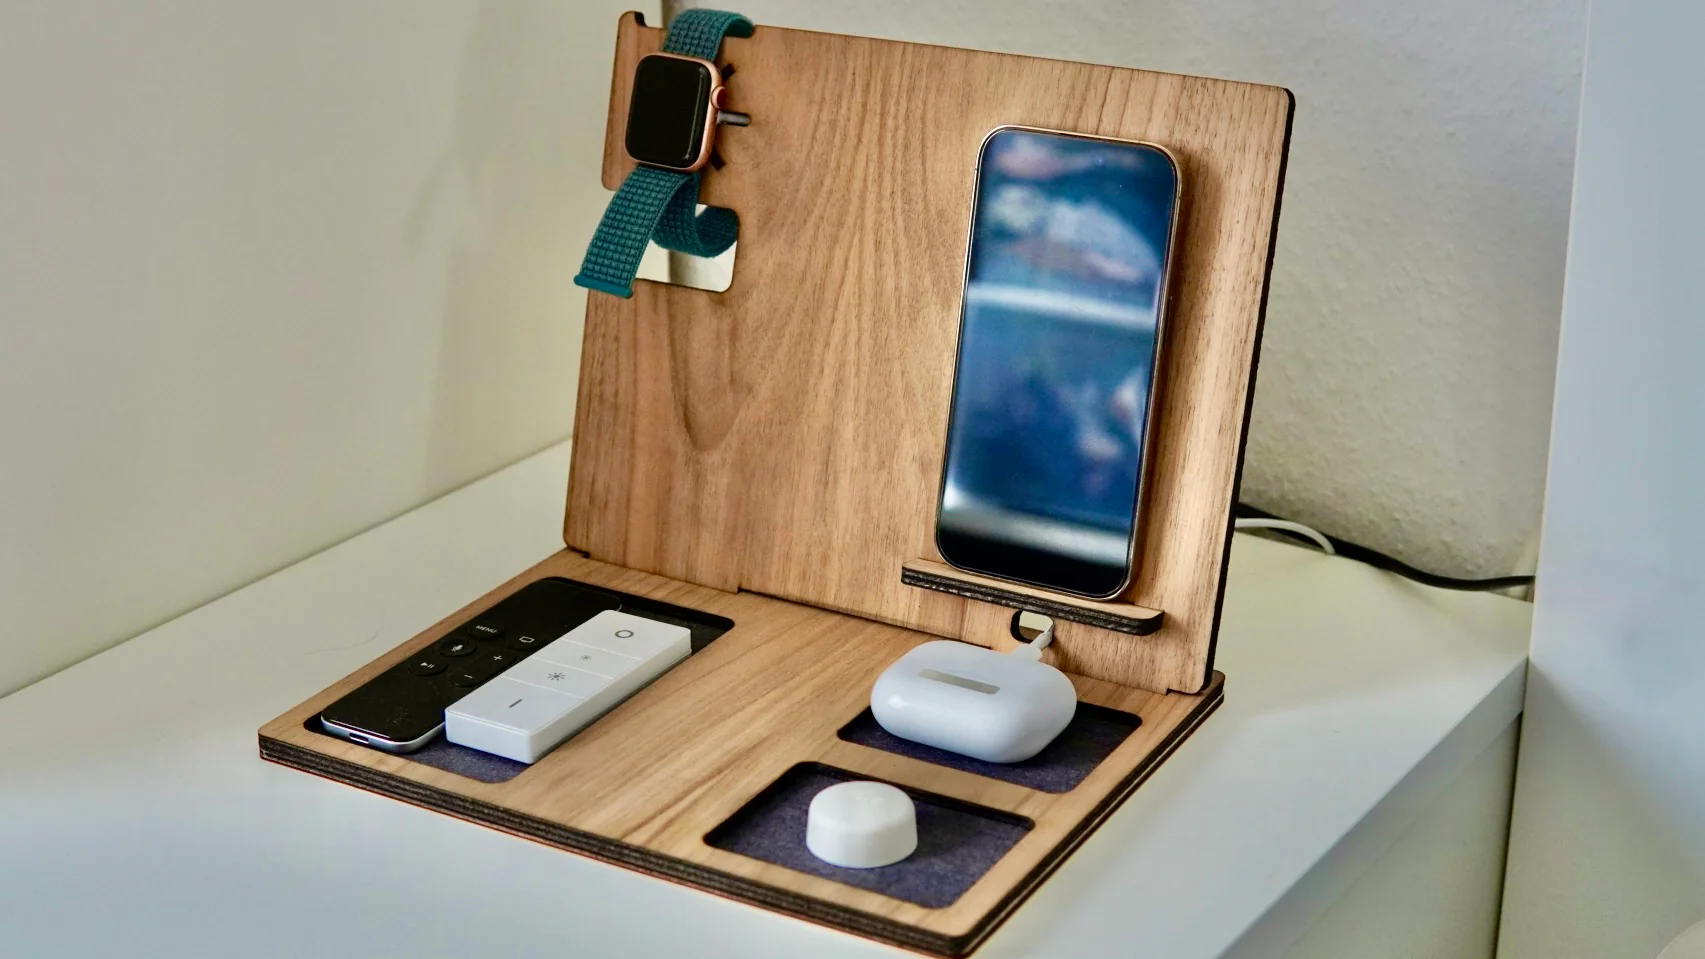
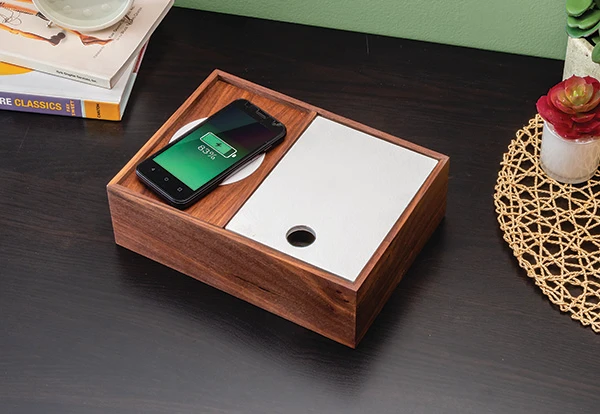
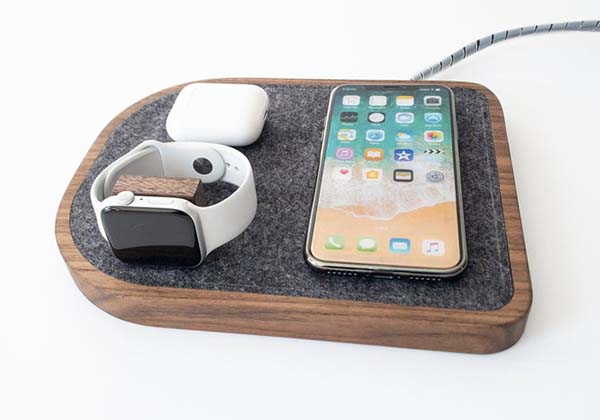
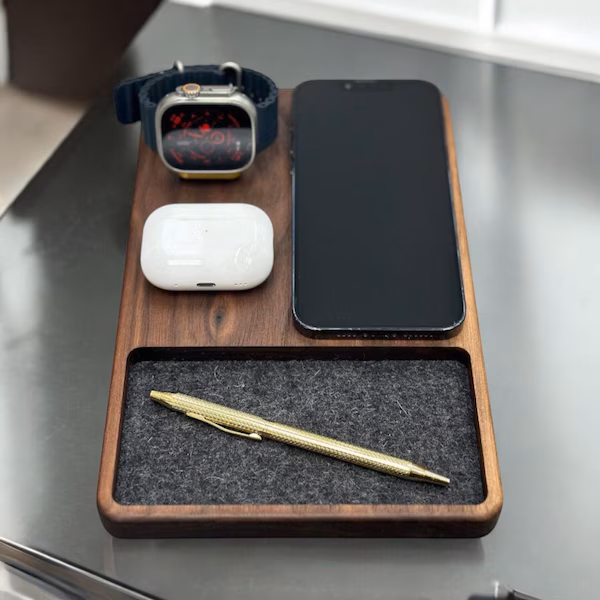
Decide on the design of your charging station base. If using wood, acrylic, or plastic, cut out an appropriate section to house the charging module. The surface should be thin enough to allow effective power transfer, as thicker materials may reduce charging efficiency. Secure the copper coil inside the base, ensuring it is perfectly aligned for optimal charging performance. For ideas on enclosure designs, see gallery below, sourced from the web:

Step 3: Installing the Wireless Charger
Once the base is prepared, secure the Qi charging module inside the enclosure using adhesive or small screws. Make sure the coil sits flush against the surface where your phone will rest. Check for signal interference, and adjust positioning if the phone doesn’t charge properly.
Step 4: Testing and Troubleshooting
After assembling your DIY wireless charging station, plug in the power source and place your phone on the charging pad. If it doesn’t charge:
- Check coil alignment – Ensure the charging coil inside the pad is centered with the device’s wireless charging receiver.
- Verify power input – Make sure the power adapter provides the correct voltage and current.
- Avoid metal objects nearby – Metal can interfere with wireless charging efficiency.
By following these steps, you can build a fully functional, custom wireless charging station tailored to your desk, nightstand, or workspace. In the next section, we’ll explore customisation options to enhance the design and functionality of your DIY charger.
Customisation and Enhancements
Once your DIY wireless charging station is fully functional, you can customize it to improve aesthetics, usability, and efficiency. Adding personal touches makes your charging station unique and more convenient for daily use.
a) Adding LED Indicators
A small LED light can be integrated into the charging pad to indicate charging status. Many Qi charging modules have built-in LED outputs that can be connected to an external indicator light. You can set up different LED colors to show whether the device is charging, fully charged, or experiencing an error. This feature is helpful for knowing your device’s charging progress without needing to check the screen.
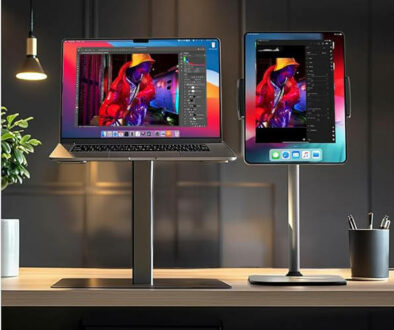
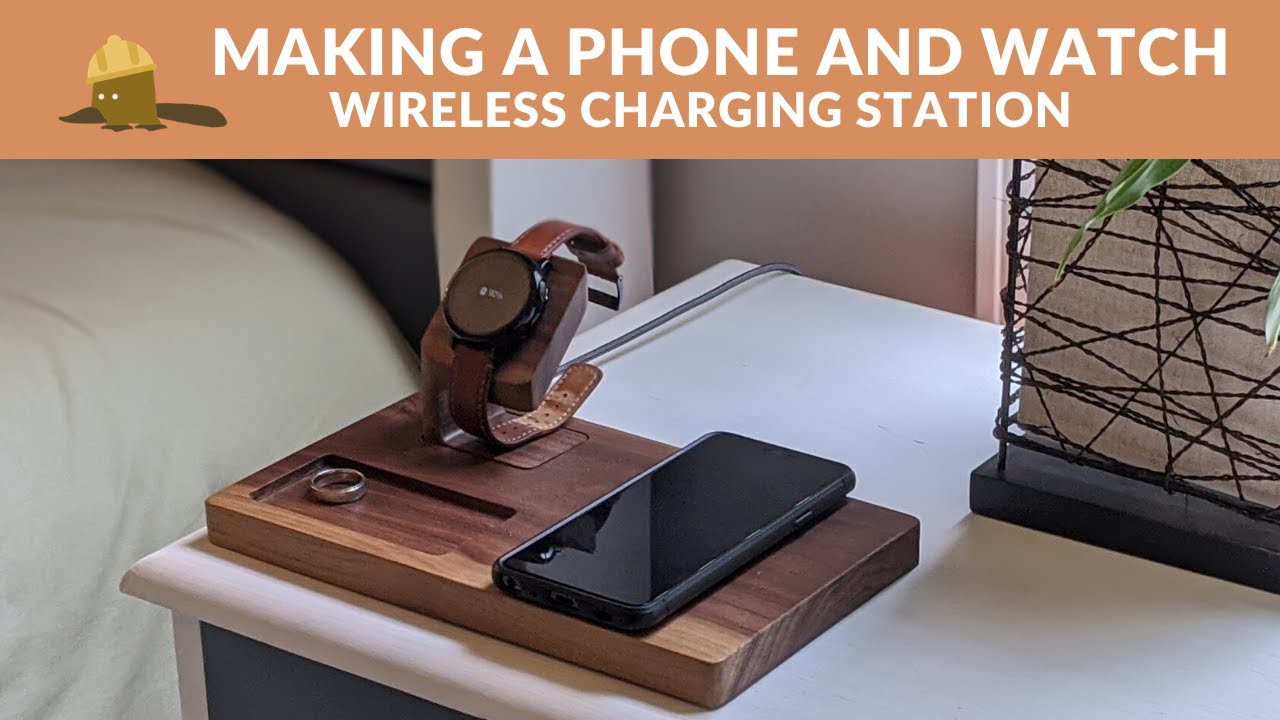
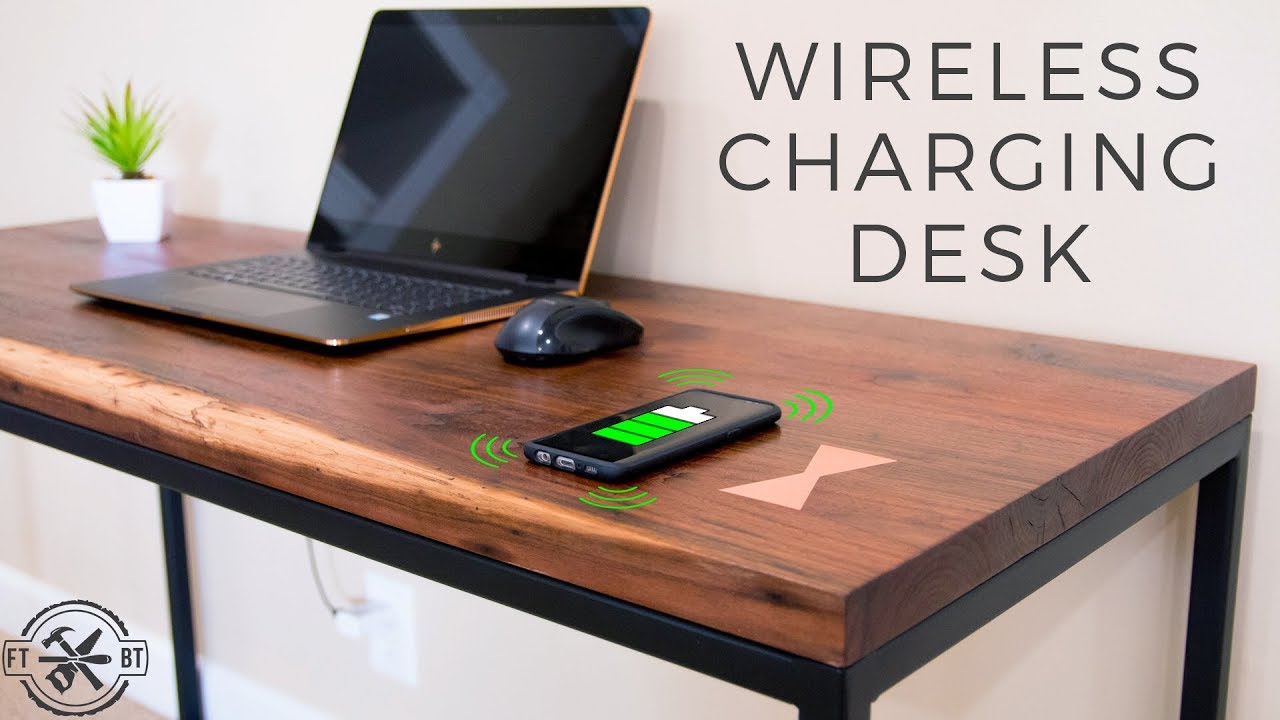
b) Wireless Charging Table or Desk Integration
For a seamless and clutter-free look, you can embed the charging module directly into a desk, nightstand, or workspace. This method involves cutting a small hole under the surface and securing the coil just beneath it, allowing you to place your phone directly on the desk to charge (see video below). To ensure efficient power transfer, use thin materials like wood, acrylic, or plastic and avoid metal surfaces that can interfere with charging.
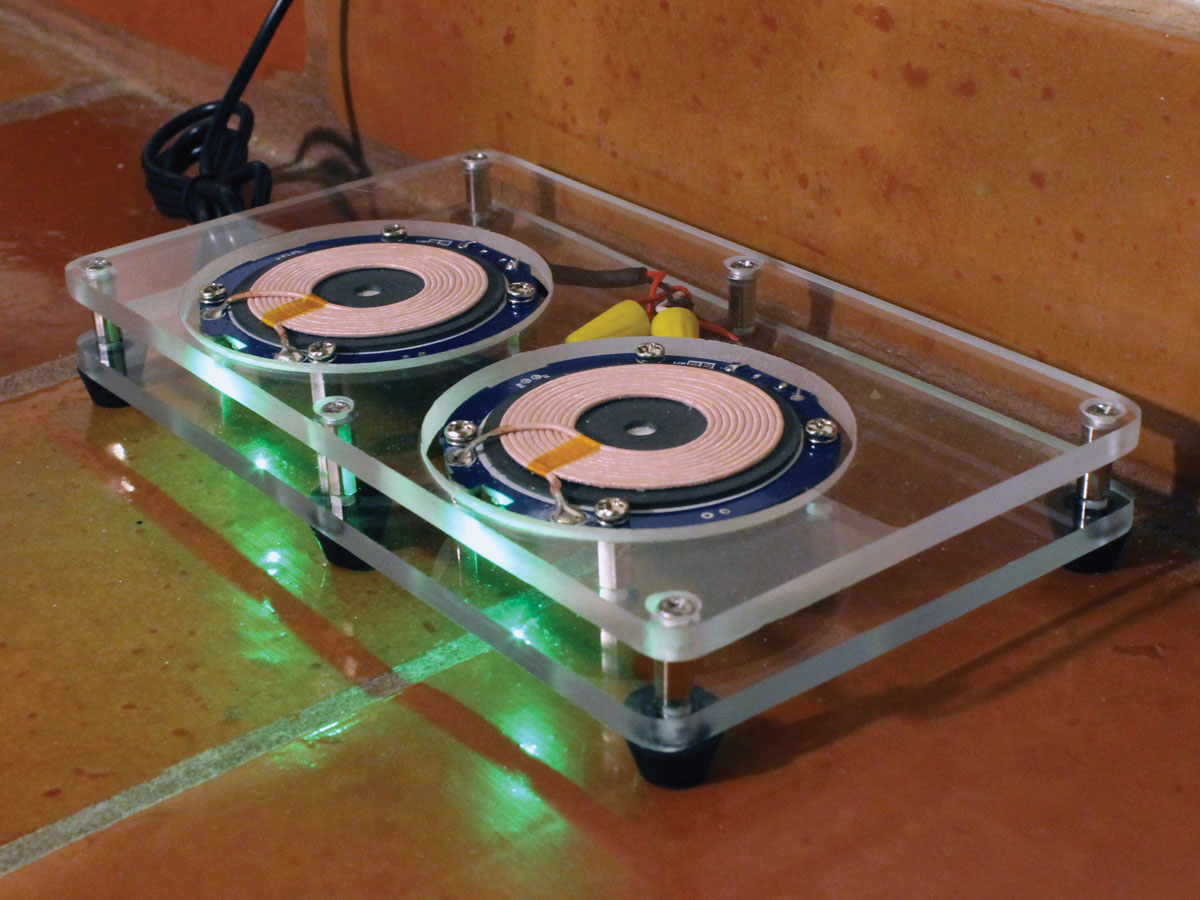
c) Multi-Device Charging Station
If you have multiple devices that support wireless charging—such as smartphones, smartwatches, and wireless earbuds—you can modify your DIY station to charge more than one device simultaneously. By integrating multiple Qi charging modules into a single base, you can create a multi-device charging hub for your home or office.
d) 3D Printed Charging Dock
If you have a 3D printer and possesses the know-how to operate it and experience in product design, you can design your own custom charging dock. Or you can download ready made designs from sites like cults3d.com that serves up 3D Print Files for different designs. Visit Cults3D for more.
Safety Tips and Best Practices
Wireless charging is generally safe, but improper assembly or poor-quality components can lead to overheating or inefficiencies. To ensure safe and reliable operation, follow these best practices:
- Avoid overheating – Wireless charging generates heat, so ensure the station has proper ventilation or heat dissipation to prevent damage to the charging module or your device.
- Use a high-quality power adapter – A cheap, low-quality power source can cause power fluctuations, affecting charging efficiency and potentially damaging your device. Always use a reliable power adapter with the correct voltage and amperage.
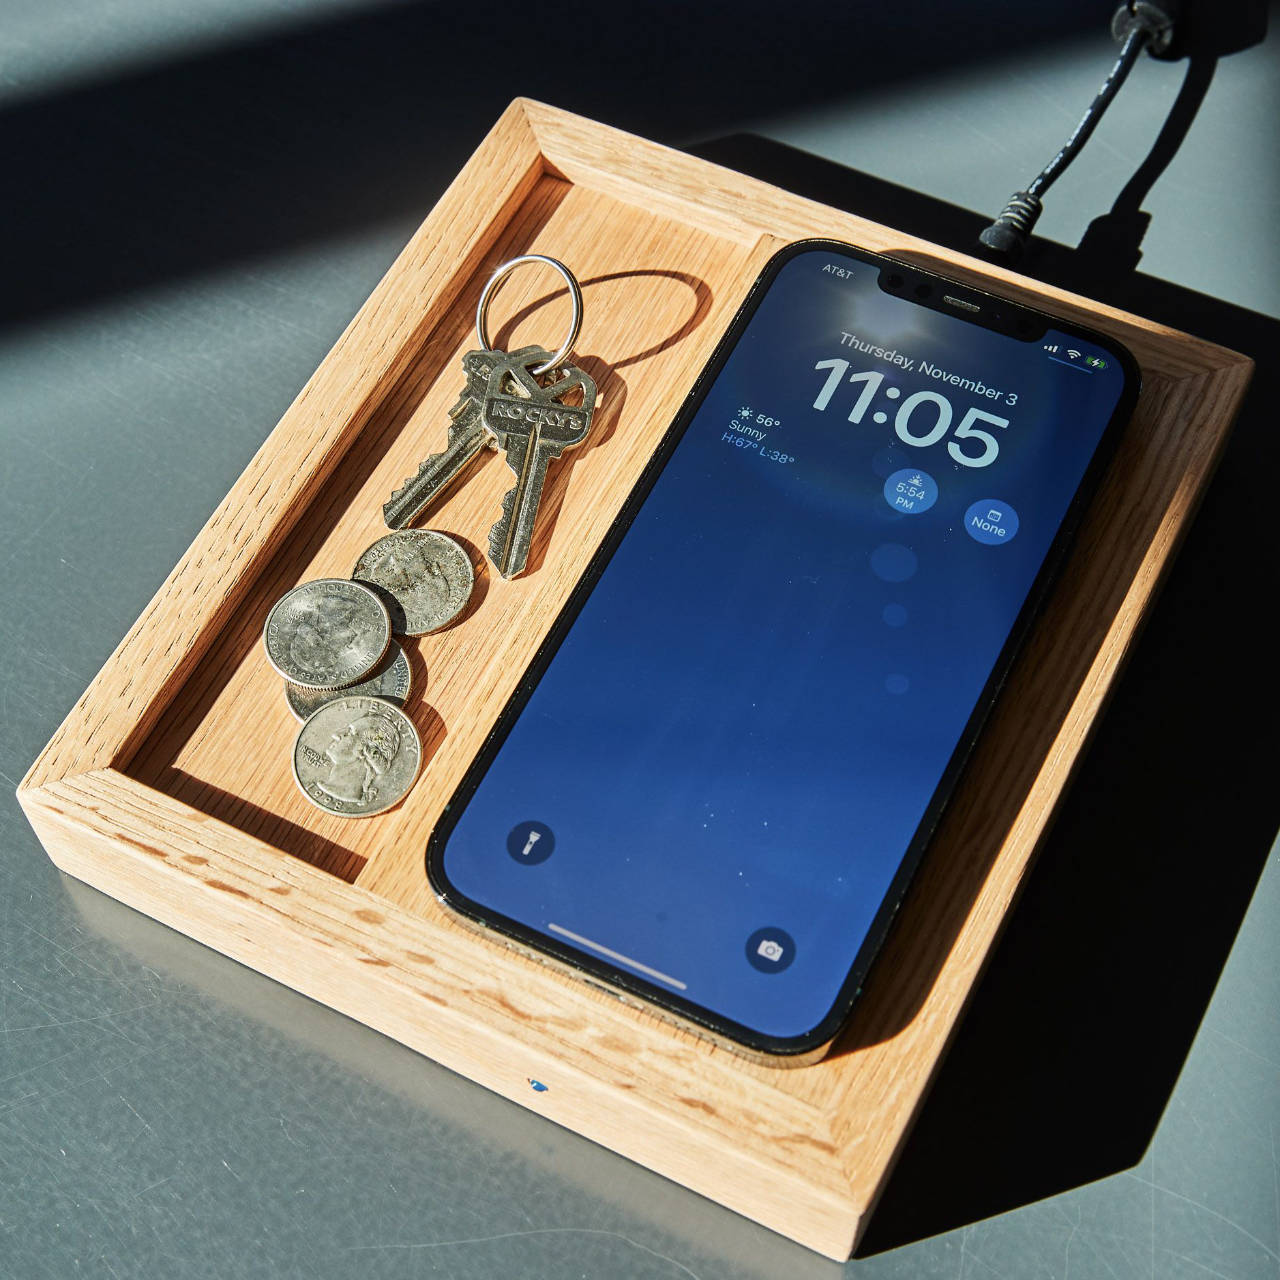
- Keep metal objects away – Metal can interfere with wireless charging, so avoid placing keys, coins, or other metallic items near the charging pad.
- Ensure proper alignment – Misalignment between the charging coil and your device’s receiver can reduce charging efficiency. If your phone isn’t charging properly, adjust its position on the pad for a better connection.
- Regularly clean the charging area – Dust and debris can accumulate over time, affecting performance. Wipe the surface occasionally to keep the charging pad clean and functioning optimally.
By following these safety guidelines, your DIY wireless charging station will remain efficient, durable, and safe for everyday use.
Conclusion: Your DIY Wireless Charging Station in Action
Building your own wireless charging station is a rewarding and practical project that enhances both convenience and functionality. By understanding how wireless charging works, gathering the right components, and following a step-by-step assembly guide, you can create a custom charging solution tailored to your workspace or home.
With additional customization options, such as LED indicators, embedded desk charging, and multi-device support, you can take your DIY charger to the next level. Plus, by following best practices for safety and efficiency, you ensure reliable charging while keeping your devices protected.
Whether you’re a tech enthusiast, DIY hobbyist, or someone who simply enjoys hands-on projects, this beginner-friendly guide allows you to build a functional, stylish, and personalised wireless charging station—all while learning more about the technology behind modern wireless power solutions.
Remember to share with us your work and master strokes in the comment below.