How to Optimise Your PC III: Affordable hardware upgrades to speed up your PC
PCs today are fast and powerful. Compared to older cans of the last decade, they can boot up in a matter of seconds, launch programs pretty much instantly, and play drop-dead gorgeous-looking games at high resolutions and high frame rates. If your PC is sluggish, you may want to upgrading it instead of spending on a new replacement.
Upgrade or Replace
There are many reason for upgrading instead of replacing. Here we attempt to list all the reason why you would consider upgrading:
- Cheaper and more affordable to upgrade
- Keep your computer running for longer, better return on investment
- No electronic waste and impact on the environment, you simply use what you have and beef it up
- Unless you are replacing the storage, no need to backup and transfer data
- Familiar with where things are, ports, connectivity options, buttons etc.
- Compatible with your existing peripherals including monitor, keyboard, mouse, printer etc.
I am sure there are plenty of other reasons to upgrade versus replace. Granted that some older PCs may be too old to upgrade due to limited availability of parts and compatibility with currently available components. Some proprietary PCs have limited upgrade options while others completely lock users out, leaving no option but to replace.
Other Articles in the Series
- How to Optimise Your PC I: How to allocate SSD storage as RAM to boost the speed of your computer
- How to Optimise Your PC II: How to stop services to free up resources on your computer
- How to Optimise Your PC III: Affordable hardware upgrades to speed up your PC [YOU ARE HERE]
- How to Optimise Your PC IV: Best paid and free applications to clean your PC
What You Need to Know Before Upgrading Your PC
More updated hardware aren’t the only thing that make a PC fast. It is the right combination of these parts that makes your computer a highly efficient number-crunching machine. Instead of choosing the most expensive components, it is fundamental to learn first the importance of optimizing your PC using relatively cost effective upgrades.
You also need to know the supported and compatible components. Not all motherboards and PCs will support newer generation and faster memory, storage, add-on cards or GPUs. Look for the model of your PC or motherboard and check the ceiling in terms of the highest or fastest hardware it will support. Consider the bus and slots available as well as the internal space in your computer. This may require you to open up your tower or desktop PC.
That’s right. Even if your older PC has outdated innards, if you can upgrade them accordingly (with the right hardware choice and setup), then you can still enjoy huge comparative boosts in speed and accessibility.
DISCLAIMER: This is a more basic guide on what components and configurations make for faster and snappier builds. The article is not intended to be a technical manual on specifications. It also assumes that you have some level of technical knowledge or is confident in handling computer hardware.
Optimizing Your PC with Affordable Upgrades Overview
Let’s look at the ways you can affordably are dealing with.
- Maxing Out Your Memory
- Upgrade to a Reliable SSD
- Upgrade to an Efficient GPU
- Check if an External GPU is an Option For You
- Tweak the BIOS for Performance Enhancements
- Get the Fastest Connectivity Protocol
- Use ReadyBoost USB flash drive for non-SSD system
- Upgrade to a Compatible Processor
1. Upgrading/Maxing Out Your Memory
First, you need to check the maximum supported memory capacity of both your motherboard and CPU, take whichever is the highest, and aim for that number.
Second, split that number with the available DIMM slots (either two or four) to make sure that it runs in dual-channel, and to know the capacity of the individual modules you need to buy.
Third, you need to make sure that the specific type of memory module is supported by the motherboard, which includes the following additional procedures:
Download and run CPU-Z, click on the Memory tab
- Check the stats shown in the General>Type and Timings>DRAM Frequency sections. Those are the main stats that you need to look for with your RAM upgrade.
- Alternatively, click on the SPD tab and check the Max Bandwidth tab. That is the assigned module code of the type of memory you can upgrade to.
- After that, you can check available memory modules online. Find out if there will be available memory sticks that match the capacity you are looking for (adjust and recalculate as necessary).
For minimum office desktop systems that use the latest versions of Windows 10 and Chrome, 8GB may be all that you need. Ideally, however, you want to have 16GB of RAM for that sweet spot between affordability and extra headroom to quickly access or switch between modern programs as well as games and other multitasking options. 32GB of RAM (and above) will only be necessary even in 2021 if you have a specific RAM-intensive application, or are doing video editing and production work.
2. Upgrading to fast SSD (as a Boot and Primary Software Drive)
If you’ve come across a good discount (or if you can just straight up afford it), you can up the ante and switch to higher capacity 1TB or 2TB drives. However, the primary sweet spot is still around 500GB today. Alternatively, for a fast and affordable upgrade, go with 256GB SSD.
Such capacity is more than enough to store the OS, all of your major programs, a good majority of your files, including some games if you are into that sort of thing. 256/240GB is doable, but can really get tight quickly, and 120GB is generally not recommended unless you have a very specific reason for cutting down this low such as dedicated office productivity computer or web browsing terminal.
As for the argument of whether your SSD should have DRAM or not, the general rule is that if your boot drive would be used on a sufficiently modern system (8th-gen Intel, 1st Gen Ryzen and above), then having DRAM is recommended. If it is for an auxiliary unit (secondary SSD) or something older than 7th-gen Intel based system, then any good-performing SSD will do.
Here are a few lower-end, affordable recommendations for your SSD upgrade:
(limited to 3~4 brands for comparative reference)
- Crucial BX500 (SATA, no DRAM)
- Adata SU760 (SATA, no DRAM)
- Kingston A400 (SATA, no DRAM)
- WD Blue 3D NAND (SATA, with DRAM)
- Crucial MX500 (SATA, with DRAM)
- Kingston A2000 (NVMe, with DRAM)
- WD Blue SN550 (NVMe, no DRAM, but with Host Memory Buffer)
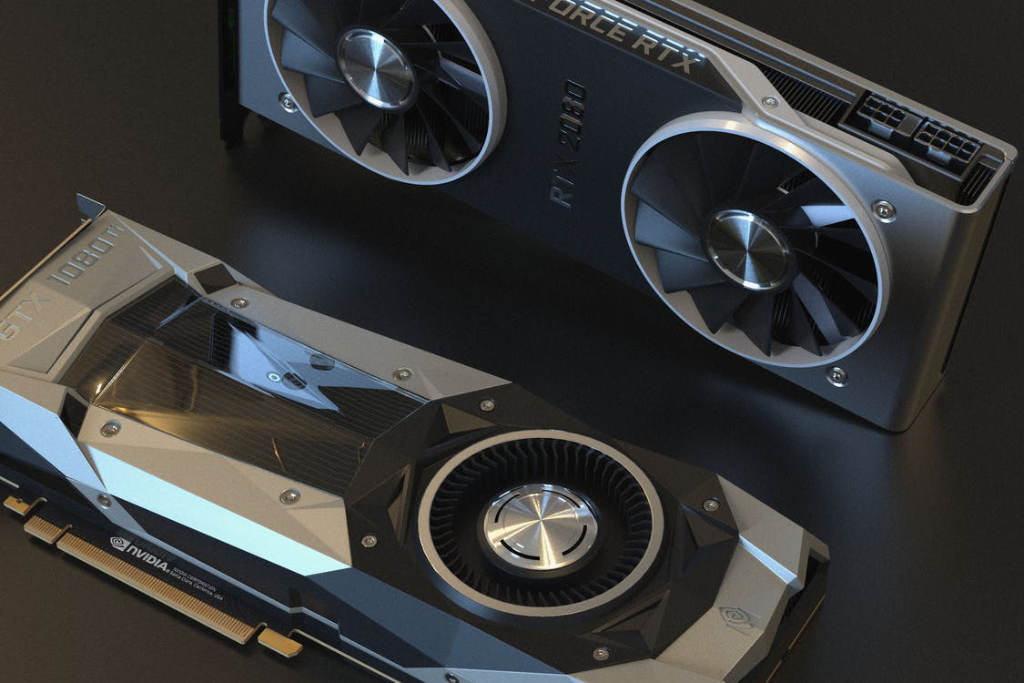
3. Upgrade to an Efficient GPU
So instead of just upgrading to the most powerful GPU possible, you need to upgrade to something that would put a nice balance between your expected performance, your budget, and your CPU. For example, you wouldn’t really want an overkill and super expensive RTX 3080 if all you want is stable frame rates at 1080p/1440p, and if your CPU is something like a Core i3-10100F.
As a general pointer, here are some of the relatively modern mid-tier GPUs plus their expected performance levels, on typical medium to high modern triple-A game settings:
- RTX 3060 – high framerate 1080p, standard framerate 1440p
- RTX 3060 Ti – great framerate 1080p (even on ultra), good framerate 1440p
- RX 6600 XT – great framerate 1080p (even on ultra), good framerate 1440p
Also consider, entry level or previous generation GPUs according to your gaming appetite and game titles’ minimum requirements and ultimately availability in either used or refurbished part:
- Nvidia GeForce RTX 3050
- Nvidia GeForce RTX 2060
- AMD Radeon RX 5000 series
- AMD Radeon RX 500 series
RELATED: The Best Anti-Scalper & Anti-Miners GPUs: Discrete graphics for real gamers
4. OR if Laptop, using an External GPU
For certain laptops, you may have the option of plugging a discrete GPU externally if it has a USB Type-C Thunderbolt port. The GPU will act as a supporting unit, allowing you to artificially “upgrade” your laptop’s graphical capacity without having to actually switch or change the hardware inside.
These eGPU come pre-built or can be custom build using compatible a enclosure and GPU. There are several enclosures in the market. Just search for the right size for your card, and plug the necessary connections to both the laptop and GPU. This setup may require use of an extra PSU, depending on how power-hungry the GPU is.
If there are no USB Type-C ports, a setup is still technically possible if you plug an appropriate PCI-e adapter into the laptop’s NVMe slot. However, this requires a bit of a complex setup (you can’t completely close the laptop’s interior), and because the laptop is not inherently designed for this configuration, it is not recommended for casual users.
As for the recommended GPUs themselves, the budget examples above still apply.
5. Tweak the BIOS for Performance Improvements
There are several options in the BIOS that allow users to change the settings of particular hardware. Typical ones include:
- Memory/RAM frequency adjustment – manually changing these allows you to set the highest frequency setting possible on your system. Enabling XMP allows this feature to be done automatically, even including particular CL timings depending on the profiles available.
- CPU Core Settings – disables or enables a set number of cores to save power or maintain maximum performance. These are set to maximum by default.
- CPU Frequency Adjustment – sets the maximum clock frequency for the CPU. Usually, the higher, the better, although this also takes up more power and generates more heat. Also, if you are using Intel CPUs, these can only be adjusted if you’re using a Z motherboard (Z390, Z490) AND a K processor (i7-8700K, i5-10600K). Certain software enables this feature while booted, but there’s usually more freedom when tweaking in BIOS.
- Fan Curve Settings – sets the specific fan speed depending on the processing load of your entire system (though usually just CPU). Any particular fan header with a fan connected (or fan hub) will have this option enabled. Tweak it lower for more silent operation, tweak it higher if you need more cooling capacity (to prevent system thermal throttling).
- Boot priority – just set this to your primary SSD and disabling or pushing USB boot priority behind and you’re usually good to go.
6. Get the Fastest Connectivity Protocol – WiFi, Bluetooth & Ethernet
Nothing too complicated here, just be sure that you have the compatibility for the highest connectivity options available to you:
- For WiFi, you can either get a PCI-e WiFi card, a WiFI USB dongle, or a motherboard with built-in WiFi connectivity (these are usually more expensive than just buying a dongle). The current latest WiFi protocol is WiFi 6. Remember, you will also need a WiFi router that supports WiFi 6.
- For Bluetooth, any combo PCI-e wireless card or USB dongle with Bluetooth 5.0 connectivity is usually enough. Get Bluetooth 5.2 only if you think there would be specific 5.2 features that you would need on connected hardware.
- For wired network connections, a single trusty Gigabit Ethernet (RJ45) connection will do. It is likely that your motherboard already come with one. If not, consider adding one via add-on card or USB. Again, the router or Ethernet switch needs support the maximum speed as well. If you have 2.5GBps or 10GBps switches, consider an equally fast Ethernet port upgrade.
7. Use ReadyBoost USB flash drive for non-SSD system
For older systems that you simply, absolutely cannot swap a fresh SSD with, you can use the classic ReadyBoost feature to allow application data caching via a USB drive. Prior to use, you need to have the following minimum requirements:
- Minimum/Maximum free space on USB drive: 1 GB/32 GB
- Flash drive format: NFTS
- Connection port: USB 3.0 (highly preferred/recommended)
You also need to first access the Run dialog box via Windows key + R. Type “services.msc” then scroll down the list of services until you find either SuperFetch or SysMain. Make sure that both of these are enabled.
Now, follow these steps to enable ReadyBoost on the selected USB drive:
- Right-click on the selected drive within/under the “This PC” menu.
- Select Properties
- Click on the ReadyBoost tab
- Select “Dedicate this device to ReadyBoost”, then allocate the entire space of the USB drive
- Additional options will appear that will tweak your settings. Find the options you need to use, then close the rest of the windows to exit.
The PC will now automatically use the USB drive as an extra cache resource for program files.
Take note that this feature is also available on SD and CF cards. However, both data media are available at speeds that might not be sufficient to supplant the use of a more efficient (SATA plugged) SSD as with a dedicated USB 3.0 port.
Also, if the title of this sub-topic isn’t clear enough, you don’t need to use this if you already have a reliable and dedicated boot drive, even a SATA SSD.
8. Upgrade to a Compatible & Faster Processor
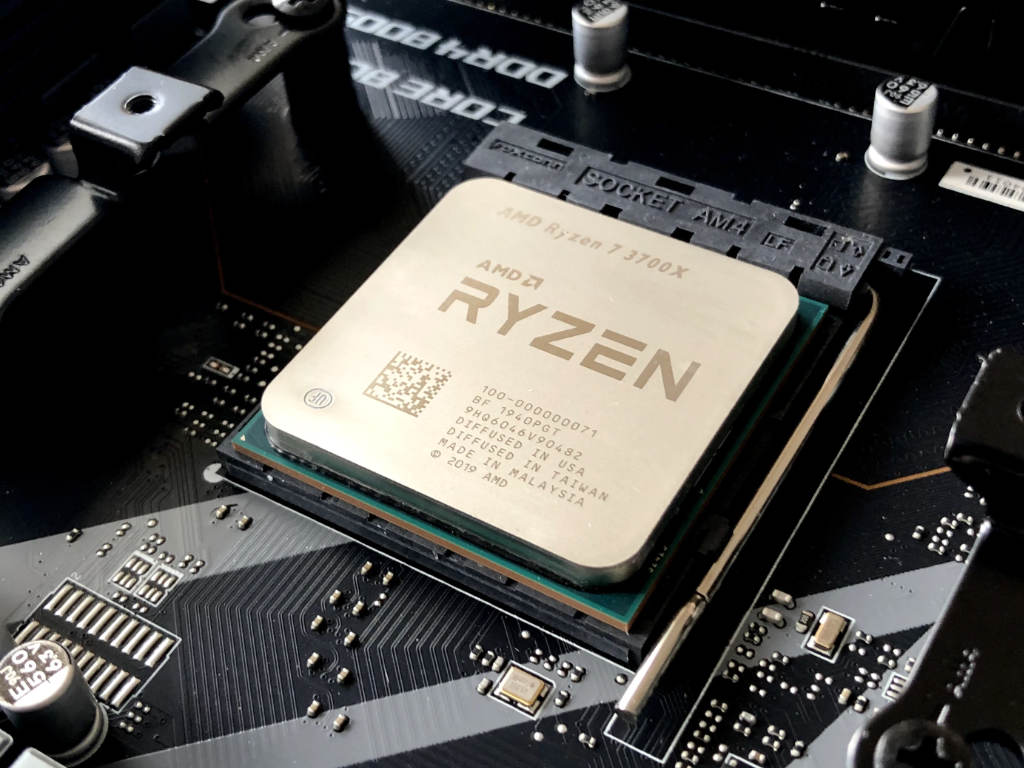
And lastly, consider upgrading the processor of your current system if it is still an economically viable option. If the architecture is old enough, you can probably max it out by using an old CPU within the same lineup or product family. To see the available CPUs that can be used on your motherboard, refer to the manual or official page of that particular mainboard.
Simple reminders when upgrading CPUs:
- Always check if a BIOS update is required before swapping out the CPU (that information is also available on manuals and official pages).
- Clean any old thermal paste stuck on the cooler and CPU, and replace it with a fresh one.
- On first boot with new CPU, enter the BIOS to check if the CPU is recognised and the system is showing the correct settings.
Also, when considering an upgrade to newer architectures, only attempt this if you have a really good reason (work, profession, whatever) other than just “future-proofing.” For example, upgrading from a Ryzen 3 3100 to a Ryzen 5600X may be reasonable enough, but not so with a very stable and still-competitive Ryzen 5 3600. The same goes when overspending on something like a Core i9-10900K and a Ryzen 9 5950X.
And don’t worry, even with the PS5 and Xbox Series X now out, 6-core/12-thread CPUs starting from the Core i7-8700 will still be rock-solid choices for PCs when balancing performance and cost for the next half-decade.


