How to Use Raspberry Pi to Build a Media Center for a Home Theatre System
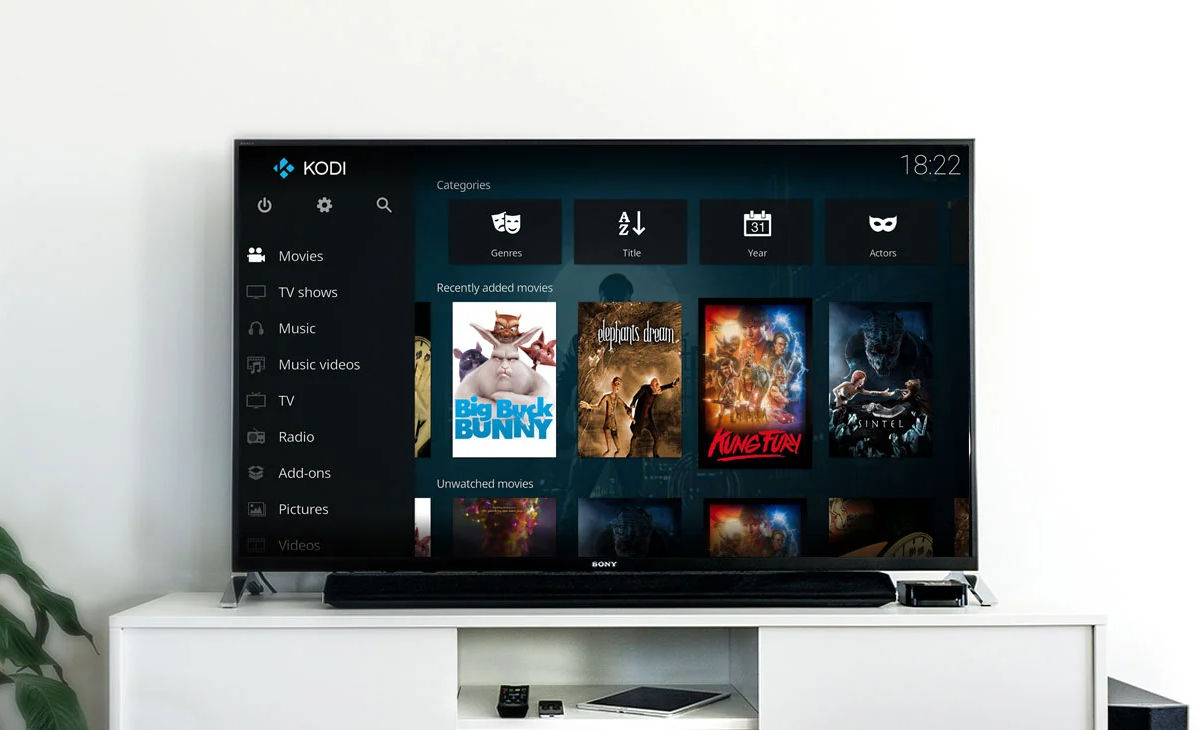
The Raspberry Pi is a popular choice for building a compact and affordable media center. Using software like Kodi or Plex, you can transform your Raspberry Pi into a powerful media hub that streams music, movies, TV shows, and more. The latest Kodi even support a number of emulators, letting you play stand-alone retro games using a game controller. Here’s how to use the computer to build a media center for a home theatre system.
Prerequisites:
The latest Raspberry Pi 5 is launching in November 2023. Claimed to be 2 to 3 times faster than Raspberry Pi 4, this will offer the best possible performance and experience running any Media Center software. However, it would need to be supported by your chosen software in Step 1 below.
- Raspberry Pi (Raspberry Pi 3 or newer recommended). Raspberry Pi 4 with 8GB memory is recommended.
- MicroSD card (16GB or more recommended).
- Raspberry Pi power supply.
- HDMI cable and a monitor/TV.
- USB keyboard and mouse for initial setup.
- Internet connection (Wi-Fi or Ethernet).
- Optional: USB storage or NAS (Network Attached Storage) for storing larger media libraries.
Using Raspberry Pi to Build a Media Center
Here’s a step-by-step guide to create your own Raspberry Pi media center.
1. Pick Your Media Center Software
Selecting the right media center software is pivotal to ensuring your Raspberry Pi-based media center runs smoothly, delivers optimal performance, and provides an enjoyable user experience. Here are your top choices:
Kodi (formerly XBMC)
One of the most renowned and versatile media center applications, Kodi began its journey as the Xbox Media Center (XBMC). I remember sideloading this on my first XBOX, now a vintage console using it to stream movies and TV shows from my local network drives. I was even able to use the XBOX’s TV style remote controller to drive the XBMC interface.
Over the years, XBMC has evolved to support a plethora of devices. Now known as Kodi, it stands out for its visually appealing interface, vast library of add-ons, and compatibility with virtually every media file format. With a vibrant community of developers and users, you’ll find extensive online resources and plugins to enhance its functionality.
For the purposes of this guide, we’ll focus on Kodi, given its widespread acclaim and ease of use. Visit Kodi’s official site for downloads and further information. The current version, Kodi v20.2 (Nexus) has a dedicated version for Raspberry Pi on top of Windows, Linux, Android, macOS, iOS and tvOS. After you have installed Kodi, you can access
Plex
Plex operates with a server-client model. The Plex server organises and streams your media, while the client, which can be your Raspberry Pi, plays it. This distinction can be especially useful if you wish to access your media remotely or across different devices. While the Plex server may demand more powerful hardware, especially for transcoding large files, the Plex client is lightweight enough to run seamlessly on a Raspberry Pi. This lets you stream content from a more robust Plex server, possibly located elsewhere in your home or even remotely. Visit Plex’s official website to learn more about its offerings.
OSMC
Standing for Open Source Media Center, OSMC is a free operating system built around Kodi. Designed with the Raspberry Pi in mind, OSMC is optimised for performance and ease of use on the Pi, allowing for smooth playback and a refined user experience. Its sleek interface, coupled with the robustness of Kodi at its core, makes OSMC a popular choice among Raspberry Pi enthusiasts. Visit OSMC official site. OSMC supports Raspberry Pi 1, 2, 3, 3+, 4/400 & Zero. The current version is also supported y Windows, MacOS and Linux.
2. Installing Kodi via LibreELEC
Building a media center using Raspberry Pi often requires a dedicated operating system that’s optimized for media playback. LibreELEC stands out as a ‘Just enough OS’ for Kodi, which means it runs Kodi and just the necessary components for it to function, ensuring smooth performance.
To start with the installation:
Step 1: Grab the Tool that Downloads the Image
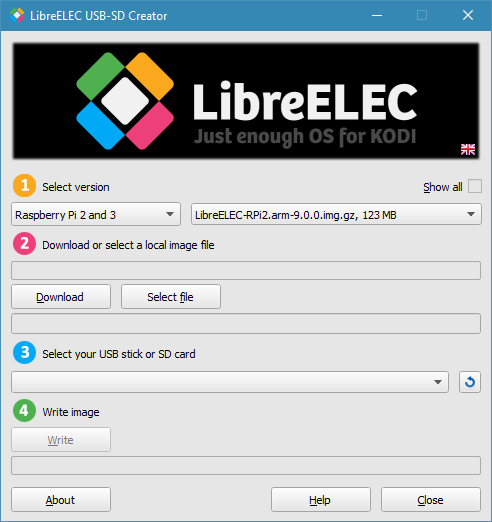
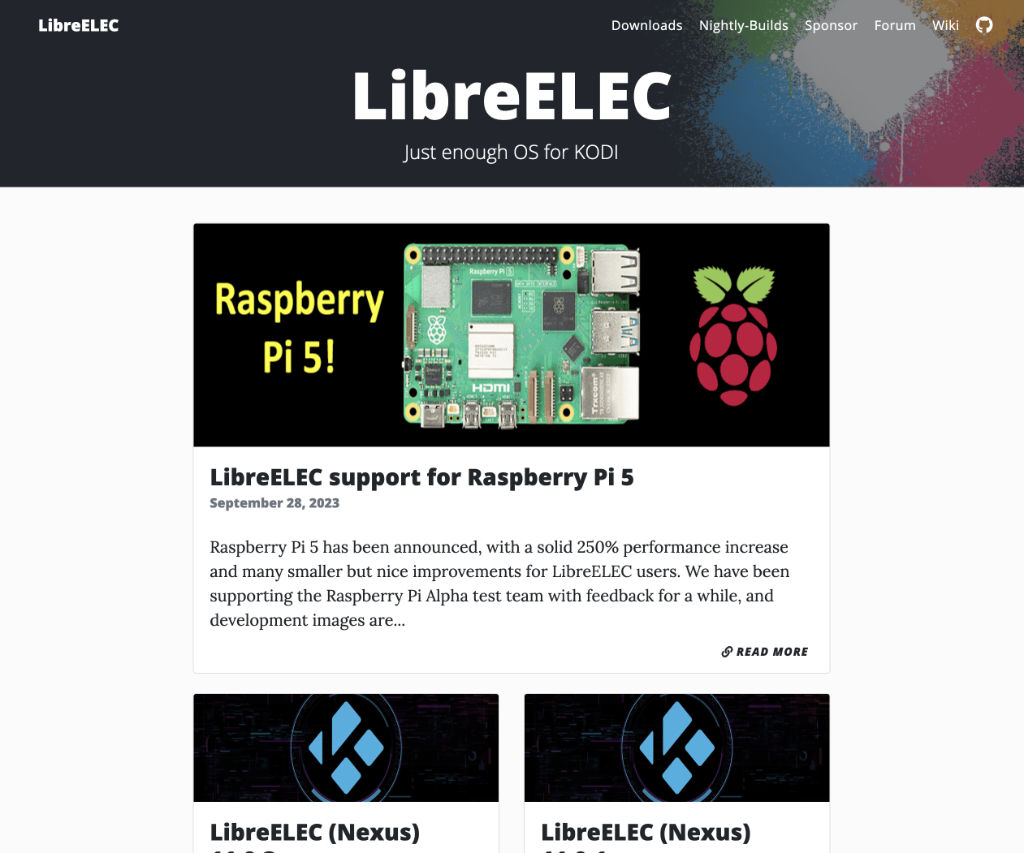
Head over to the LibreELEC website. This site hosts the official releases of LibreELEC, ensuring you get a stable and secure version. One of the standout tools available here is the LibreELEC USB-SD Creator tool. This handy utility simplifies the process of downloading and writing the correct LibreELEC image to your storage medium.
Step 2: Grab the Operating System that Supports Kodi
Once you’ve downloaded the USB-SD Creator tool, launch it. The interface is quite intuitive. First, you’ll be prompted to select the version of Raspberry Pi you have. This ensures compatibility and optimal performance. Once selected, the tool will automatically fetch the latest version of LibreELEC that comes bundled with Kodi. This approach ensures that you’re always working with the latest and greatest, benefiting from recent enhancements and security patches.
Step 3: Use the Tool to Write to the MicroSD card
With the correct image file downloaded, the next step is to write it to your MicroSD card. Ensure that the card is connected to your computer, either via a built-in card reader or an external one. In the USB-SD Creator tool, select your MicroSD card from the list of available drives and then initiate the writing process. A word of caution: Ensure you’ve selected the correct drive to avoid data loss.
Step 4: Insert and Power Up Written Image
After the image writing process completes, safely remove your MicroSD card from the computer. Insert it into the Raspberry Pi’s dedicated MicroSD slot. Now, connect your Raspberry Pi to a monitor or TV, attach any peripherals like a keyboard or remote, and finally power it up. On first boot, you’ll be greeted with the Kodi interface, running atop LibreELEC, all set for your media playback adventures.
Here is a quick summary of the steps:
- Go to the LibreELEC website and download the LibreELEC USB-SD Creator tool.
- Run the tool, select the Raspberry Pi version, and it will automatically download the latest version of LibreELEC (which contains Kodi).
- Write the image to your MicroSD card.
- Once the image is written, insert the MicroSD card into your Raspberry Pi and power it up.
Note that the LibreELEC USB-SD Creator is currently only available for Windows operating system so you will need a PC to create the microSD installation media for Raspberry Pi.
3. Initial Kodi Setup
Setting up Kodi for the first time on your Raspberry Pi media center is a straightforward process. While the software is designed to be user-friendly, it’s essential to pay attention to a few key settings to optimise your experience and ensure smooth media playback.
Step 1: First Boot Configuration
Upon powering up your Raspberry Pi with Kodi installed via LibreELEC, you will be presented with Kodi’s welcoming screen. Here, the software offers a guided setup that eases users into the media center’s features and configurations. It’s advised to follow through with this process, even if you’re familiar with Kodi, as some options and features might differ depending on the version or specific build for Raspberry Pi.
Step 2: Network Connection
Connectivity is crucial for a media center. While many prefer a stable wired connection via Ethernet for streaming high-definition content, the Raspberry Pi’s Wi-Fi capabilities are more than adequate for most use cases. During the initial setup, you’ll be prompted to connect to a Wi-Fi network if you haven’t plugged in an Ethernet cable. Simply select your network from the list and input the password. Once connected, your Pi will be able to access online repositories, fetch subtitles, update the software, and stream content from the Internet.
Step 3: Personalising Your Experience
After setting up the network, Kodi will ask you to configure some personal preferences. This includes selecting your timezone, which ensures that any time-stamped activities or scheduled tasks are accurate. Following that, you’ll be asked to choose your preferred language. Kodi supports a vast array of languages, making it accessible to users worldwide. Apart from these, there are other settings, like screen calibration, audio configuration, and more, which you can adjust to your liking. However, the default settings are often adequate for most users.
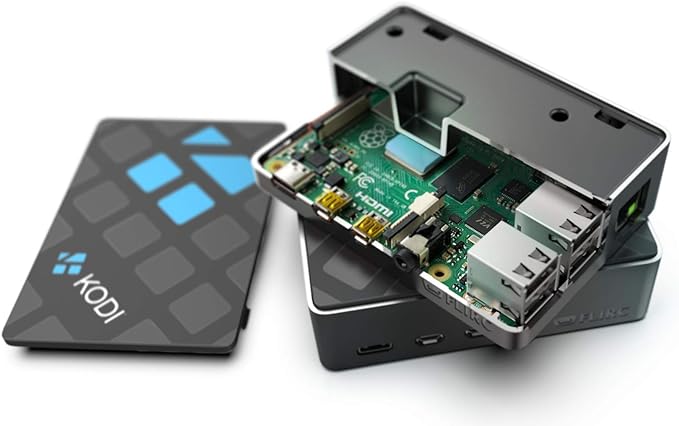
Search Flirc Case Kodi Edition
4. Adding Media to Kodi
Creating a media center with a vast collection of movies, TV shows, and music is a gratifying experience. With Kodi’s well-structured user interface and its compatibility with various storage solutions, integrating your media library is quite straightforward.
Step 1: Using USB Drives for Media Storage
This is the easiest and fastest way to start using Kodi to access your media. For those who keep their media collections on external USB drives, the Raspberry Pi’s USB ports come in handy. Simply plug in your USB drive with the media content into one of these ports. The power of Raspberry Pi ensures that it can read most standard USB drives without a hiccup. This method offers a plug-and-play experience and is great for those who frequently update their media collection.
Step 2: Integrating Network Storage (NAS) with Kodi
This is our preferred way to setup a multipoint access if you have more than one media center at home. For users with a more extensive media collection, using a Network Attached Storage (NAS) can be the perfect solution. Having your media on a NAS not only provides more storage capacity but also makes it accessible to other devices in your home. To ensure smooth integration with Kodi, make sure your NAS is on the same local network as your Raspberry Pi. This Kodi Wiki page offers detailed guidance on how to set up different network protocols with Kodi.
Step 3: Adding Media Sources in Kodi
With your storage in place, it’s time to introduce Kodi to your media collection. Launch Kodi, and depending on what you’re adding, navigate to the desired media type, such as Movies, TV Shows, or Music. Here, select “Add Source.” A browser window will pop up, allowing you to navigate to the location of your media, be it on the USB drive or the network storage. Once you’ve pointed Kodi to the right directory, it will scan the location, often fetching metadata like movie synopses, cast information, album artwork, and more, to enrich your browsing experience.
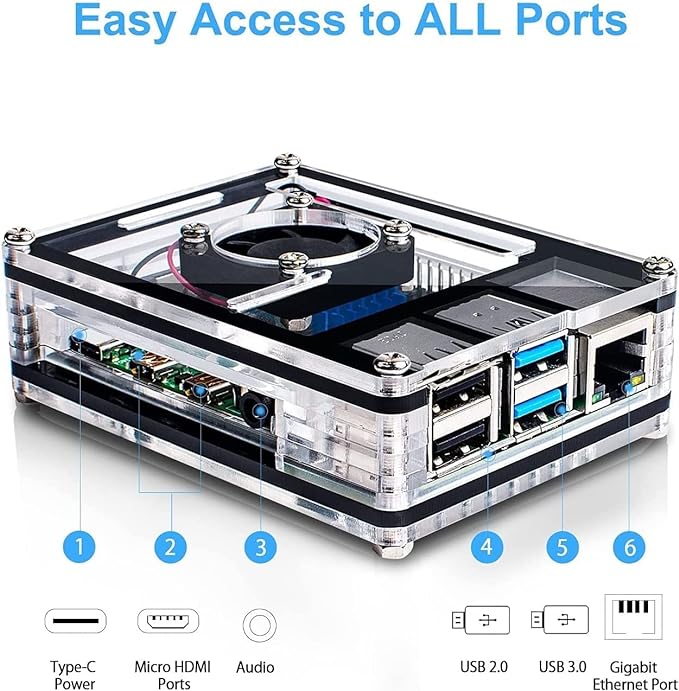
Search Marstudy Raspberry Pi Case
5. Installing Add-ons
Now you can leverage on Kodi’s vast ecosystem of add-ons, transforming Kodi from a basic media player into a multimedia powerhouse. These add-ons range from integrating popular streaming services, enhancing playback with subtitle support, revamping the user interface with stylish skins, and even turning Kodi into a gaming platform.
Understanding Kodi Repositories
Before diving into the installation process, it’s crucial to understand the concept of Kodi repositories. Repositories are storage locations that house multiple add-ons. By adding a specific repository to Kodi, you gain access to a suite of add-ons that are maintained and updated by that repository’s provider. Some of the most popular repositories with a plethora of add-ons include the Official Kodi Repository, which is pre-installed with Kodi, and others like SuperRepo.
Installing Your First Add-on
To start, from the main Kodi interface, navigate to the “Add-ons” section. Here, you’ll find an “Install from repository” option. If you’ve already added repositories, you can select this option and explore the various categories of add-ons available, such as video add-ons, music add-ons, skins, and more. If you’re looking for a specific service or tool, it’s just a matter of finding the appropriate category and browsing through it.
For instance, if you’re keen on enhancing your movie-watching experience with subtitles, the ‘Subtitles’ category is your go-to. Here, you can find and install add-ons like ‘OpenSubtitles.org’, which automatically fetches and displays subtitles for your chosen content.
Treading Carefully
While Kodi’s add-on ecosystem offers boundless possibilities, users should exercise caution. Not all add-ons are created equal, and some may come from unverified or unofficial sources, potentially leading to security vulnerabilities or legal quandaries, especially with streaming services. It’s always recommended to stick to well-known repositories and ensure you’re informed about the functionality and legitimacy of an add-on before installation.
6. Enhance Playback with Advanced Settings
Kodi is an immensely flexible platform, capable of catering to various types of media and different quality levels. However, as with any software, optimal performance might require a bit of fine-tuning, especially when it comes to demanding, high-definition content. Use Kodi’s advanced settings to ensure that media playback is not just good, but exceptional.
Optimizing Video Cache for Smoother Playback
The video cache is a portion of your device’s memory that Kodi uses to temporarily store video data. By increasing the cache size, you allow Kodi to store more data, reducing the chances of buffering, especially when streaming content. This is particularly handy for high-definition videos that require more data to be preloaded. To modify the cache size, navigate to Settings > Player > Videos and adjust the cache size according to your device’s capabilities. Remember, while a larger cache can enhance playback, it also takes up more of your device’s RAM, so it’s essential to strike a balance.
Tailoring Audio Settings
The audio experience is just as vital as the visual one when it comes to media consumption. Kodi offers a comprehensive suite of audio settings that can be tailored to match your specific sound setup. Whether you’re using a simple TV speaker, a stereo system, or a multi-channel home theater setup, Kodi has got you covered.
Navigate to Settings > System > Audio to access these options. Here, you can select the type of audio output device, configure the number of channels, and even enable pass-through, which is essential for preserving audio quality in advanced sound systems. If you’re using a surround sound system, ensure that Kodi’s audio settings match your speaker configuration for the best sound experience.
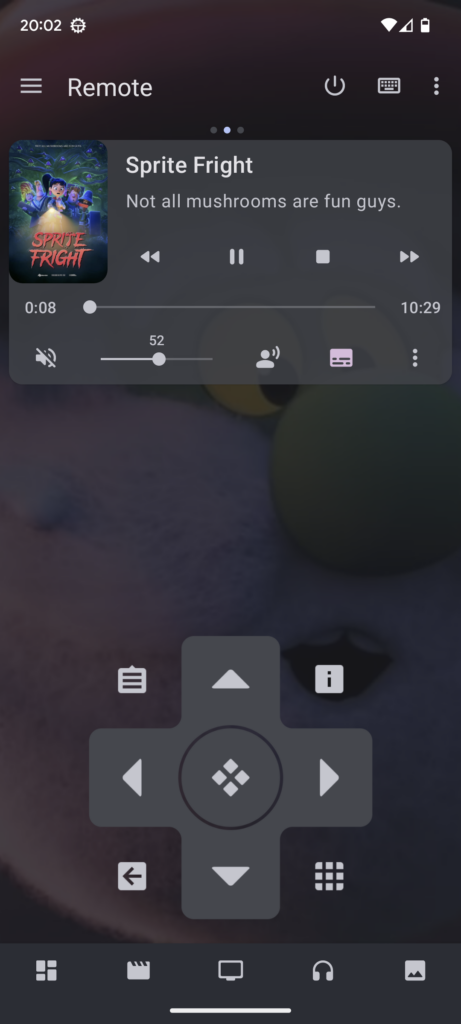
7. Remote Control
The convenience of controlling your media center right from the comfort of your couch cannot be overstated. Thankfully, Kodi provides multiple options for users to achieve this, allowing for a more integrated and seamless entertainment experience.
Kodi Remote App for Smartphones and Tablets
For those who always have their smartphones or tablets at arm’s reach, the official Kodi Remote app is a game-changer. This app transforms your device into a full-fledged remote control, granting you access to all of Kodi’s features and settings. With an intuitive interface, the Kodi Remote app makes browsing, selecting, and controlling media playback a breeze. And, since it works over your home Wi-Fi network, you don’t have to worry about pointing your device at the TV or dealing with any line-of-sight issues.
For those interested, the official Kodi Remote app can be downloaded from both the Apple App Store for iOS devices and the Google Play Store for Android devices.
HDMI-CEC for TV Remote Integration
Consumer Electronics Control (CEC) is a feature found in many modern HDMI-equipped TVs. It allows devices connected via HDMI to communicate and control one another. This means that if your TV and your Raspberry Pi both support CEC, you can potentially use your regular TV remote to control Kodi. It’s a handy feature that eliminates the need for additional remotes or apps. Once connected, it’s generally as simple as enabling the CEC feature in both your TV’s settings and within Kodi.
The magic of HDMI-CEC lies in its ability to integrate devices seamlessly. Imagine turning on your TV and having your Raspberry Pi boot up automatically, ready for you to dive into your favourite show. Or being able to adjust the volume of your media center directly with your TV remote. This unified control experience brings a level of sophistication and simplicity to your home theater setup.
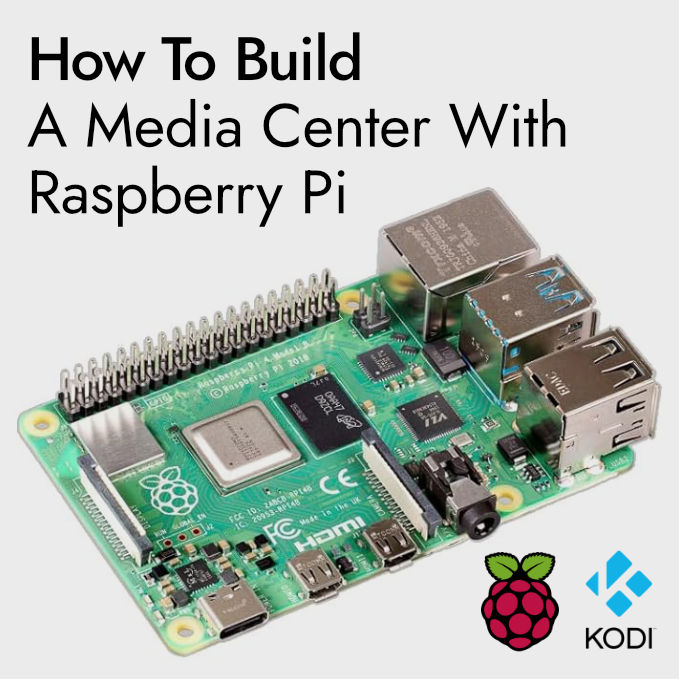
8. Safety and Security
Kodi’s flexibility is undoubtedly one of its most defining features, granting users access to an expansive universe of content and customisation. However, with this level of adaptability comes the responsibility of ensuring a safe and secure media consumption experience.
Beware of Third-party Add-ons
A significant portion of Kodi’s allure arises from its extensive array of third-party add-ons, which can broaden the range of content available. Nevertheless, it’s crucial to approach these with a discerning eye. Not all add-ons are created equal. While many are legitimate, others might delve into murky legal territories, offering unauthorised streams of copyrighted content. Beyond the legal implications, some add-ons could harbor malicious code designed to compromise your device or personal data. It’s always a good rule of thumb to research and vet any add-on before installation. Trusted community forums, like the official Kodi forum, are invaluable resources for gauging the credibility of various add-ons.
Stay Updated
Like all software, Kodi is continuously evolving, with developers working hard to introduce new features, streamline performance, and patch any vulnerabilities that might emerge. Ensuring that you’re running the latest version of Kodi is not just about accessing the newest features; it’s also a significant security step. Outdated software can be more susceptible to exploits, putting your system at risk. Regularly checking the official Kodi website or your device’s software update settings can help keep your media center in tip-top shape.
Say Hello to Your New Set Top Box
With your Raspberry Pi now transformed into a media center powerhouse, a set top box that lets you enjoy your favorite movies, TV shows, music, and more on the big screen. The Raspberry Pi offers an affordable and compact solution, making it easier than ever to have a smart, centralized media hub in your living room.


