Introduction to Raspberry Pi Projects
The Raspberry Pi, a credit-card-sized computer, has taken the tech world by storm since its introduction in 2012. Designed originally to promote computer science education, it has transcended its initial purpose to become a favourite among hobbyists, professionals, and enthusiasts. The Internet is littered with various projects based on the affordable computer. Here is a quick introduction to Raspberry Pi Projects.
With its affordability, adaptability, and a vast community of users, the Raspberry Pi offers endless opportunities for creative projects. Whether you’re a beginner or a seasoned techie, there’s a Raspberry Pi project for you.
What is Raspberry Pi?
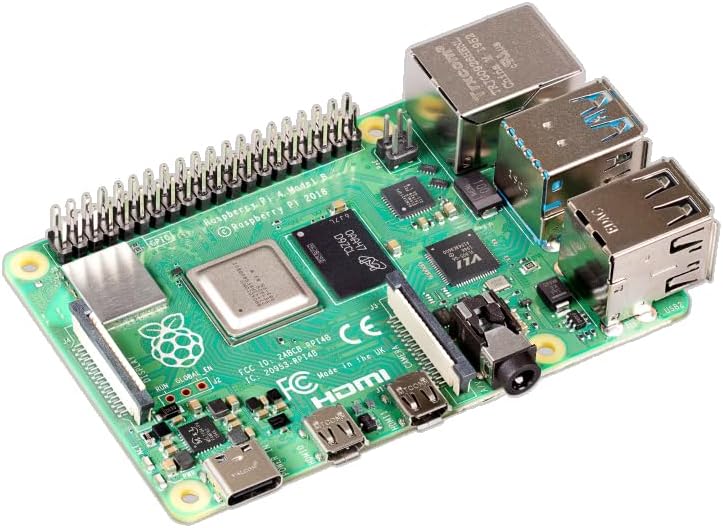
Raspberry Pi is a series of small, affordable, single-board computers developed by the Raspberry Pi Foundation. It runs a version of Linux, and because of its USB, HDMI, and GPIO pins, it can interface with the physical world and function as a desktop computer, media center, server, and more.
Why Use Raspberry Pi for Projects?
Four reasons to use Raspberry Pi for your next project:
1. Affordable
At its core, the Raspberry Pi embodies the democratisation of digital creation. The low cost and small form factor make technology accessible to a wider audience, from students in developing nations to hobbyists on a budget. But affordability alone doesn’t capture the full allure of this nifty device. The Raspberry Pi is a testament to the philosophy that one shouldn’t need a high-end, expensive machine to create, experiment, and innovate in the digital realm.
2. Versatility
One of the significant advantages of Raspberry Pi is its adaptability. It is designed to be a foundational tool, akin to digital Lego, offering basic functionalities that can be expanded upon. This means that with a bit of imagination and the right peripherals, the Raspberry Pi can be transformed to suit a myriad of applications.
3. Community Support
Additionally, with its open-source nature, it promotes collaborative learning. The global community of Raspberry Pi enthusiasts continually contributes to forums, shares codes, and offers troubleshooting advice. This communal spirit ensures that even those new to the world of computing and electronics can find help, tutorials, and inspiration with ease.
4. Learning Opportunity
On top of that, using Raspberry Pi for projects instills a deeper understanding of computing. It provides a hands-on experience, allowing users to delve into the intricacies of software and hardware interactions, bridging the gap between abstract coding on a screen and tangible real-world applications. In essence, the Raspberry Pi isn’t just a tool, but a gateway to a world of digital exploration and innovation.
Popular Raspberry Pi Projects for Beginners
- Personal Web Server: Set up a local web server using software like Apache and host your own website.
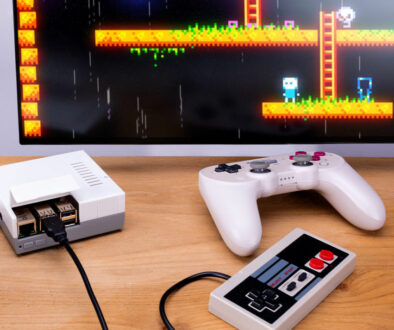
- Retro Gaming Console: Using software like RetroPie, turn your Raspberry Pi into a gaming console that can play a multitude of classic games. (See how to use Raspberry Pi to build a retro gaming console)
- Home Automation: Connect your Raspberry Pi to your home devices, enabling you to control lights, thermostats, and more.
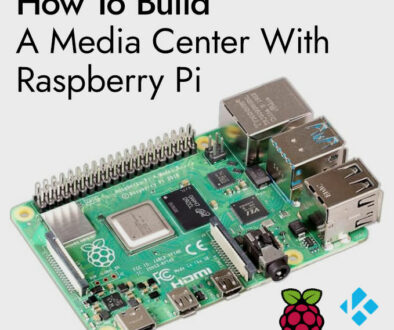
- Media Center: With software like Kodi or Plex, your Raspberry Pi can become a powerful media center. (See how to use Raspberry Pi to build a media center)
- Weather Station: Use various sensors to measure temperature, humidity and other atmospheric conditions.
- Smart Mirror: transform a two-way mirror into a digital information display showing time, data, weather forecast and calendar events.
- Security Camera: With a camera module and motion detector, create a home security system that will send alerts and save footages when triggered.
- DIY Alexa or Google Home: Make your own smart speaker by integrating voice-controller assistant software using platforms like Mycroft.
- Digital Photo Frame: Make use of an old monitor or digital screen by converting it into a dynamic photo frame that you can control remotely.
Advanced Raspberry Pi Projects
- Home Security System: By integrating a Raspberry Pi with cameras and sensors, you can monitor your home in real time.
- Voice Assistant: With tools like Google Assistant or Amazon Alexa, transform your Raspberry Pi into a voice-controlled assistant.
- Robotics: Utilise the Raspberry Pi as the brain for a robot that can move, interact, and even recognise objects or speech.
- Smart Mirror: Build a mirror that displays your daily schedule, the weather, and other relevant notifications.
- Cluster Computing: Connect multiple Raspberry Pi devices to create a mini supercomputer or cluster for distributed computing tasks
- Network Attached Storage (NAS): Create a powerful NAS server using solutions like OpenMediaVault to store backups and files on the home network.
- VPN Server: Build your own personal VPN server for secure browsing and remote access to your home network using OpenVPN or WireGuide.
- Advanced Robotics and Drones: build robots and drones incorporating advanced components like LIDAR, GPS and complex algorithms for autonomous movement.
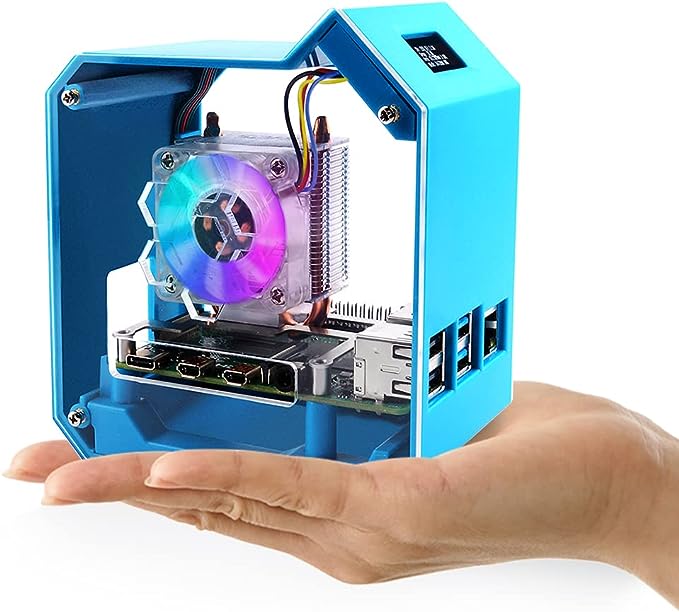
Search Raspberry Pi Case on Amazon
Getting Started with Your Project
Embarking on a Raspberry Pi project is an exciting endeavor that marries creativity with technical know-how. Whether you’re a novice or a seasoned techie, it’s essential to approach your project systematically to ensure its success. Here are 5 easy steps to get your started:
1. Choose a Project
The first step is choosing the right project. It’s easy to get overwhelmed with the myriad of possibilities, but it’s essential to pick something in line with your current skills and knowledge. Whether it’s a basic LED blinking task for a beginner or building a personal VPN server for the advanced user, ensure it’s something you’re passionate about. Your interest in the subject will keep you motivated, especially when faced with challenges.
2. Gather Materials
With your project in mind, curate a list of necessary components. While the Raspberry Pi will be the brain of your operation, many projects require additional parts. This could range from basic items like jumper wires and breadboards to more specialized components such as sensors, motors, or touch displays. Ensure you have everything on hand before you dive in to maintain momentum.
3. Setup Your Raspberry Pi
Preparing your Raspberry Pi is foundational. Typically, this involves installing an operating system. Raspberry Pi OS is a popular choice, but depending on the project, other specialized OS options might be more suitable. Once the OS is installed, configure network settings, update software packages, and make any other required system tweaks.
4. Build and Program
This step is where your project truly comes to life. Using tutorials, guides, or schematics related to your project can be a valuable resource. For many Raspberry Pi projects, Python is the go-to programming language, but others like JavaScript, C++, or even Scratch might be used depending on the project’s nature. The programming phase is where your project’s functionality is defined, so take your time to ensure your code is robust and efficient.
5. Test and Refine
After setting everything up, it’s testing time! Activate your project and observe its performance. It’s rare for complex projects to work flawlessly on the first attempt, so expect some debugging. Troubleshoot any anomalies, and think critically about how the design or functionality can be enhanced. This iterative process of refining and improving is where true innovation often shines through.
Summary of how to get started with your Raspberry Pi project
- Choose a Project: Begin with a project that matches your skill level and interests.
- Gather Materials: Alongside your Raspberry Pi, you may need additional components like sensors, buttons, or displays.
- Setup Your Raspberry Pi: Install an appropriate operating system, typically a version of Raspberry Pi OS, and configure settings.
- Build and Program: Follow tutorials or guides related to your chosen project. Use programming languages like Python or JavaScript to bring your project to life.
- Test and Refine: Once you’ve built your project, test it out. Debug any issues and consider how you can improve or expand upon your initial design.

Final Thoughts
The Raspberry Pi, given its affordability and versatility, is a gateway to a plethora of creative endeavours. From simple tasks to complex builds, the possibilities are virtually endless. As you embark on your Raspberry Pi journey, remember to leverage the wealth of resources available, stay patient during challenges, and most importantly, enjoy the process of creation and learning. Happy building!


