Best Smartphone Photography Tips & Tricks: Shoot like a pro on your phone
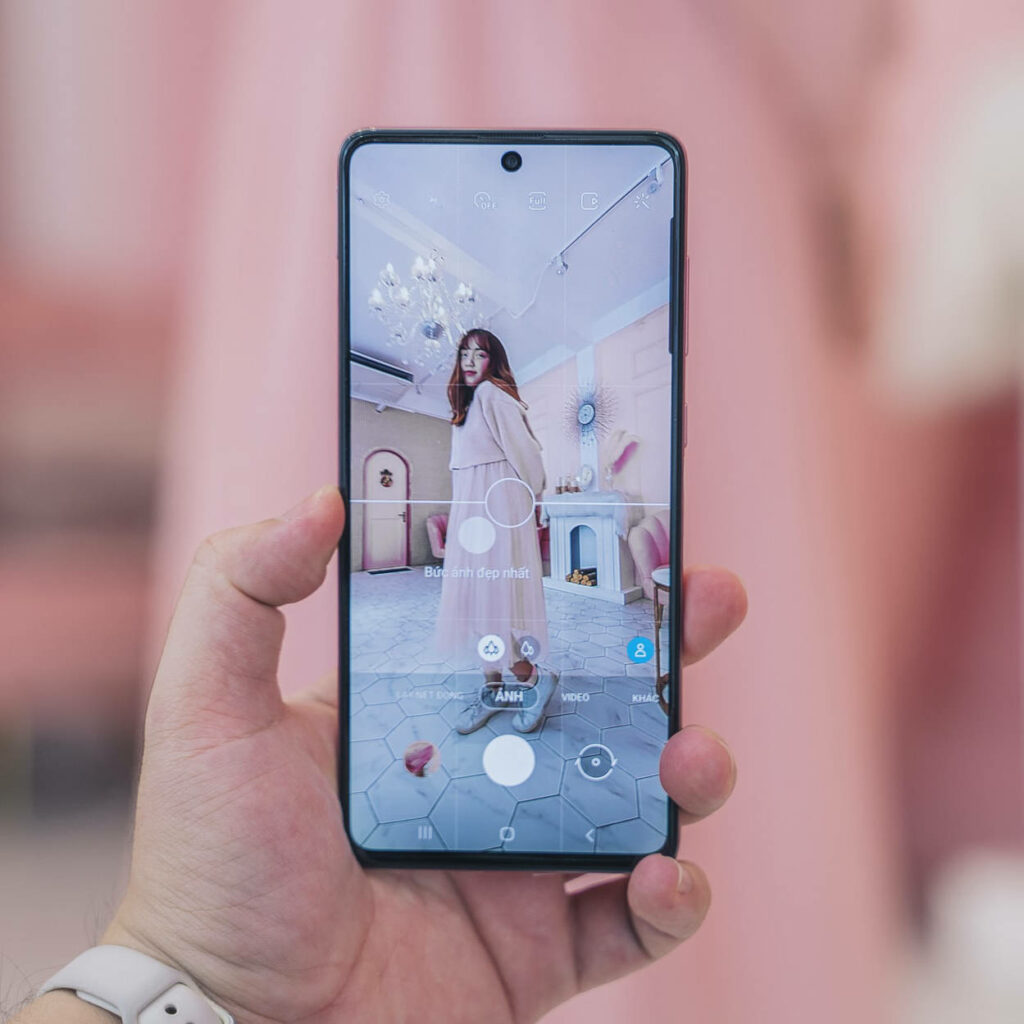
Your smartphone is more than just a tool to make a casual snap. It has more technology built into it than even some mid-range digital cameras. Certainly, when it comes to resolution, smartphone cameras are second to none.
In the right hands, a smartphone is a powerful camera. You can take stunning stills, time-lapses, landscapes, HDR and 4K videos. You can also make stock photos (and stock videos) with it and make a decent passive income with those.
Many users don’t quite appreciate these facts. Their use of the phone camera is, sadly, limited to shooting just random snaps.
In this discussion, we shall look at some of the lesser-known and seldom used features on your smartphone. While we are doing it, i.e. learning more about the smartphone’s camera features, we shall also learn a few photography tips and tricks that can help us to shoot like a pro. You can continue over at More Smartphone Photography Tips & Tricks: A guide to better photos and videos when you finish with this article for even more tips and tricks.
Before we continue, it is worth familiarising with all the features and settings for your camera.
1. Use the Night Mode on your smartphone
A common complaint from serious and enthusiast photographers is that smartphones can’t shoot in low light conditions. While that might have been true, some 5 years ago, it is no longer the case now. Smartphones now come with very capable cameras that can shoot beautiful, crisp images in all kinds of lighting conditions.
Start the camera app on your phone and switch to Night Mode. The Night Mode is designed to drag the Shutter Speed and keep the ISO number unchanged for as long as possible. In other words, the mechanism is designed to increase the time frame for which the shutter curtains remain open.
The advantage of this is your images are less likely to be impacted by noise. If you are to take the same image using the normal shooting mode, the camera will simply push the ISO number to compensate for the lack of light, keeping the Shutter Speed as high as possible to avoid image blur.
Depending on the phone, you may be required to stay still for a short duration as the camera on your phone capture several shots or enough information it needs to construct a full picture. Obviously, this won’t be any good for moving subject but it does wonders to stationary objects, capturing all the details and even the slightest amount of light your naked eye would likely miss.
2. Shoot in the best light
Ahh! The cliched shoot in the best light statement. You must have heard this many times already. Probably one too many! You may have also heard that the best light is the one that you get during sunset and sunrise. Does that mean that the rest of the day is not ok to shoot images? No! you can shoot images throughout the day provided you use these tricks –
Look for shade when shooting portrait images. You can find shade under a tree, under a building, or a wall. Even an umbrella is a great tool to get some shade. Prefer the white ones which have a translucent material that diffuses light. This is where you shoot from.
A cloudy day is a great time to shoot outdoor photos. Especially portraits and couple shoots. It is also a great idea to shoot landscape and macro shots of flowers and insects on a cloud day. Not overcast but cloudy, to avoid hard light.
Shoot at blue hour. Blue hour is the moment right after sunset when the sky is still not completely black. There is a little bit of orange at the corner which contrasts with the blue and the impending black. This high contrast sky is best utilized for shooting portraits.
The problem is you need an off-camera light to trigger the flash. Thankfully, there are now off-camera flashes available for smartphones. Something like the Godox A1.
These are inexpensive. You can trigger them remotely using an app giving you the same convenience as if you are shooting with a normal camera. These small off-camera flashes add that much-needed depth to your photos that were hitherto the exclusive domain of proper cameras.
3. Switch to a large Aperture
Most smartphone camera systems these days come with an array of built-in lenses. It is quite common to find smartphones with a minimum of two lenses. One telephoto lens and the other a wide-angle or something a wide and an ultra-wide. Others can have three or more lenses, giving you an incredible amount of options to choose from.
Keep changing the lens, and with it, the maximum aperture, to experiment with different depths of fields. Experiment with a shallow depth of field for portraits and a large depth of field for landscapes.
4. Never use the built-in flash
One thing we always tell new photographers to not do is, use the built-in flash of their smartphone camera. The built-in flash is tiny, and the amount of light is never sufficient to make any difference.
On top of that, the built-in flash can produce strong shadows. Strong shadows never look great in portrait photos unless you are going for such a look.
There are, however, moments when you do need a flash. But that flash should be mounted off-camera and triggered using a remote trigger. Although this is a domain that is dominated by DSLRs and mirrorless cameras (triggering an off-camera flash with a remote trigger), manufacturers are coming up with products that can be used with a smartphone.
5. Reduce Camera Shake by Using a Tripod
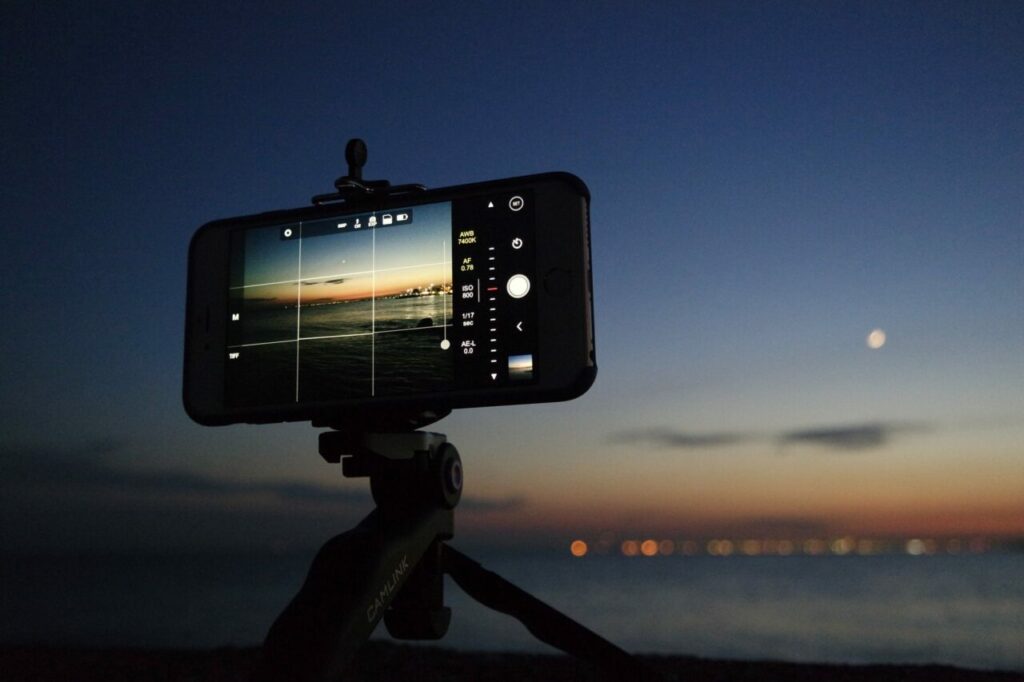
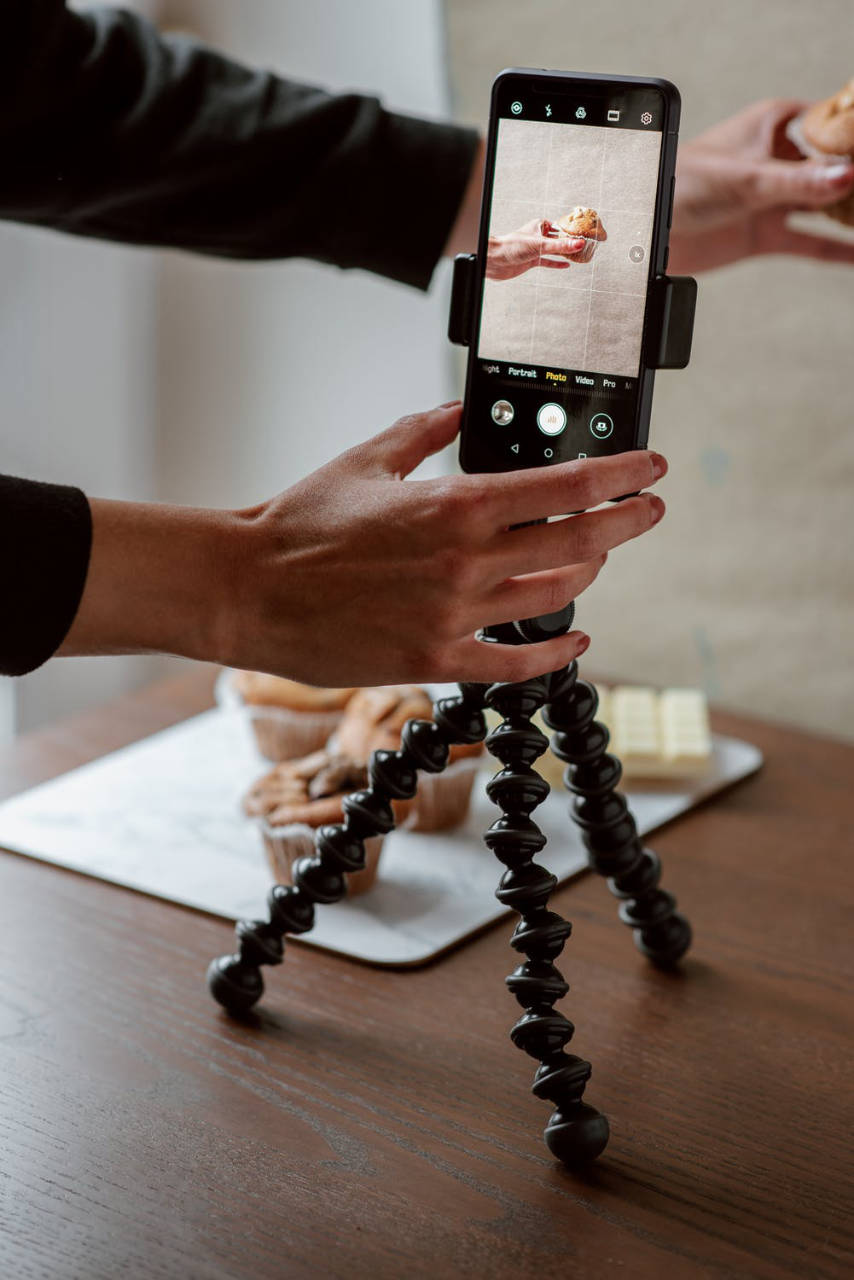
You might have thought that tripods and smartphones don’t go well together. That’s not entirely true. There are many tripods and grip pods (GorillaPod) to are designed for smartphones and they work wonders for capturing steady and clear shots. One of the main reasons to use tripods is so that you can take advantage of the Night Mode.
We have already discussed the Night Mode above. In this mode, the smartphone camera drags the shutter and keeps it open for a long time. Your camera will produce better results for Shutter Speeds like 1/10 or 1/5 sec quite easily when using this method.
The problem with such slow Shutter Speeds is that the camera needs to be held perfectly still. Otherwise, image blur will appear. Holding by hand with Shutter Speeds as low as 1/5 sec can be very difficult, if not impossible. The best solution is to use a tripod.
There are smartphone mounts for tripods available at throwaway prices. You can also buy a small table-top tripod and that comes with all the accessories you need to set up a smartphone for long exposures, time-lapse, night mode, sunset or sunrise and more.
6. Use voice commands, gesture or headphones to trigger the shutter release
One problem that enthusiasts and serious photographers always talk about is the lack of a hands-free option to shoot images with a smartphone. You either have to use the volume rocker or use the dedicated shutter button on the display.
But that is not true. There are other ways to trigger the shutter release as well. One of those methods is the voice command. With most smartphones simply saying aloud the word “smile” will trigger the shutter release. Some smartphones support palm gestures for selfie like on the Samsung phones. Simply hold up your palm in front of the camera and a few seconds later, the camera will take the shot.
The best-case scenario for using the voice command or hand gesture is when you have set up the phone on a tripod and you are in the scene as well. Yes, there is also a shutter delay option that you can use. But often that option may not give you enough time to get into position.
If your phone supports connected headphones, you can use this as wired remote. The volume control or answer button on the wired headphones will act as shutter control when you are using the camera app. Use this to take your shots and avoid the risk of moving your smartphone when it is on a stand.
7. Shoot in RAW
Your smartphone has a built-in RAW shooting option. RAW formats capture a lot of detail and store all that data in the image file. You can later use this information to enhance the colors, the contrast, the white balance and do much more in post-processing without affecting the quality of the image.
JPEGs, which are the most popular image format, on the other hand, are not a ‘lossless format’. If you shoot in JPEG and then try to edit the image in post-processing, you will lose a lot of information. Image quality will drop.
In everyday situations, RAW formats might seem a little unnecessary. Say, when shooting a simple selfie or a group shot at a reunion. These are images that are rarely retouched or edited and are mostly shared as they are.
But when you are on a vacation and come across a beautiful landscape scene, or maybe a breathtaking sunset/sunrise; these are the moments when you must switch to RAW and take advantage of that feature.
8. Manual focus
Did you know that your phone has a manual focusing option? It is usually buried somewhere in the camera menu.
The exact steps to reach this option will depend on the phone and the brand of the phone that you have. Do look it up.
Check the manual focus settings in your phone’s camera app and figure out how to control this
The advantage of the manual focusing option is that you can precisely focus where you want to by dragging the focus slider up or down.
You may ask isn’t that the same thing as touching the screen to refocus? Nearly, but there are disadvantages to that process. First, the focus rocking will be hard. This is not advisable for capturing video.
Manual focus is very useful when shooting videos, where you want to rock focus between something in the foreground and then something in the background at a manual rate that you control for that artistic and creative touch.
RELATED: More Smartphone Photography Tips & Tricks: A guide to better photos and videos
Closing Thoughts
The above tips and tricks are simple to adopt. Over time, as you keep practicing them you are only going to get better at it. Don’t think that shooting with a smartphone is a handicap in any. It is not. A smartphone is still a digital camera. You are only limited by your creativity. In the capable hands, a smartphone can capture stunning images that can give any digital camera a run for its money.
