More Smartphone Photography Tips & Tricks: A guide to better photos & videos
Fresh from our 8 best smartphone photography tips and tricks, we continue our journey to bring you 12 more mobile photography tips in part two of our series. If you are serious about shooting either videos or photos on your smartphone, you will want this guide.
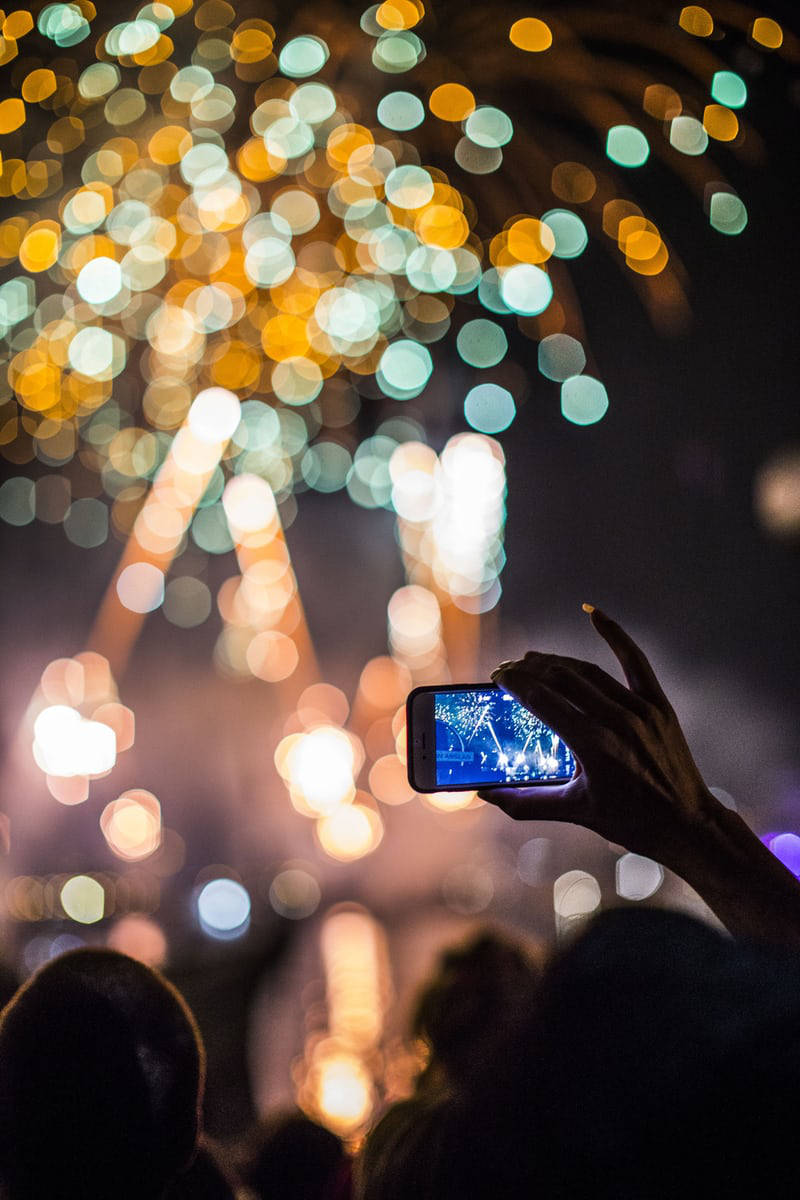
Best Smartphone Photography Tips & Tricks: Shoot like a pro on your phone (so far)
In our earlier article we covered the following:
- Use the Night Mode on your smartphone
- Shoot in the best light
- Switch to a larger aperture
- Never use the built-in flash
- Reduce camera shake by using a tripod
- Use voice commands, gesture or headphones to shoot
- Shoot in RAW
- Manual focus
You can review these on Best Smartphone Photography Tips & Tricks: Shoot like a pro on your phone. When you are ready, continue here for more shooting tips and tricks:
9. Switch to Ultra Wide Lens
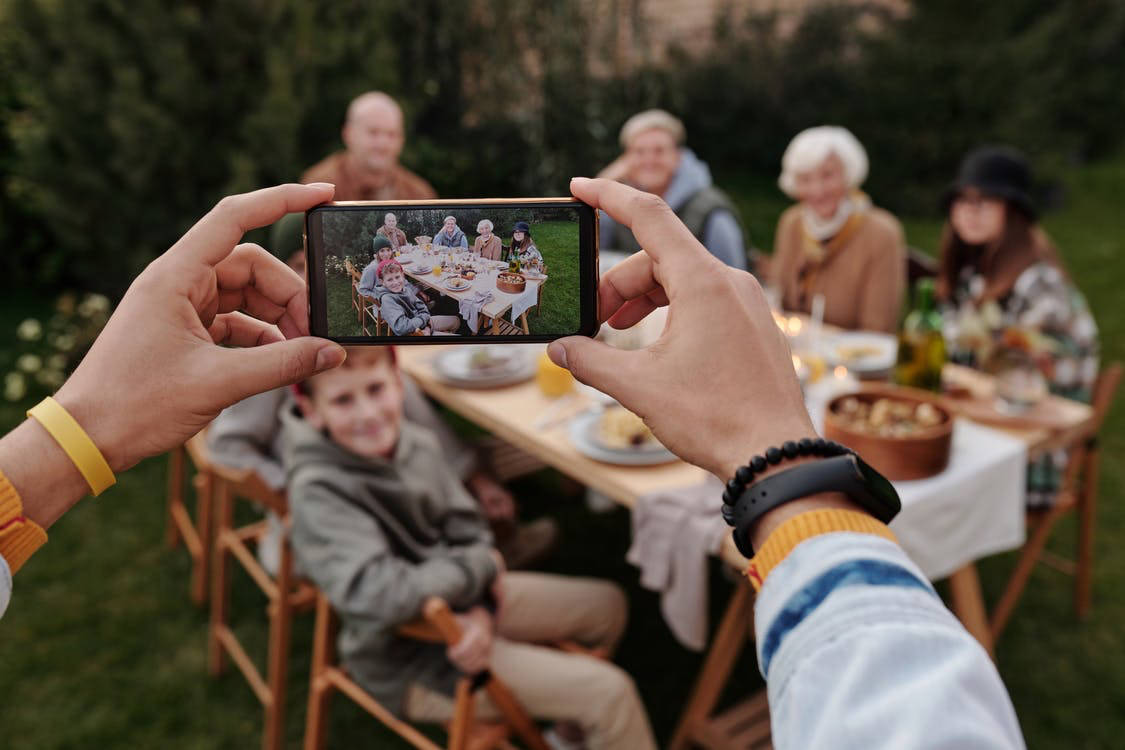
At this point, it is also worth mentioning that using the wide or ultra-wide lenses will give you more information per shot with its wider field of view. You can then decide to crop or focus on different subjects in post shooting. Ultra wide lenses are the go-to for photographers capturing landscape, building and scenery, a capture everything lens.
You can also use this to capture everyone in a group photo if you cannot physically move back far enough to wrap all the subjects in the frame with the standard lens. It is likely that the main camera already has a wide angle lens and an ultra wide lens is your secondary shooter. Sometimes, this is called the zoom out (0.5x) lens.
Ultra wide angle lens also give you the creative ability of capturing big perspectives and lines. You can capture lines on buildings, trees, walls from an interesting angle with the lines coming from one corner or point on the frame, from the centre or from bottom to top.
Even with subjects in the foreground being close to the camera, using the ultra-wide angle lens allows you to capture it without worrying about the subject blocking or taking up too much of your frame or field of view. Not macro, but closer while still allowing you to capture a big part of the background for a near and far contrast.
To sum it up, ultra wide lens is great to capture as much as possible, to show the size of say a room or building and capture everyone in a group photo with ease and to capture interesting lines. Finally, it be used shoot a subject close-up with view of the background.
10. Switch to Telephoto Lens
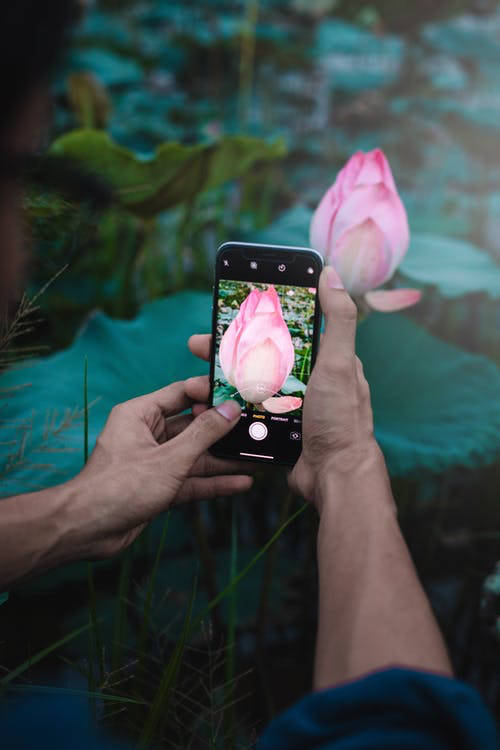
If you have it, flaunt it. Use the telephoto lense to get closer to the subject without physically moving towards it. The iPhone comes with 2x optical zoom. Other smartphone cameras may have 3x to 5x. The Samsung Galaxy S21 Ultra offers a 10x telephoto zoom. Higher optical zooms are made possible with trickery like a periscopic arrangement to create a longer distance between the sensor and lens within the smartphone chassis.
Regardless, explore the use of telephoto lenses for landscape, portrait or even close-ups and macros. Note that telephoto lens are no good for shooting indoor, under overcast sky, night scenes or anywhere that is low light. Remember to focus on the subject before firing the shutter. If you have to shoot indoor, use lightning. New shoes will be able to cope better in low light with the telephoto lens using multiple shots and AI to capture night scenes so do not write it out completely. Try it at a live event like concert or city scape at night.
11. Do Not Use Digital Zoom
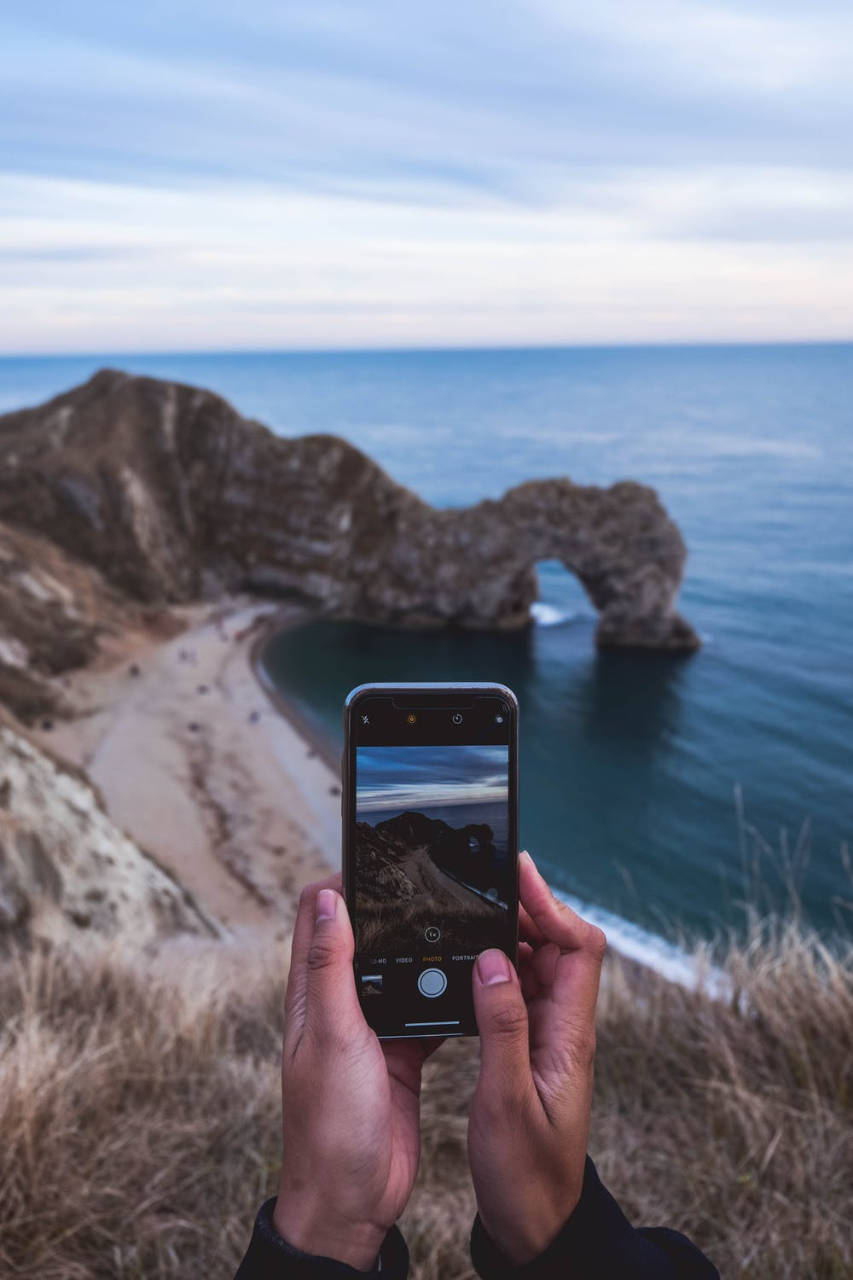
A few things to watch out for, try to keep to the focal length offered by the primary, ultra-wide or telephoto lens for a lossless image. This is considered the optical zoom (5X, 3X, 2X, 0.5X). Any zoom level lower or higher than the level offered by the lenses and you will be in the realms of digital zoom. Images taken in optical zoom are often grainy, have little information and low in resolution. This is akin to taking a frame and cropping into the middle to give the impression of moving closer or zooming in. There is also hybrid zoom when the range falls between two lenses such as the main and the telephoto or the ultra-wide and the main. The phone uses information from the two lenses or more to frame a shot digitally for a broader focal length. Stay clear of digital zoom. Stick to optical zoom and only use hybrid zoom when you have to.
12. Turn on the Grid Overlay
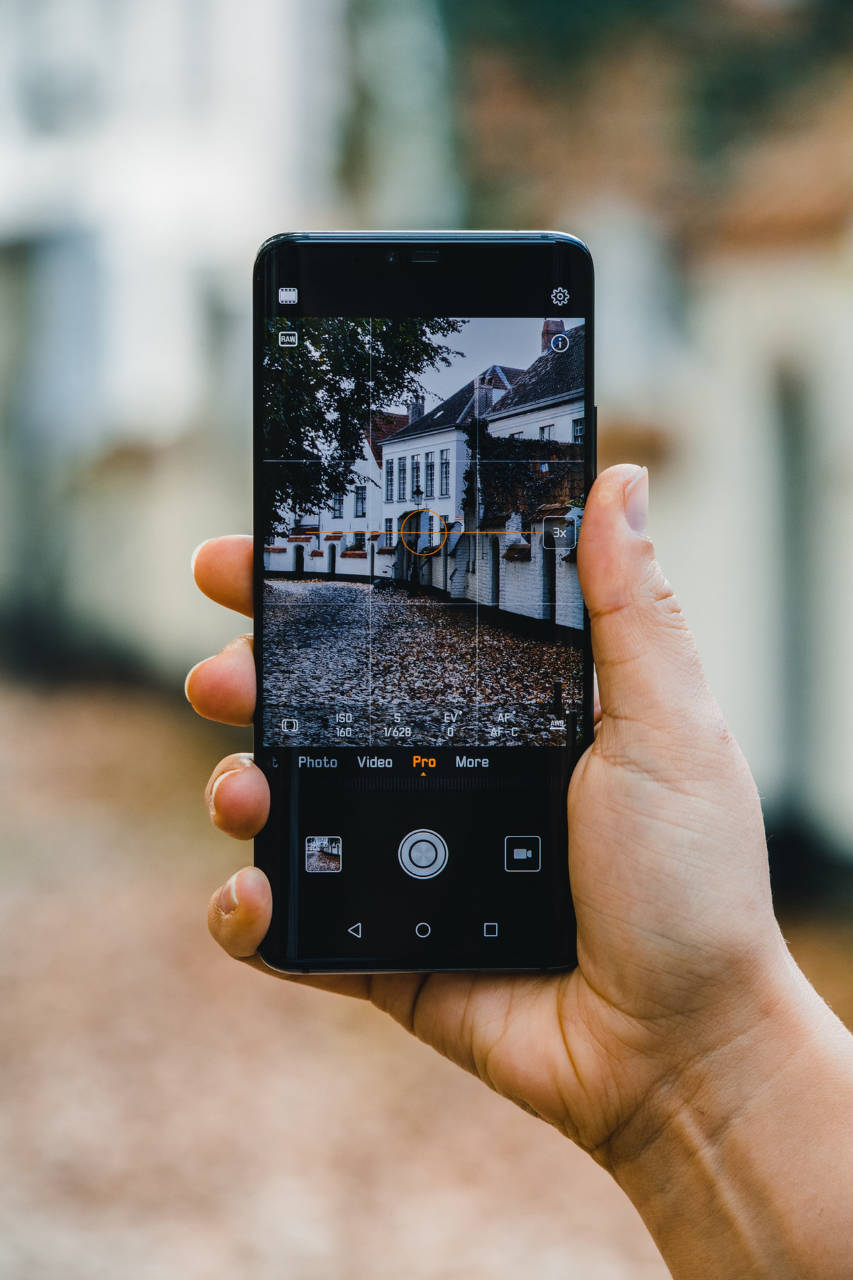
By default, the assistive grid for the smartphone camera is usually turned off. You can turn this on in the camera app settings. Once available. you can use this to align your shots vertically or horizontally to your subject or the horizon. The overlay grid also lets you take photos using professional techniques like rule of thirds when you ensure that the subject falls on the grid line, between the lines or where the lines cross when composing your shot.
13. Use different perspective
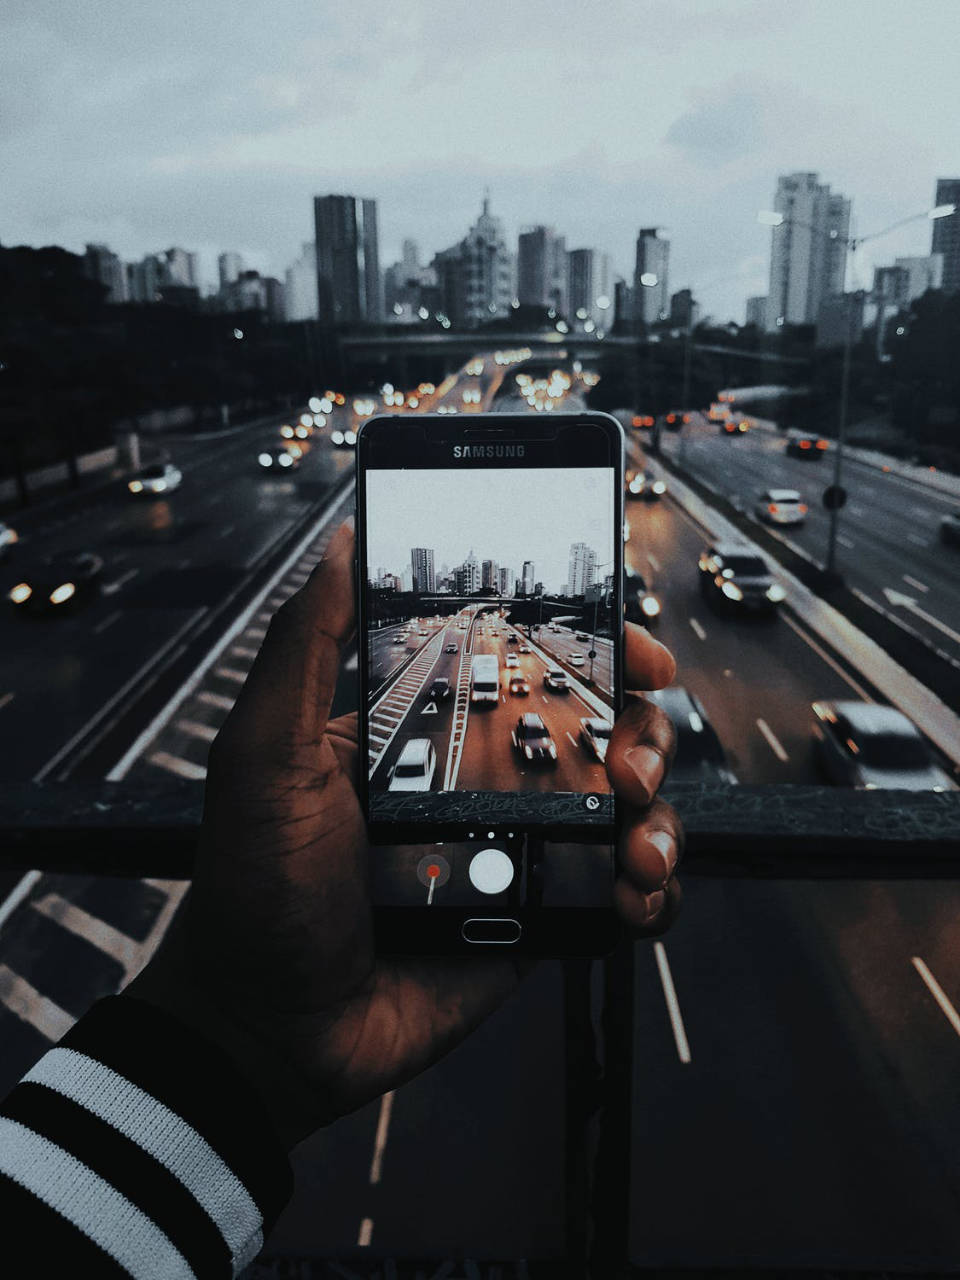
Try taking your photos from different angles and elevations for perspective. Everyone can do straight up shooting from standing height. Try framing your shots from a low point looking up or from a higher point looking down. You can even go as far as to take photos of your subject from behind other objects, in between people, from a reflection in the mirror, all for a different perspective. Another angle hardly explored is close-up. I don’t mean macro shots but getting closer to the subject, focusing on different parts and not the whole. Just be sure to focus on the subject first before firing the shutter.
14. Burst Mode
Burst modes can be very useful for action shots. Those incredible photos of athletes, swimmers, gymnasts and pole vaults captured mid-air or in action are more than possible on your smartphone. Focus on the subject and hold down the shutter button to take multiple shots in burst mode. You can then review the series of photos you have taken and keep the ones you want. You too can shoot those mid-air shots like a pro.

15. Try different camera apps
Different camera apps especially on the iPhone lets you access different filters, settings, effects and shooting modes. Make the most of the camera and lenses you already have by exploring different camera apps. Don’t just stick with the stock camera app. Some of these are free while others require a small fee, check out the reviews and ranking and pick at least one other camera app to try out.
16. Adjust Exposure and Lock Focus
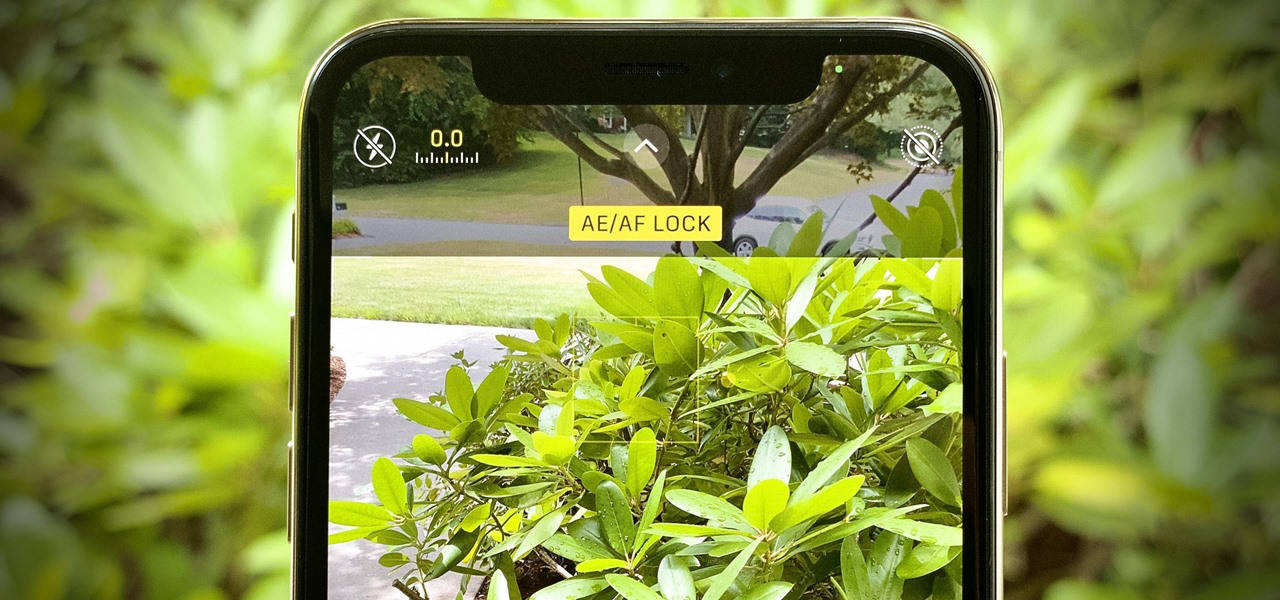
This is a feature available even on the cheapest smartphones in today’s market. Tap and hold down on the subject to lock the camera’s focus. Once locked, you can move the slider up or down or move the exposure reference icons to anywhere on the screen to pick the best exposure level. This lets you determine the focus and exposure manually instead of leaving it to the phone. Sure, if you left it to the phone’s camera, it will automatically adjust the focus and exposure to what is in the middle of the view frame. This just lets you refocus on what matters to you and to balance the exposure manually if you have hard light sources or brightly lid areas.
17. Enable Auto HDR
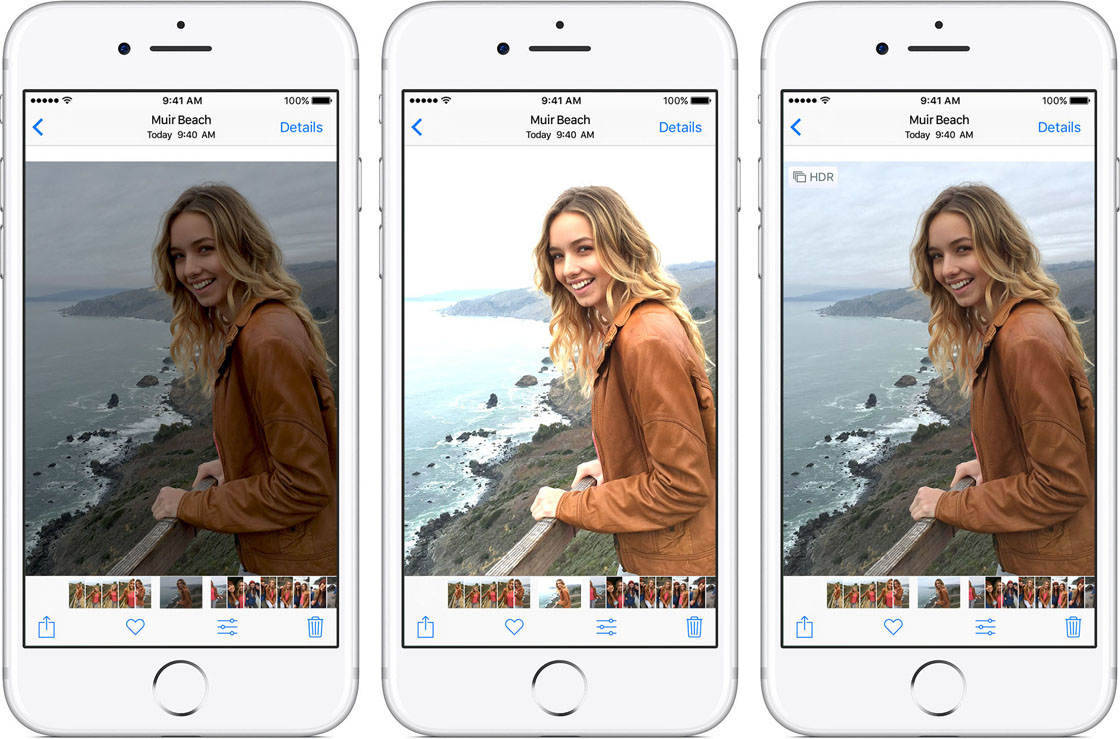
HDR or High Dynamic Range is a feature available on all modern smartphones. Once enabled, the camera will take multiple shots at different exposure levels automatically and use this to assemble a photo capturing all the details such as highlights, colours and shadows so there are no areas in the photo left behind due to over or under exposure. Sometimes known as Smart HDR, this is disabled by default so you need to enable it.
18. Experiment with add-on lenses and filters
In the same logic as paying for third-party camera apps, add-on lenses and filters do require you to spend some money. But hey, the bulk of the spend is already on your phone, so a bit more on accessories, especially ones that allow you to make the most of the camera on your phone isn’t so bad.
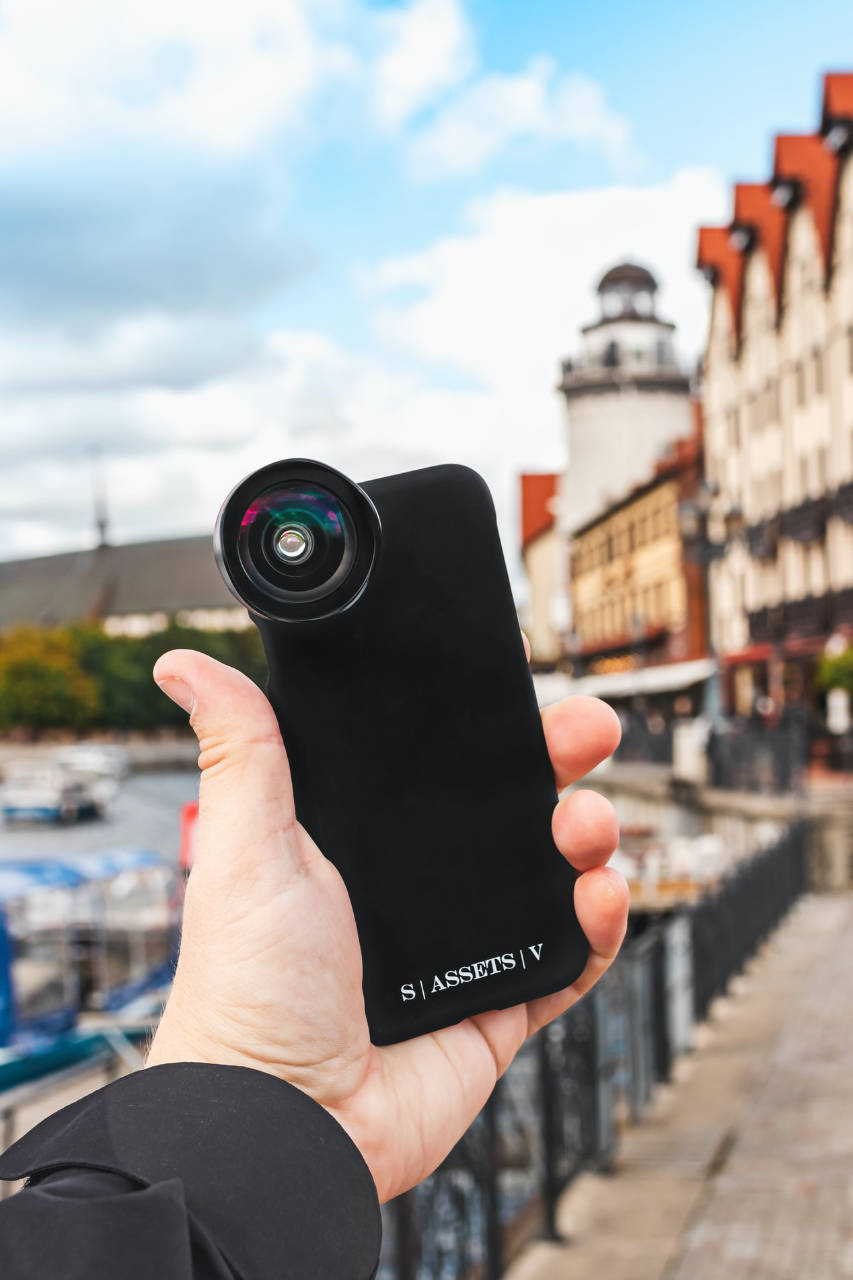
There are many third-party lenses that can go over the cameras on your phone. You can get fisheye, ultra wide, macro or telephoto lenses. Some are offered as a bundle so you pay only once for a set of lenses. The same goes with filters sometimes known as Neutral-density (ND) filters. These work by simply clipping over the existing cameras. They modify the wavelengths, colours and light before it reaches the sensor for effects.
Search Smartphone Add-on Lenses on Amazon
19. Get creative with reflections
You may have seen photos taken with a reflection of the subject in the puddle of water or landscape scenery where the trees are reflected in the lake. You too can create this with your smartphone and it does not alway involve you carrying a bottle of water to create your own puddle. You can also trick your camera using a reflective surface like the glass (the back of your phone), metal (a small blade) and mirror. Place this just in front of the lens before shooting.

20. Dust off your lenses
Yes, it is blatantly obvious but how often do you clean the lenses on your phone. Remove those greasy smudges, lint or dust and fingerprints before you start shooting. This simple action when practised will ensure that nothing, literally nothing gets in your way of taking a good clean shot.
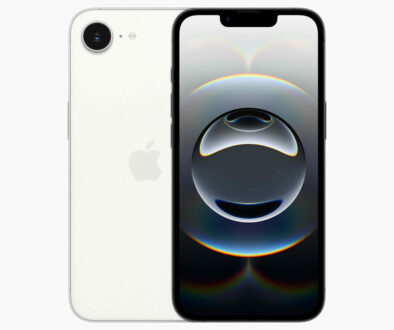
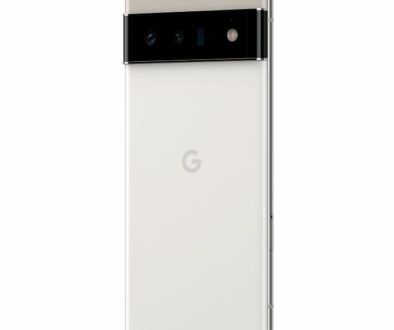
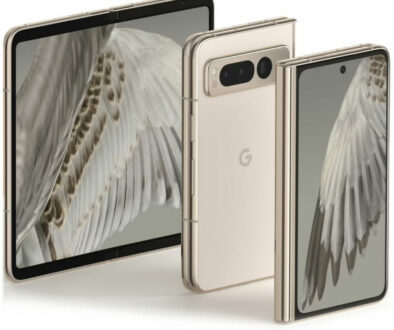
If you are taking smartphone photography seriously, you might want to consider a new smartphone with better cameras. Check out flagship offerings from the big three; Apple, Samsung and Google. You can’t go wrong with these.
Summary
We are not calling this a conclusion or final thoughts. This isn’t the end. I am sure you have tonnes of smartphone photography experience, tricks and tips to share of your own. Plus, we are likely to feature further articles on the subject in the near future. Do share with us your story below, what you achieved with your smartphone camera. In the mean time, here is a summary of what we have covered so far.
- Switch to Ultra-wide Lens
- Switch to Telephoto Lens
- Do not use Digital Zoom
- Turn on the Grid Overlay
- Use different perspective
- Burst Mode for action shots
- Try different camera apps
- Adjust Exposure and Lock Focus
- Enable Auto or Smart HDR
- Experiment with add-on lenses and filters
- Get creative with reflections
- Dust off your lenses
For Tips 1 to 8 visit Best Smartphone Photography Tips & Tricks: Shoot like a pro on your phone.


